CylancePROTECT Exclusion Guide
Applies to: Agent version10.0.47390.40
Take the following steps before installing the Interguard agent on Windows devices where Cylance is active.
NOTE: We cannot guarantee our instructions are compatible with your updated program. Always check the Help for an antivirus program if you have questions. Be sure to re-enable any firewalls or scanning that you disable during installation once the agent is successfully installed.
Product instructions for CylancePROTECT
For up-to-date answers to questions about managing endpoints and exclusions in Cylance Endpoint Securtiy, refer to BlackBerry© online documentation:
Manage memory protection alerts and exclusions
Acquire and Register Veriato digital certificates with Cylance
The Cylance product requires valid security certificates to verify and allow Veriato products on the network. Contact Veriato Technical Support if you need help.
- Download a .zip file containing Veriato Agent certificates.
Click here.
Save the file at a location you can access from the Cylance program. - Extract the file.
contains a .cer and a .pem certificate file for the latest Windows Agent. - Register the certificates as described below.
Follow all instructions below. Additional file/folder exclusions will prevent interference with the downloaded agent installer and uninstaller files.
Register the digital certificates with Cylance
- From the Cylance Dashboard, access cog Settings.
Settings will be on the side bar or on the top bar. - Select the Certificates tab.
Click Add Certificate to open the Add Certificate window. Illustrations below may not represent your version of Cylance or the newest Veriato certificates.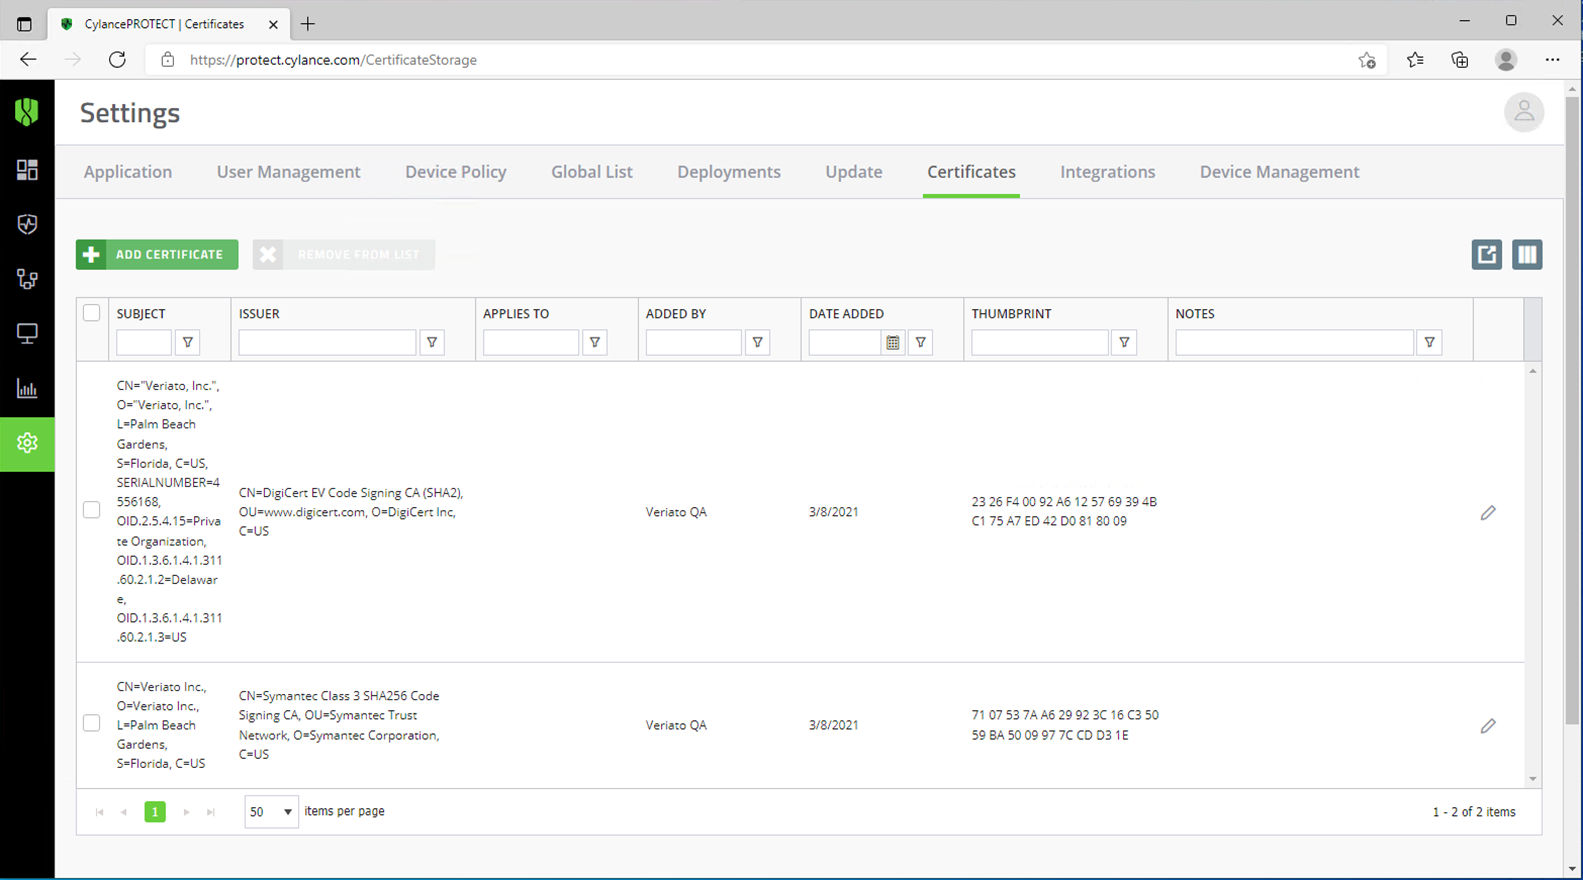
- Add a certificate.
In Add Certificate, next to “Applies to (Optional)” check Executable.
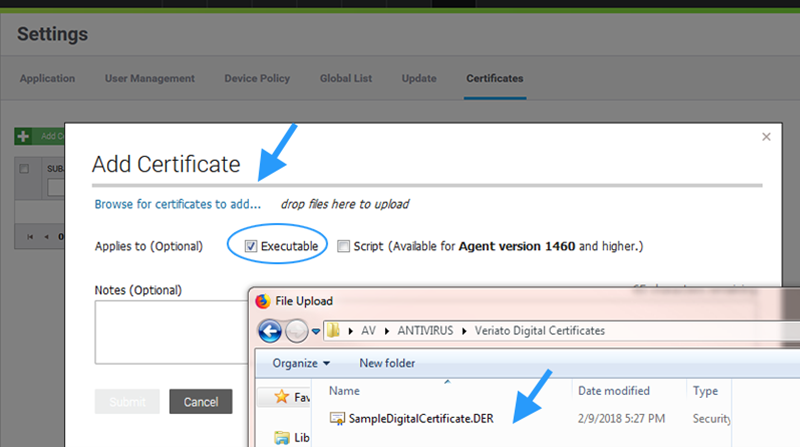
Click Browse for certificates to add and navigate to and select the Veriato certificate.
- Click Submit.
The certificate is added for Cylance whitelisting.
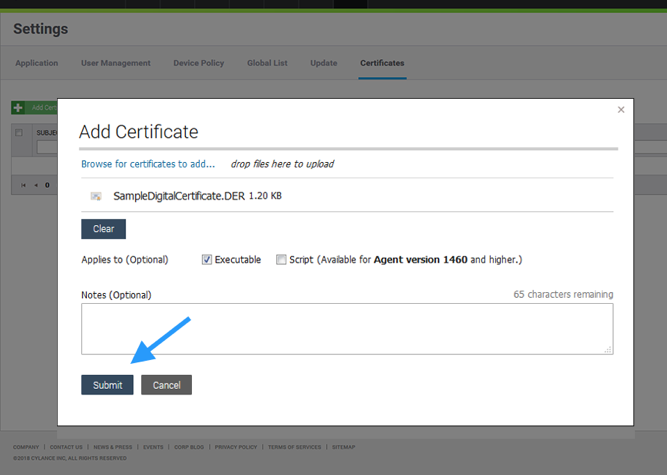
- Repeat these steps to add all Veriato digital certificates.
Add Veriato Agent exclusions
- Find your company’s Interguard installation folder.
- Open a browser and login to your Interguard account.
- Go to the Admin | Company Account page.
- Under Antivirus Exclusions note the folder or list of folders to exclude.
- Add the folders to your Cylance Device policy.
- Open Cylance and select Settings > Device Policy from the left menu.
- Select the Default Policy and click Protection Settings.
- Check the Exclude Specific folders checkbox.
- Check Allow Execution.
- Enter the exclusions listed for your company account, such as:
C:\Windows\SysWOW64\winipdat
C:\Windows\System32\winipdat
C:\Windows\winipbin-install
C:\Windows\winipbin - Click Save.
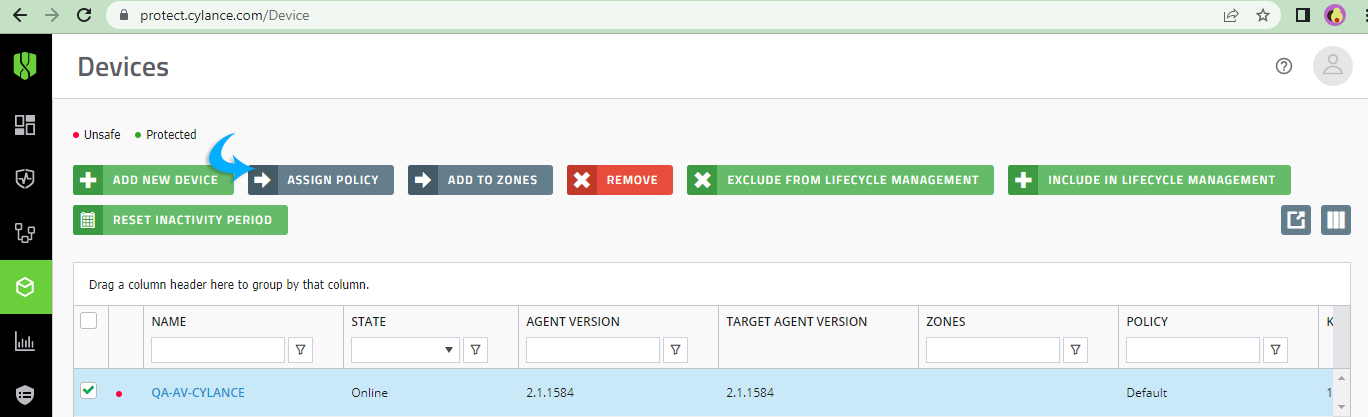
- Assign the policy to devices where you plan to install the Interguard agent.
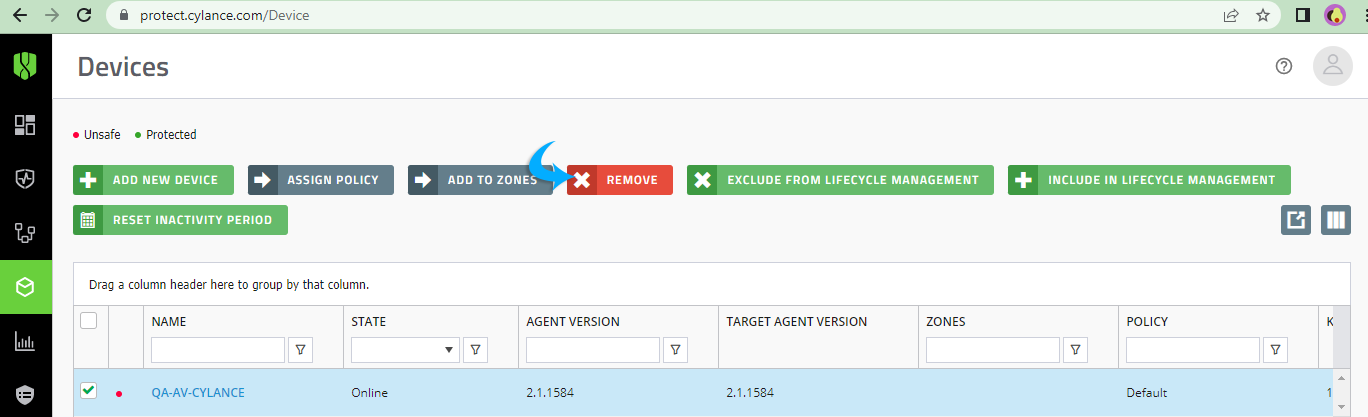
Select Devices from the left menu. Select all devices the Interguard agent exclusions will apply to and click Assign Policy.
Assign devices a non-protected Cylance policy to install the agent
- Temporarily disable Cylance before installing.
The easiest way to temporarily disable Cylance is to create a Device Policy in the Devices section named something like "Temporarily Disable Protection." This policy has ALL protections disabled. Remove the device(s) where you want to install the Interguard agent from the current policy and assign it to the disabled policy. You will return the device(s) to the proper policy at the end of this procedure.
- Download and install the Interguard agent.
In the Interguard app, select Admin | Download Agents and follow the wizard instructions to download the Windows "Silent Installer." - Deploy the installer to a test device.
Run the *.exe file as Administrator on the test device, responding to the UAC prompt, if necessary. - Restart the computer.
Repeat these steps for each device in the "Temporarily Disable Protection" policy.
Add monitored devices back into the Cylance policy with the exclusion
- Assign devices the proper Cylance policy to enable scanning.
Once Interguard is installed, and the devices are rebooted, re-assign the Cylance policy with the exclusion to re-enable protection. At this point, Cylance should not detect Interguard files.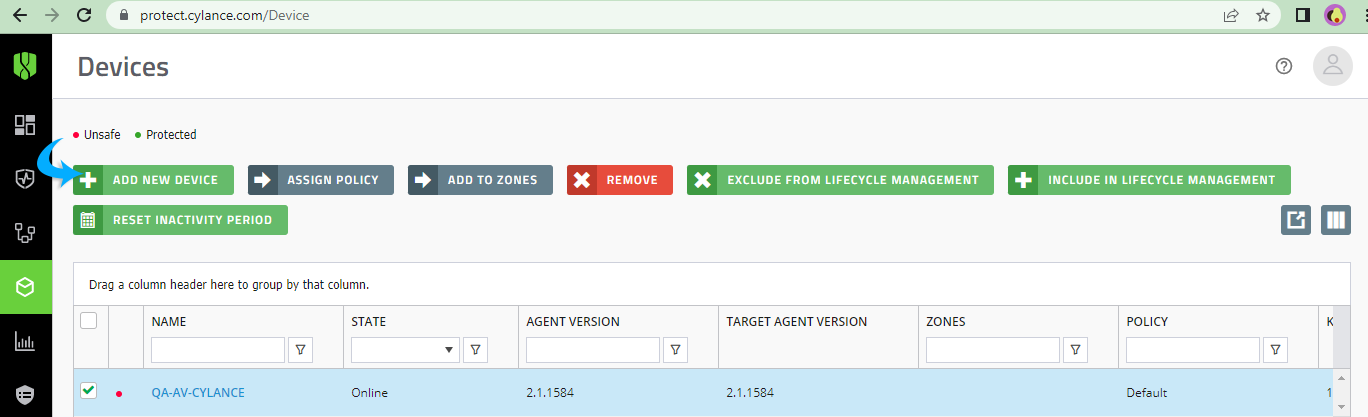
- License users.
When users log in, you can find the computer in the Interguard app in Admin | Endpoint Agents. The user appears in Groups & Policies > Users. Assign the user to a licensed group or assign a policy directly to the user to initiate recording and data uploads.
Updated: 10/03/2023