ESET Internet Security
Applies to: Agent version10.0.47390.40
To prevent Interguard from being scanned and detected by ESET Internet Security, before installing, follow these steps. Your ESET product may differ from the one shown here. We recommend consulting the ESET KnowledgeBase for your product version for more accurate steps. However, use the recommended exclusions below. See Antivirus Exclusions for Windows for a complete list of files, and if you still have trouble, contact Support.
NOTE: We cannot guarantee our instructions are compatible with your updated program. Always check the Help for an antivirus program if you have questions. Be sure to re-enable any firewalls or scanning that you disable during installation once the agent is successfully installed.
Change settings to enable ESET prompts during installation
- Open the ESET Internet Security control panel. Select Setup from the left menu.
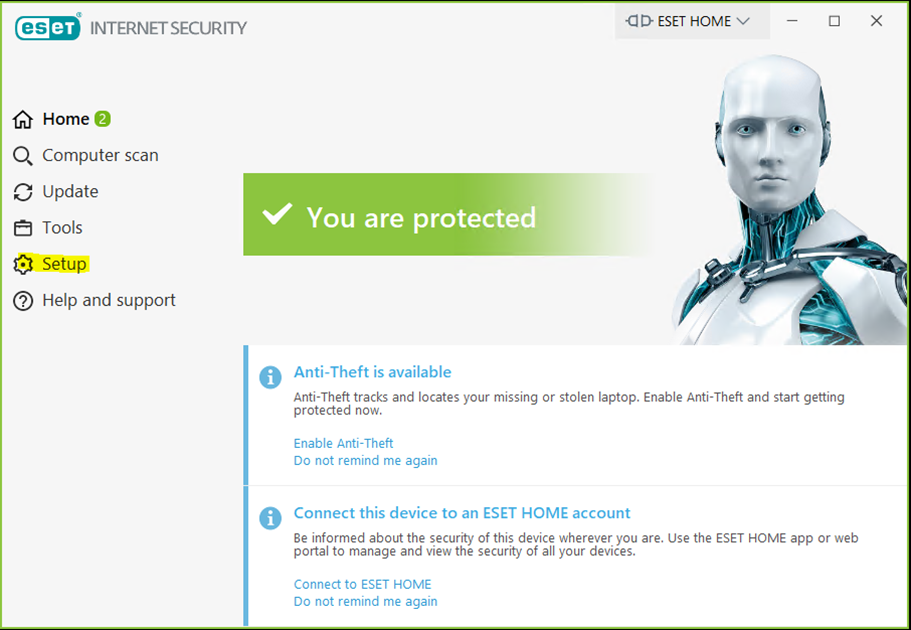
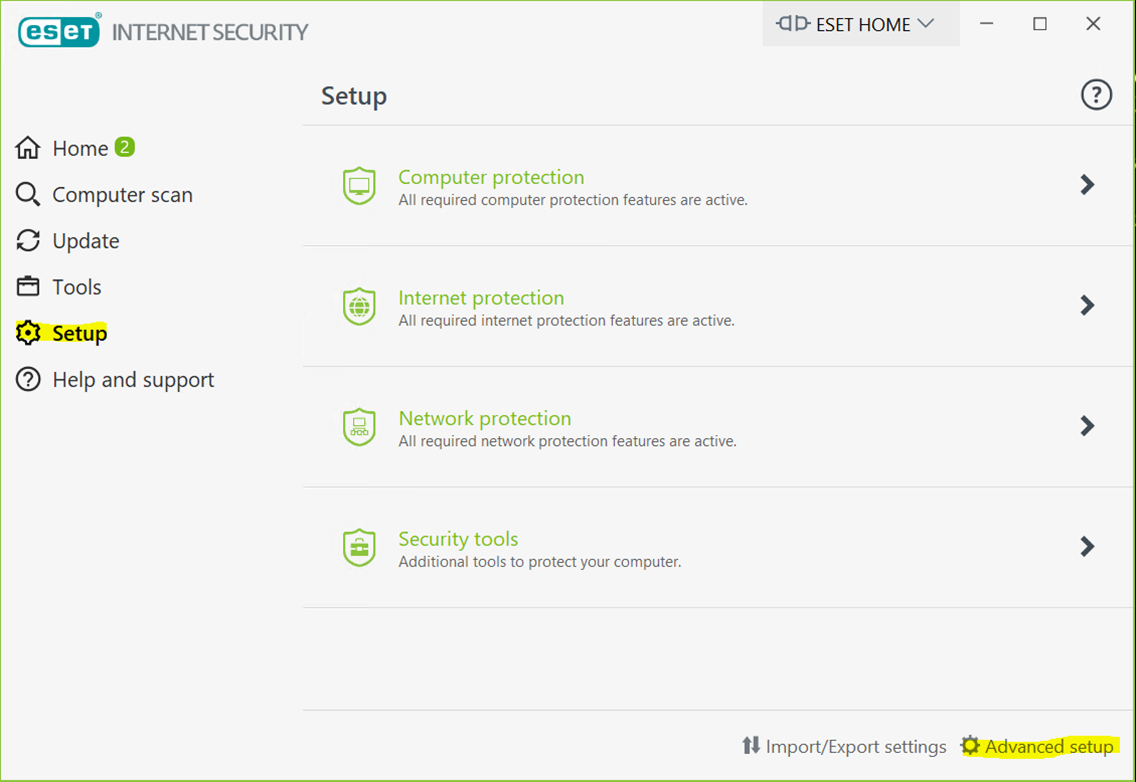
- At the bottom of the Setup menu, select Advanced Setup.
- Set Network Protection to "Interactive mode."
In Advanced Setup, select Network Protection from the left column.
In the right pane, expand Basic and change the "Filtering Mode" to Interactive mode.
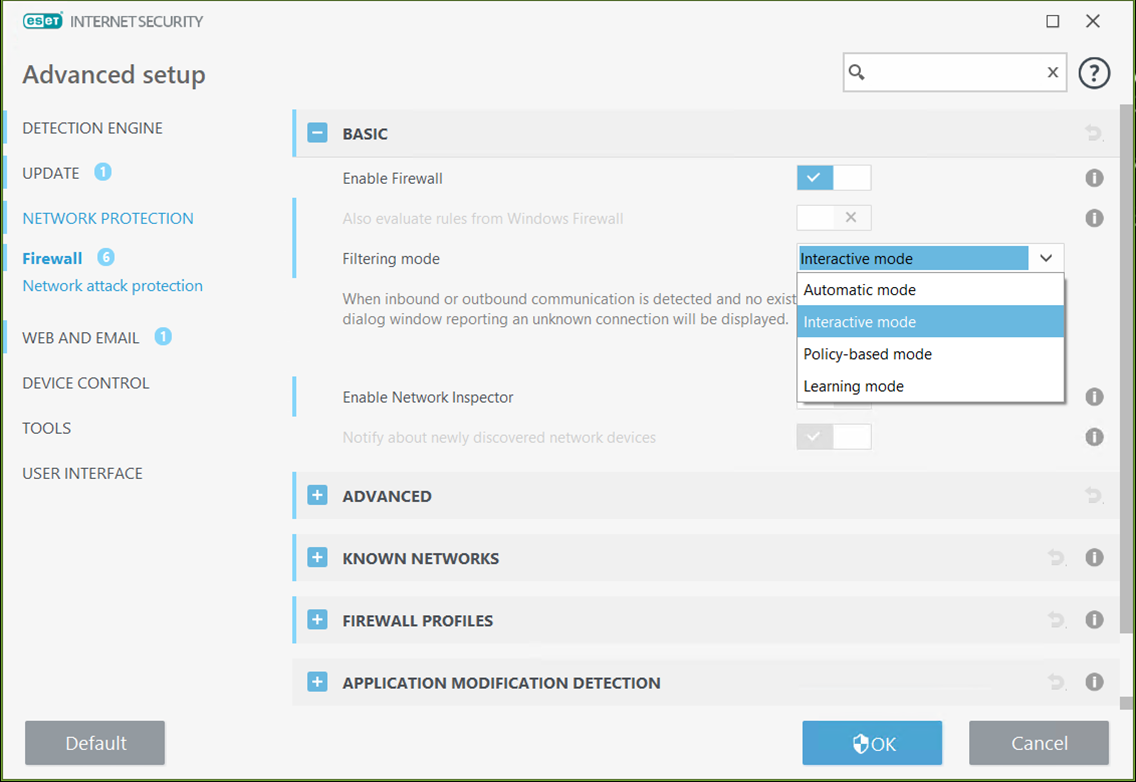
In Interactive mode, after you install the agent, ESET will prompt you to "allow" components it has detected. You can then review and refine the rules that are created.
IMPORTANT: Before remote deployment across the network, change the firewall filtering mode to Automatic mode.
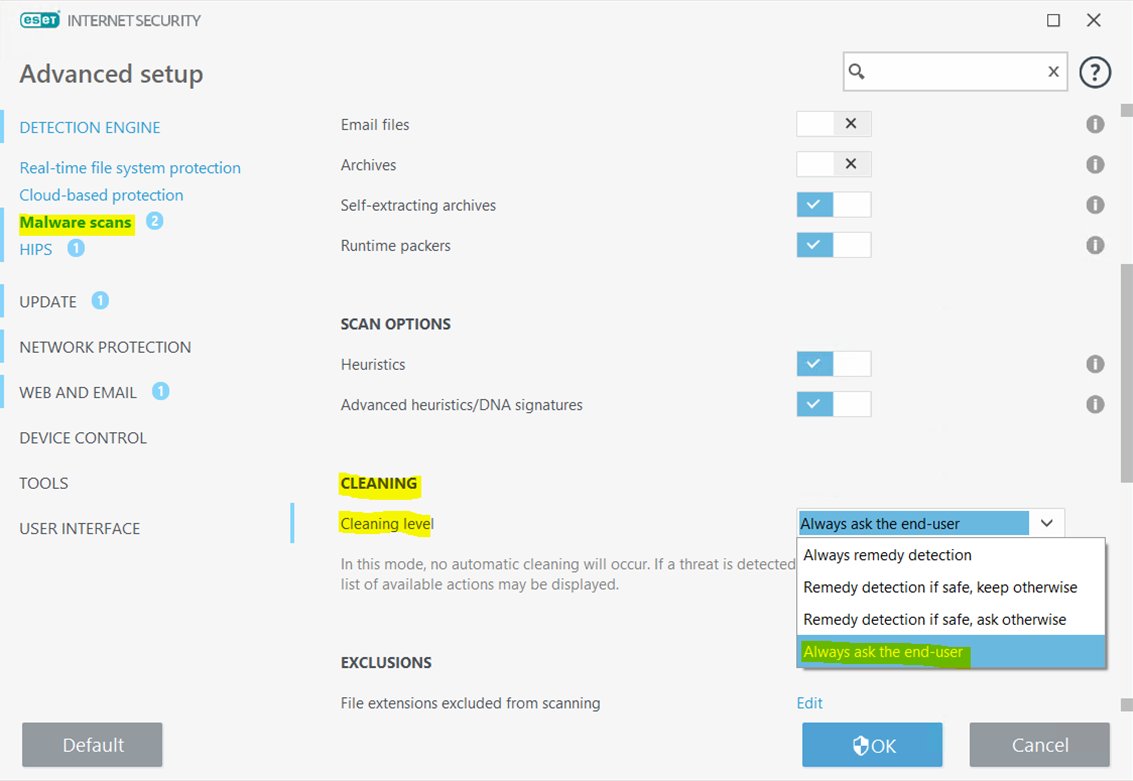
- Set Malware scans to "Always ask the end-user."
In Advanced Setup, select Detection Engine at the top left and Malware scans.
In the right pane, expand Cleaning level and change the setting to Always ask the end-user. This enables the prompts that will allow you to set malware exclusions if they arise during installation.
- Click OK to save your settings.
Add folder and file name exclusions
Adding exclusions will decrease the chance of ESET detections, making your job a little easier.
- In Setup > Advanced setup under Detection Engine, expand Exclusions.
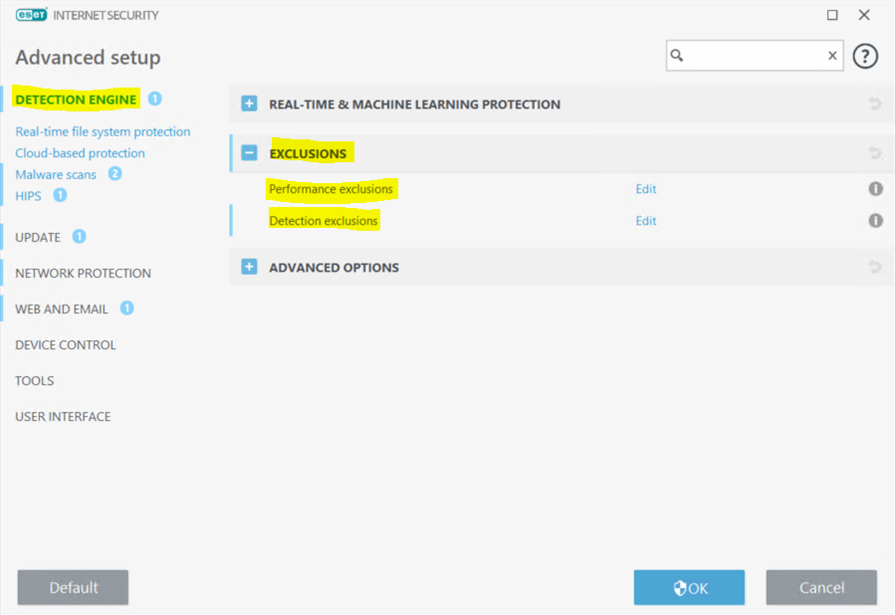
- Add Performance exclusions.
Next to Performance exclusions, press Edit.
Press Add to add each Veriato Agent folder:
C:\Windows\winipbin-install\*
C:\Windows\SysWOW64\winipdat\*
C:\Windows\System32\winipdat\*
C:\Windows\winipbin\*
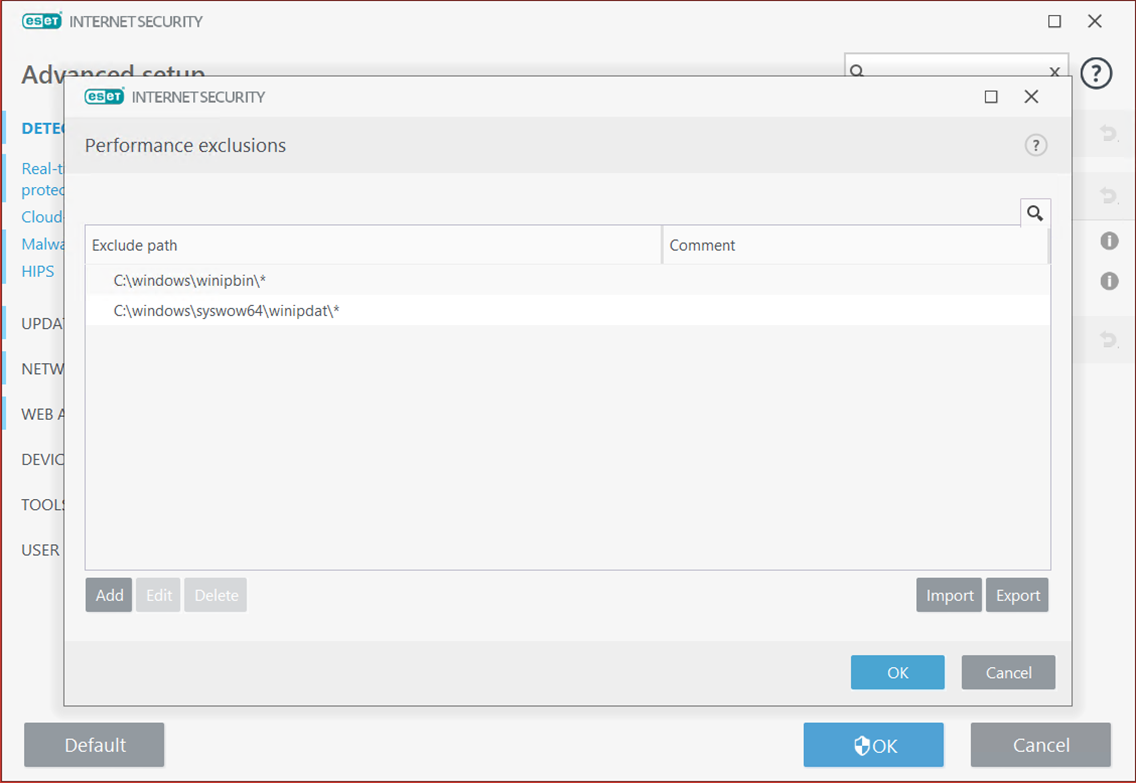
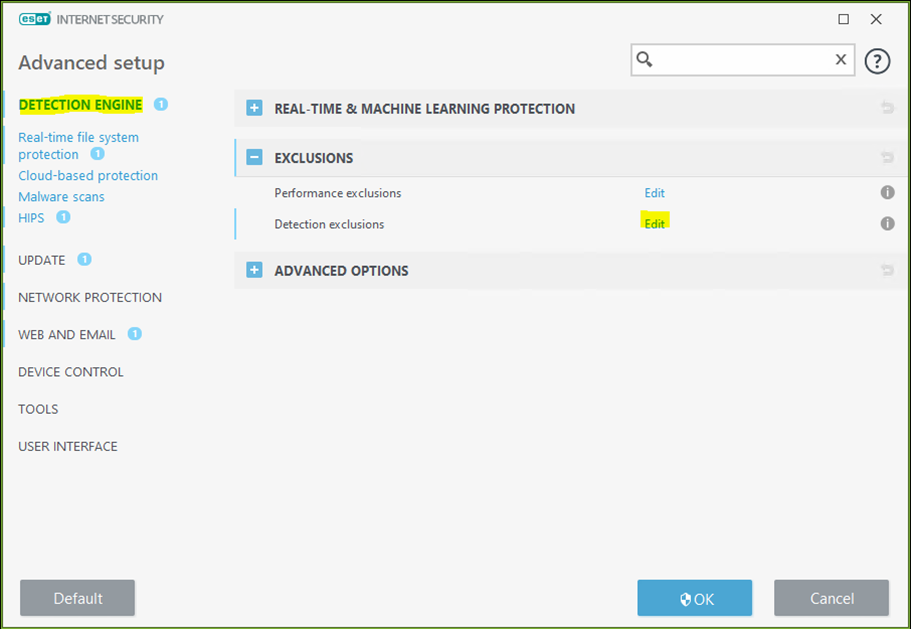
Press OK to return to Detection Engine exclusions. - Add Detection exclusions.
Next to Detection exclusions, press Edit.
Enter following agent folder exclusions:
C:\Windows\winipbin\*
C:\Windows\winipbin-install\*
C:\Windows\SysWOW64\winipdat\*
And add the following files that ESET may detect:
C:\Windows\winipbin-install\Admin.exe
C:\Windows\winipbin-install\InstallerService.exe
C:\Windows\winipbin-install\SPSetupWin.exe
C:\Windows\winipbin-install\Preinstaller.exe
C:\Windows\winipbin-install\spsetup.exe
C:\Windows\winipbin-install\spsetup64.exe
C:\Windows\winipbin-install\MSVxRsc.dll
C:\Windows\winipbin-install\SR_TmpRun.ini
C:\Windows\winipbin-install\bootstrap.exe
C:\Windows\winipbin-install\SDFMigrator.exe
C:\Windows\winipbin\SDFMigrator.exe
C:\Windows\Temp\winipbin-install\_msfile*.inf
C:\Windows\Temp\winipbin-install\ra.dll
C:\Windows\winipbin\mrstch.exe
C:\Windows\winipbin\mxcrsc32.exe
C:\Windows\winipbin\wlcnthr.exe
- Press OK to save changes and return to the Advanced Setup panel.
Add real-time processes exclusions
- Add Processes exclusions.
From the left column of Advanced Setup, select Real-time file system protection.
Under Processes exclusions, select Edit.
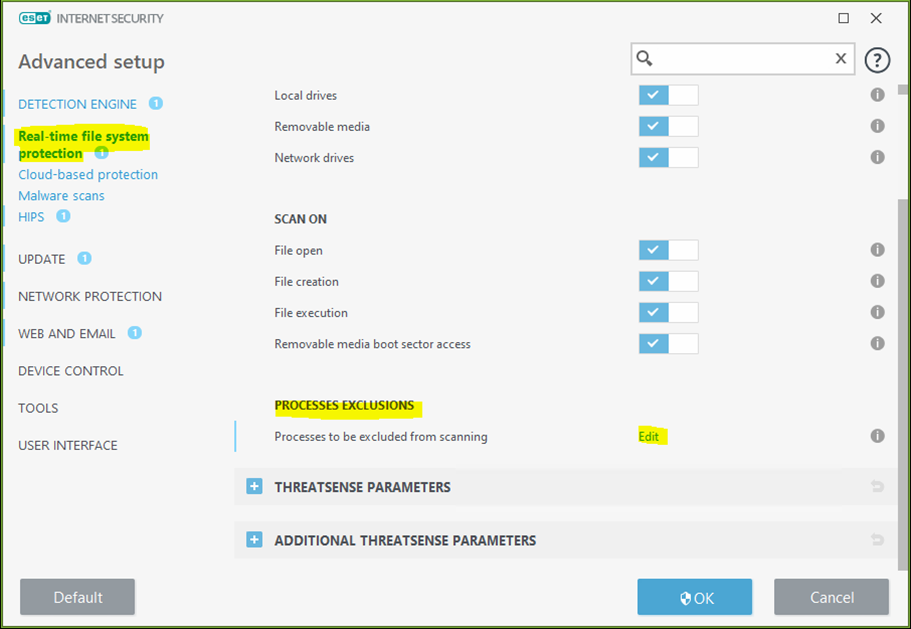
- Enter Veriato Agent .exe, .dll, and .ini files.
In the Processes exclusions panel, click Add to add the main executable files (see the list above) used during and after agent installation.
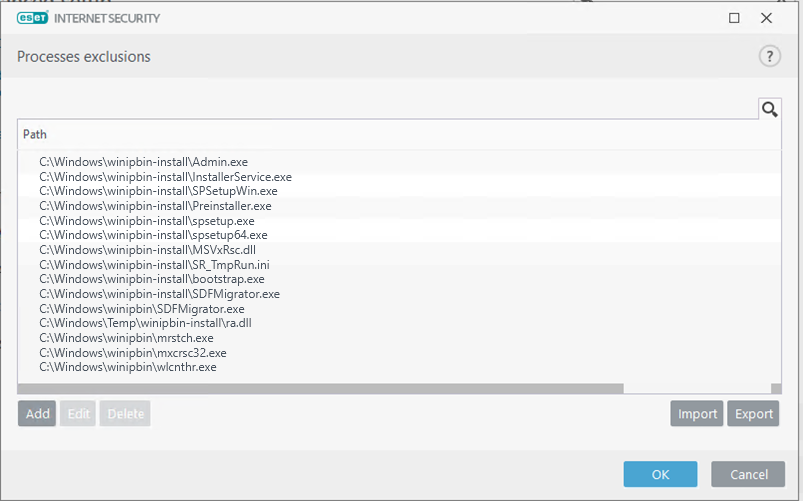
- Press OK to save changes and exit the control panel.
The settings above may prevent detection, but you have set up ESET to prompt you to add additional exclusions during or immediately following installation.
Install an agent and respond interactively
Install a test agent :
- Add file and processes exclusions as directed above (or with additional exclusions from the Client list).
- In our tests, remote installations were successful after disabling the Windows Firewall at the agent.
- Navigate to Control Panel > System and Security > Windows Defender Firewall.
- Select Turn Windows Firewall off in the right column.
In the next panel, select Turn off Windows Defender Firewall.
- Install the agent on a machine configured with the antivirus solution and allow the computer to restart.
- Respond to ESET prompts to add exclusions interactively (continue below).
Add exclusions interactively
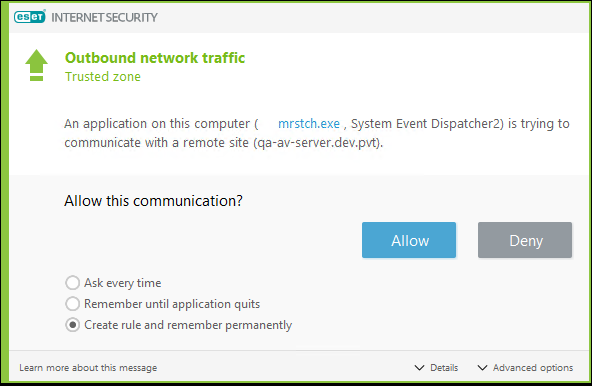
- When the ESET prompt appears, choose Create rule and remember permanently.
- Press Allow.
- Detection may still occur, but you (or the end user) will receive a prompt to add it to exclusion rules.
- Return to ESET Advanced Settings, to review your additional exclusions as shown above for the example "threat":
@Name-BH/MonitorVeriato.1@TYPE=ApplicUnwnt
- After the test is complete, change the ESET Advanced Setup > Network Protection > Firewall > Filtering mode to Automatic mode.
You are now ready to deploy the agent agent across the network.
Updated: 07/25/2024