Vipre Endpoint Security
Applies to: Agent version10.0.47390.40
To prevent the Veriato Agent from being scanned and detected by VIPRE Antivirus, disable VIPRE uring agent installation, and then configure the recommended exclusions following installation.
NOTE: Exclusions may have changed due to updates to the antivirus product or updates to the Veriato Server or Veriato Agent. Please review your existing exclusions, compare them to the lists in this document, and update them as necessary. Keep in mind that the native Windows Security (Microsoft Defender) at the endpoint may also interfere with installation. If you have trouble, submit a ticket to Veriato Support.
Add exclusions to VIPRE Endpoint Security
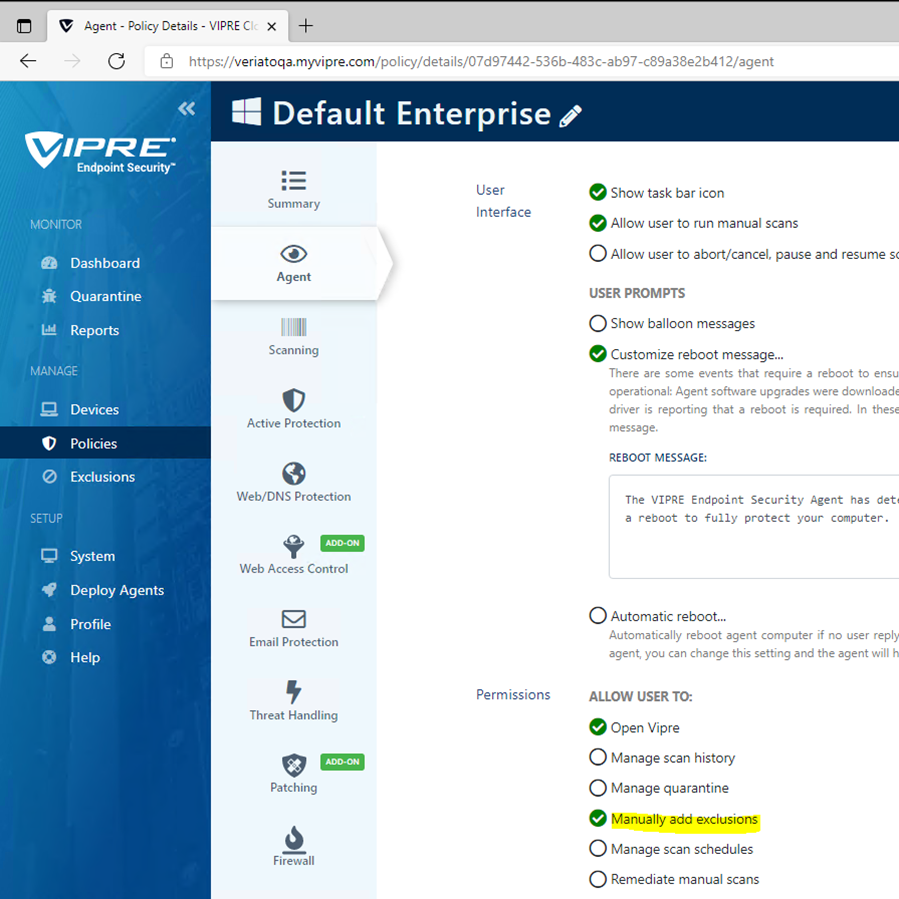
Before downloading and installing the Veriato server or deploying the Veriato Agent, open Vipre Webcontrol panel.
- Select Policies from the sidebar.
In the right pane, check Manually add exclusions.
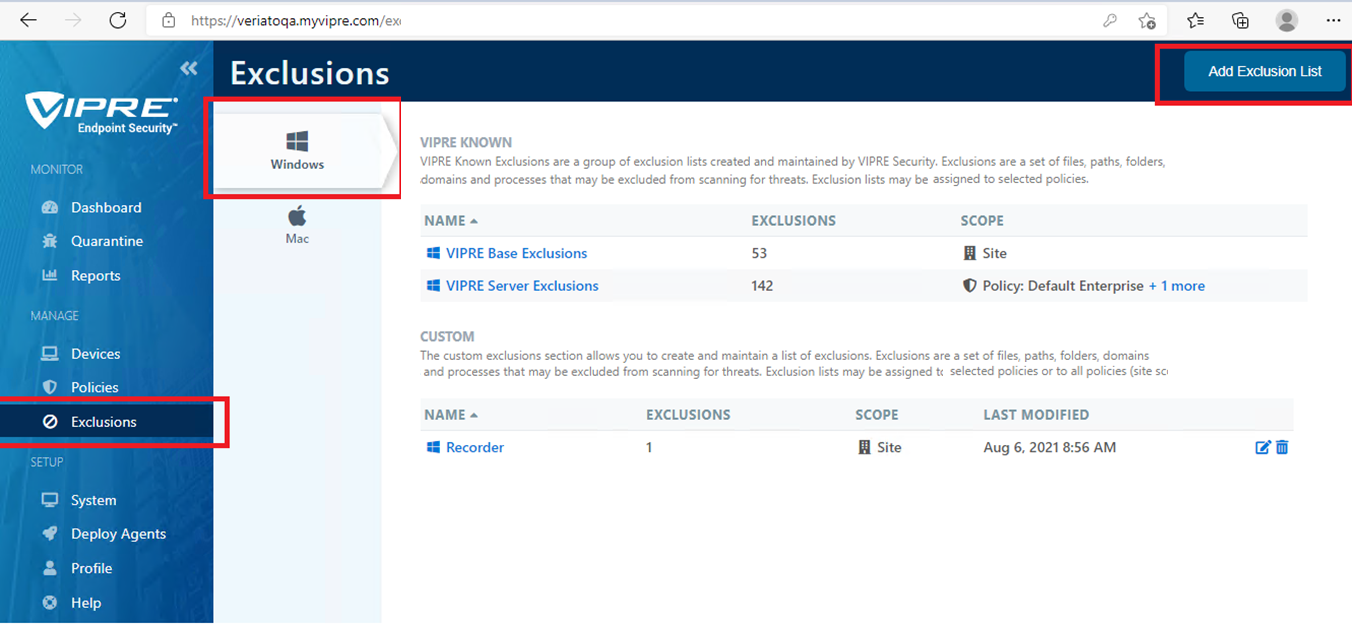
- Select Exclusions from the left sidebar.
In the right pane, select Windows.
At the right top corner, click Add Exclusion List.
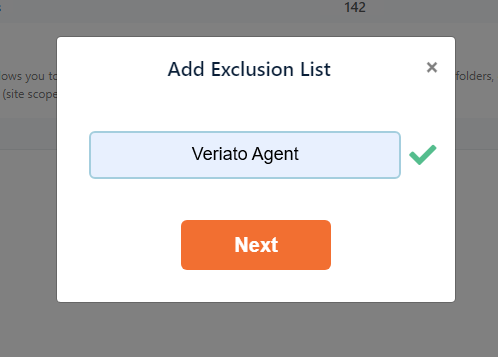
- Name the exclusion list.
For example, Veriato Agent. Press Next.
- On your new Exclusion List
press Add Exclusion in the upper right corner.
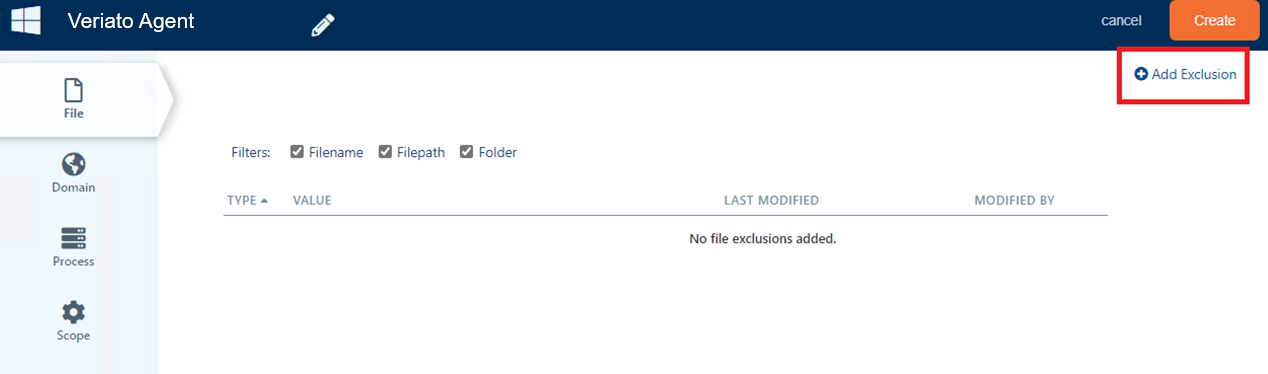
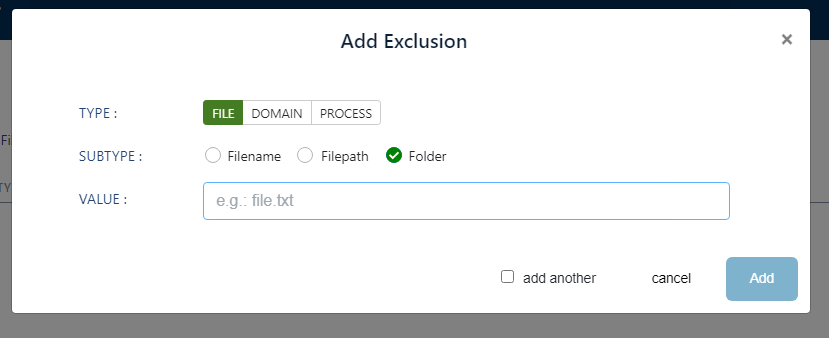
- For the first folder exclusion:
Select Type FILE.
Select Subtype folder.
For Value, enter or copy and paste the first folder below.
C:\Windows\SysWOW64\winipdat
C:\Windows\System32\winipdat
C:\Windows\winipbin-install
C:\Windows\winipbin - Check add another.
Press Add. Continue "adding another" folder.
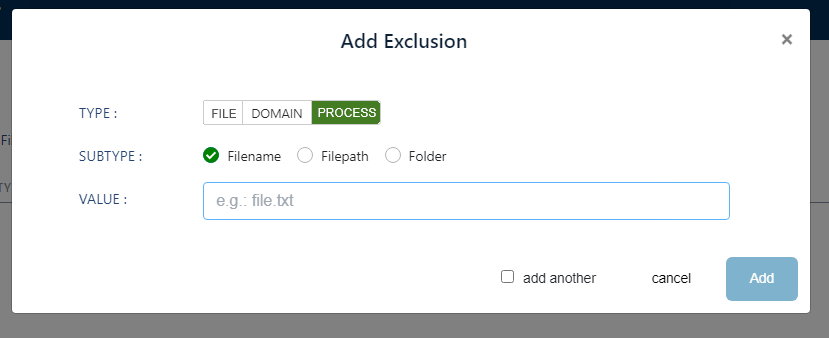
- When all folder exclusions are entered:
Select Type PROCESS.
Select Subtype Filename.
For Value, enter or copy and paste the first file path below.
C:\Windows\winipbin-install\Admin.exe
C:\Windows\winipbin-install\bootstrap.exe
C:\Windows\winipbin-install\SPSetupWin.exe
C:\Windows\winipbin-install\Preinstaller.exe
C:\Windows\winipbin-install\spsetup.exe
C:\Windows\winipbin-install\spsetup64.exe
C:\Windows\winipbin-install\Admin.exe
C:\Windows\winipbin-install\MSVxRsc.dll
C:\Windows\winipbin-install\SPSetupWin.exe
C:\Windows\winipbin-install\SPSetup64.exe
C:\Windows\winipbin-install\spsetup.exe
C:\Windows\winipbin-install\ra.dll
C:\Windows\winipbin-install\SDFMigrator.exe
C:\Windows\winipbin\SDFMigrator.exe
C:\Windows\winipbin\mrstch.exe
C:\Windows\winipbin\mxcrsc32.exe
C:\Windows\winipbin\wlcnthr.exe
C:\Users\*\Downloads\VisionInstaller.exe
C:\Users\*\Downloads\VisionInstaller_Auto-Reboot-Disabled.exe
C:\Windows\SysWOW64\Uninstaller.exe
C:\Users\*\Downloads\uninstall64.exe
Complete the setup
- Deploy an agent to a test machine configured with the antivirus solution.
- If there is no detection, you are ready to deploy the agent to the network.
Updated: 07/25/2024