Microsoft Defender Exclusion Guide
Applies to: Agent version10.0.47390.40
As part of the Microsoft Security suite on Windows operating systems, Windows Defender (Virus & threat protection) may detect a Vision Agent and quarantine files as a "threat." If Microsoft Security Virus & threat protection is active, you can prevent interference with downloading and installing the Agent by following these instructions. We recommend installing on a test machine before deploying to the network.
NOTE: We cannot guarantee our instructions are compatible with your updated program. Always check the Help for an antivirus program if you have questions. Be sure to re-enable any firewalls or scanning that you disable during installation once the agent is successfully installed.
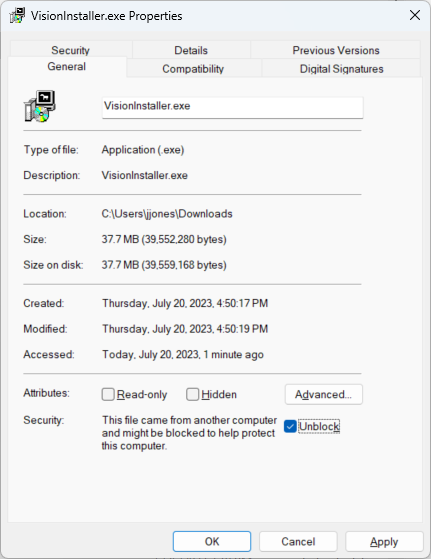
- Unblock the installer file.
Before delivering the VisionInstaller.exe or .msi file to an endpoint device, right-click on the file and select Properties. Check Unblock (if the checkbox appears) at the bottom of the General panel. You can use the same "unblocked" file at each Windows endpoint.
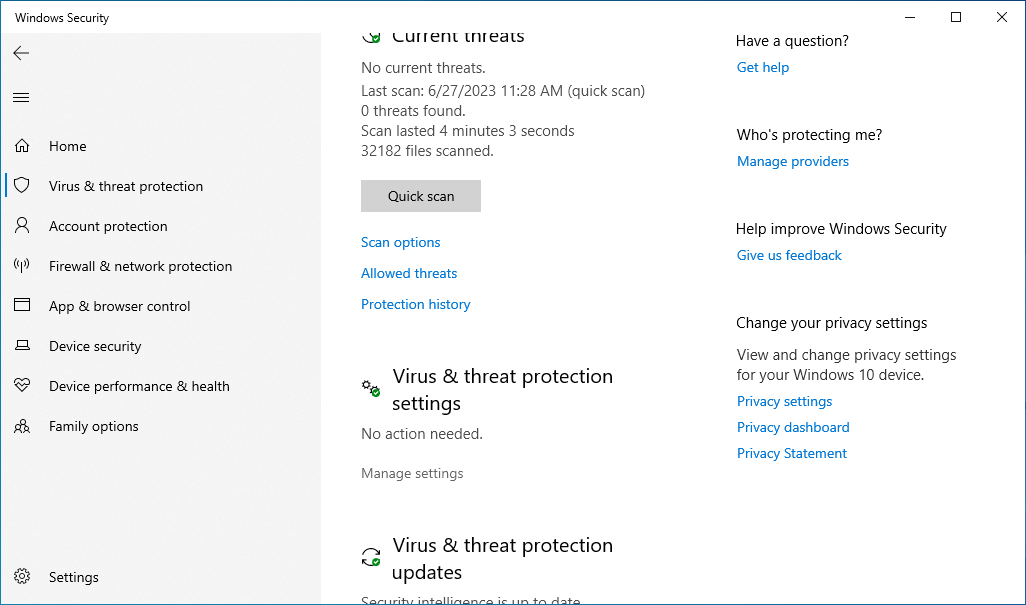
- Log in as Administrator and open Windows Security.
Your organization may control who can change these settings.
Select Virus & threat protection from the left menu, and click on Manage settings under "Virus & threat protection settings."
NOTE: Test a remote install, if you plan to use it. You may need to temporarily disable the Microsoft Firewalls in order to deploy the Agent over a network.
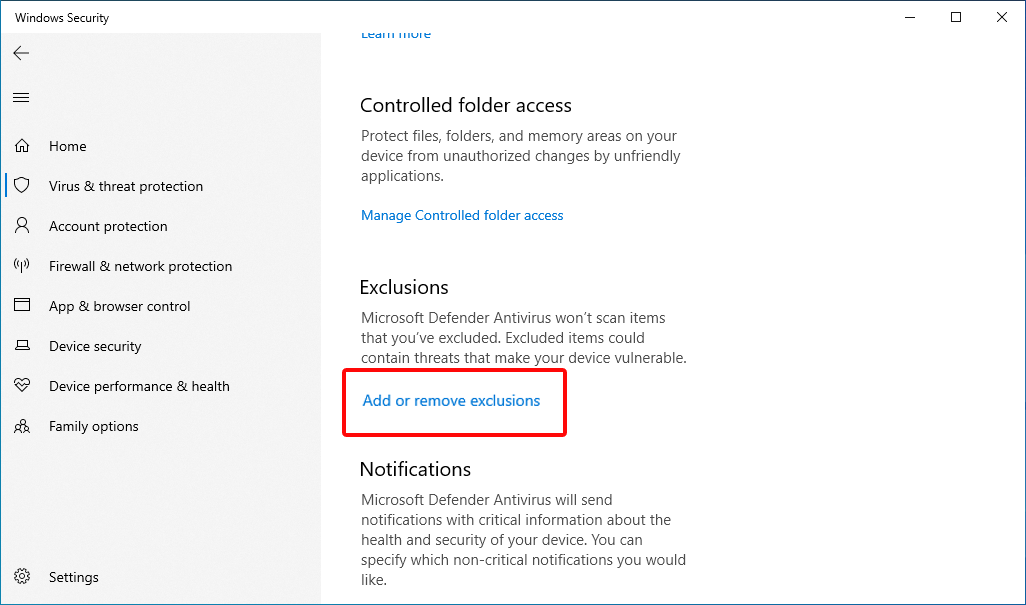
- Select Add or remove exclusions.
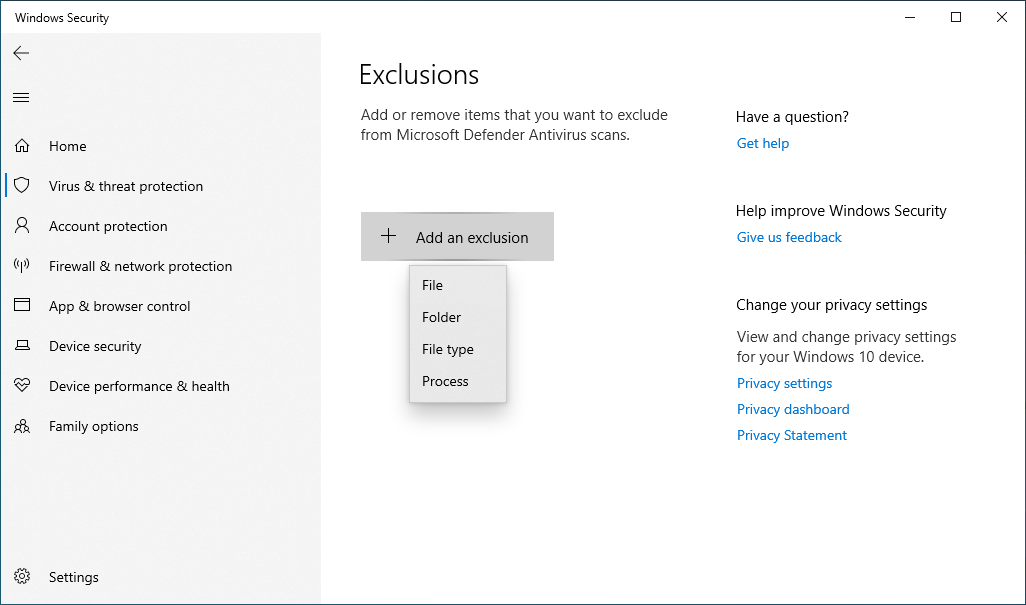
- Start by excluding processes.
Open the Add an exclusion menu and select Process. Windows Security allows you to enter process names that do not yet exist on the system.
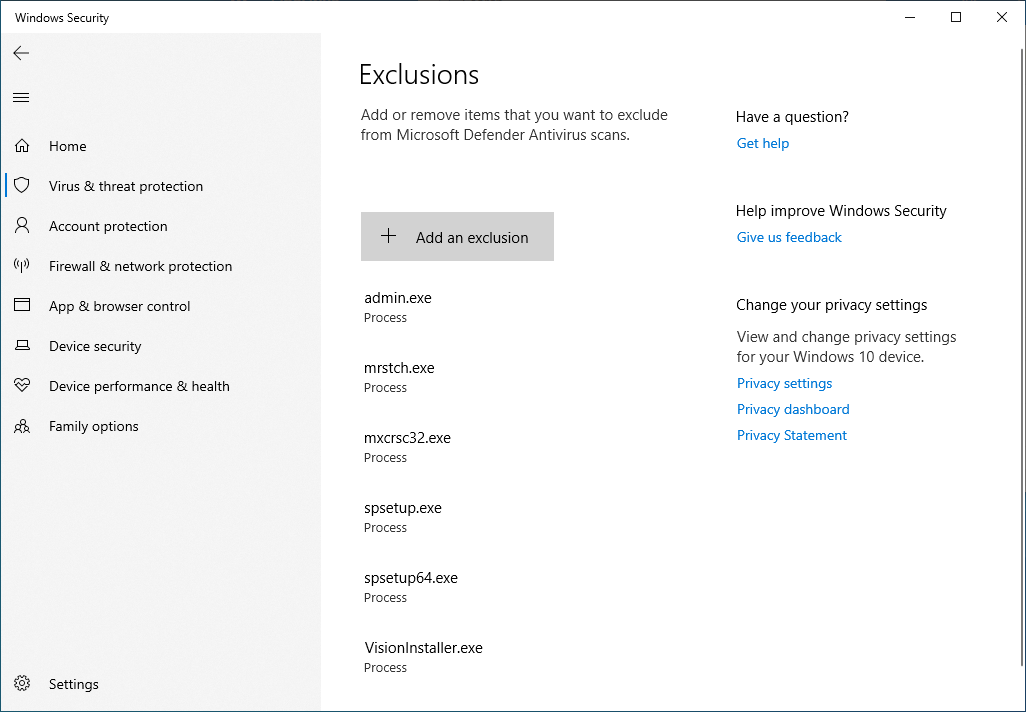
Enter the Vision processes one at a time.
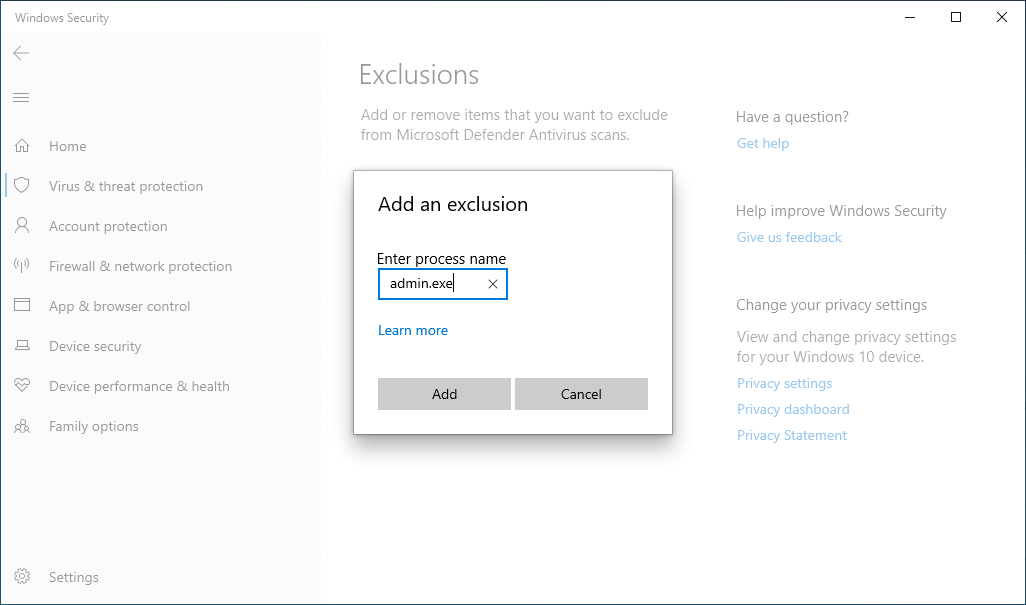
Processes to enter are:
admin.exe
mrstch.exe
mxcrsc32.exe
spsetup.exe
spsetup64.exe
VisionInstaller.exe
or VisionInstaller.msi
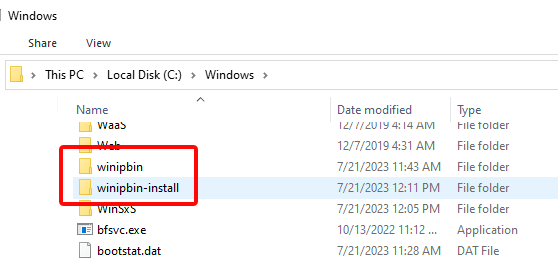
- Create the agent folders.
Windows Security allows you to exclude folders only by selecting ones that exist Because the folders you need to exclude don't exist yet, create them in Windows (requires elevated permissions.) Creating these folders does not affect the installation:
C:\Windows\winipbin
C:\Windows\winipbin-install
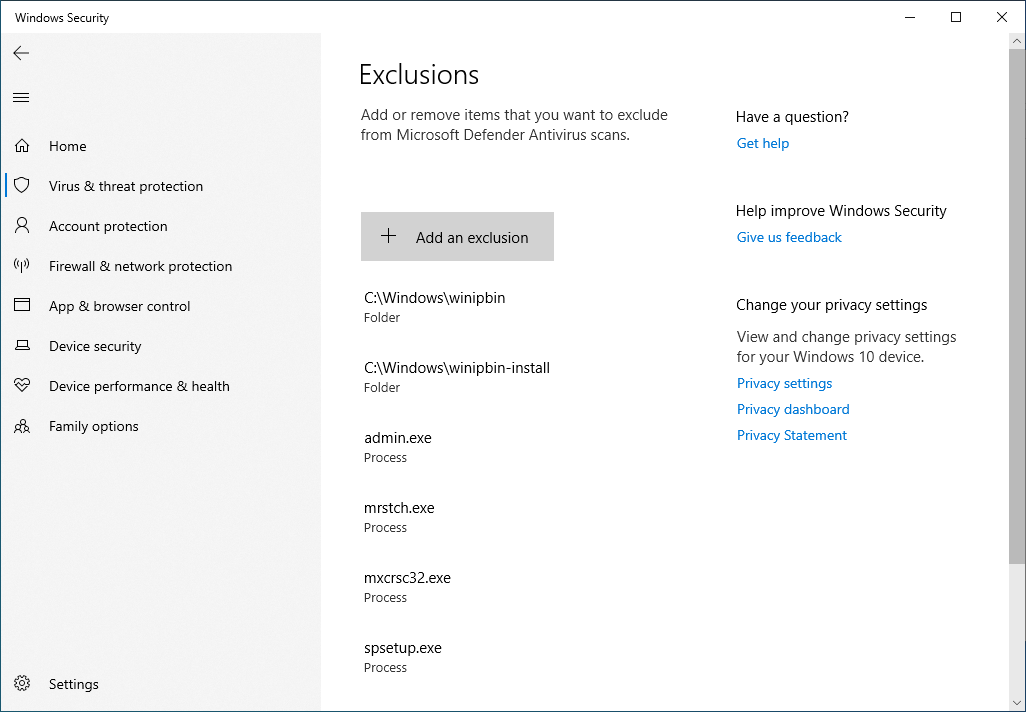
- Return to Windows Security and exclude these folders.
Select Add an exclusion again, this time selecting Folder from the dropdown.
Browse to and select one folder, and then browse to and select the next. Your exclusions are now complete.
- Download and run the VisionInstaller file.
If the installer file is unblocked and the process is excluded, there should be no interference. Double-click the file to run the installation. After a few seconds, the device restarts. You can check the (now hidden) winipbin folder by accessing \\localhost\C$\Windows. - The device should appear in Admin > Endpoint Agents.
The agent immediately attempts to contact the server. When an end user logs in, move them to a licensed Group to begin capturing activity.
If you experience additional difficulty with Windows Security / Microsoft Defender, contact Support.
Updated: 07/25/2024