SAML Configuration
Adminstrators Only
Contact Support if you would like to use this feature. Single sign-on (SSO) is a session and user authentication service that permits a user to use one set of login credentials (username and password) to access multiple applications. SSO is based on a trust relationship set up between an application, known as the service provider, and an Identity Provider (IdP), such as OneLogin. Security Assertion Markup Language (SAML) is the method used to provide single sign-on authentication to applications.
NOTE: Add other Interguard login accounts AFTER configuring SAML .
Register and login to Interguard
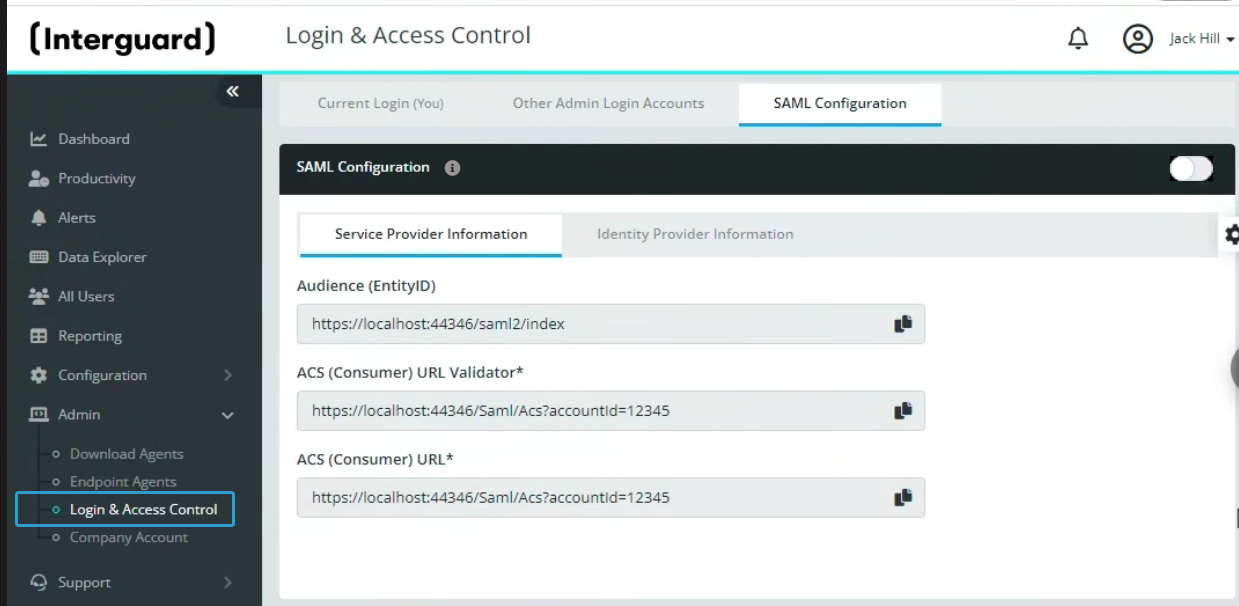
Register (if necessary) and login as an Administrator-user in Interguard. Once your account is set up, the Service Provider Information required to set up Interguard as an application in your IdP is provided in Admin | Login & Access Control - SAML Configuration. Because you will be copying information back and forth between Interguard and the IdP (OneLogin for this article), keep this window open.
The values in your SAML Configuration page will be different.
Set up the Interguard application in your IdP (OneLogin)Set up the Interguard application in your IdP (OneLogin)
- Login to your Identity Provider (IdP) account. This example is based on OneLogin.
- Go to Applications.
- Click the Add App button.
- Search for “custom connector” app.
- Select the “SAML Custom Connector (Advanced)” app

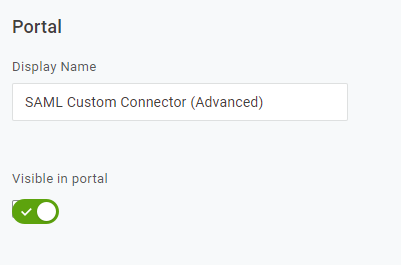
- Enter a Display Name for this configuration and click the Save button.
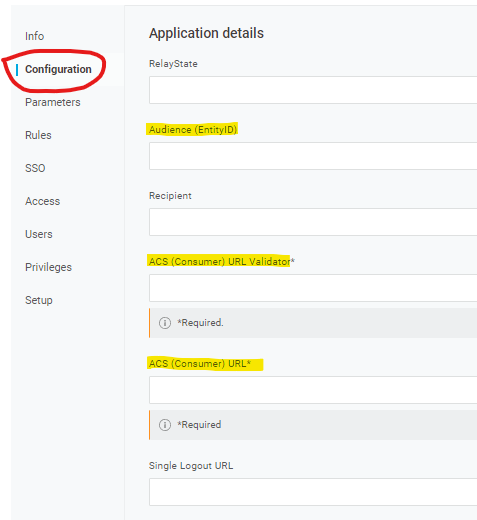
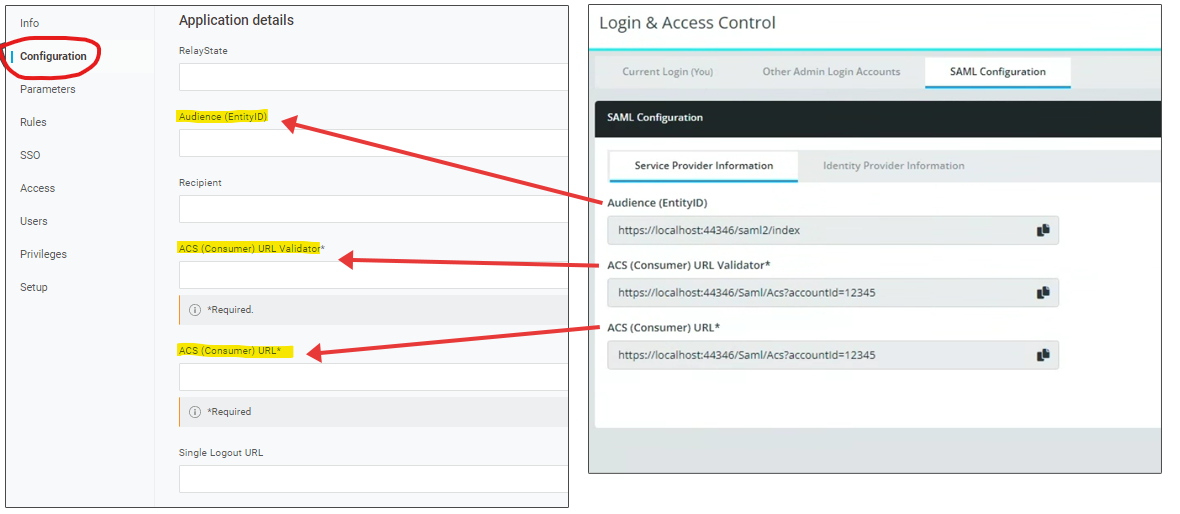
- Select the Configuration tab. Find the information highlighted below in your Interguard SAML Configuration page, Copy and paste the entries from Interguard into the matching fields here.
- Audience (EntityID) - Your Interguard account identifier.
- ACS (Consumer) URL Validator - The Assertion Consumer Service (ACS) URL Validator where the IdP sends SAML responses.
- ACS (Consumer) URL - The Assertion Consumer Service URL where Interguard processes the request (e.g. https://app.interguardsoftware.com/saml/post).
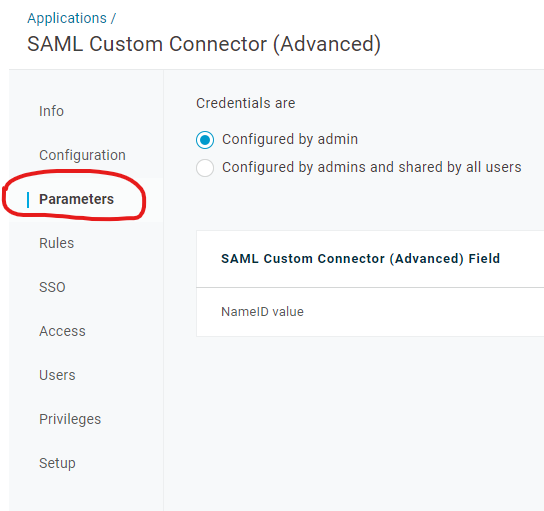
- Select the Parameters tab. Select Configured by admin.
Set up the least required parameters for logging into Interguard: First Name, Last Name, Company Email.
Provide the IdP (OneLogin) information to InterguardProvide the IdP (OneLogin) information to Interguard
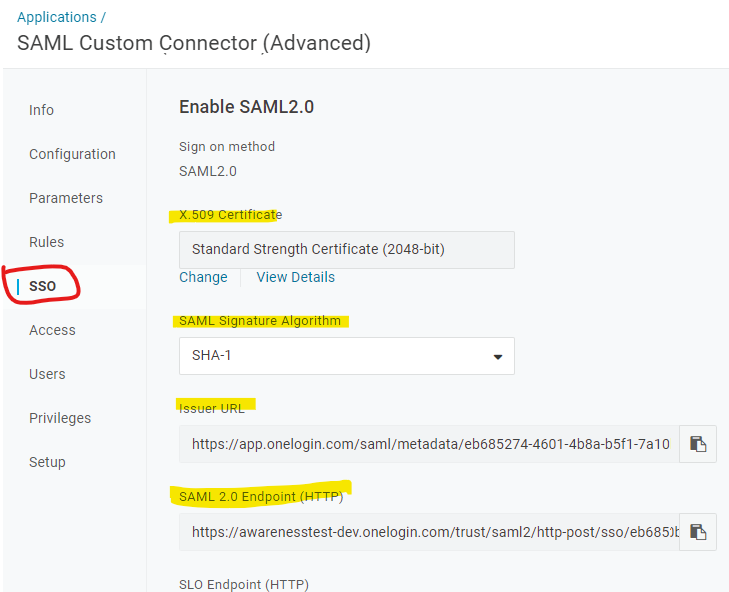
- Continuing in OneLogin, select the SSO tab.
For the certificate, use Standard Strength Certificate (2048-bit)
For SAML Signature Algoright, use SHA-1.
The Issuer URL and SAML Endpoint contain links you need to add to Interguard.
- In Interguard, select the Identify Provider Information tab.
Copy and paste the Issuer URL from the IdP into the matching field here.
Copy and paste the SAML 2.0 Endpoint (HTTP) from the IdP nto the second field.
In the IdP, under X.509 Certificate, select View Details. Copy the certificate and paste it into the Interguard X.509 Certificate field.
Press Save and switch ON the SAML Configuration toggle.
Add Interguard admin usersAdd Interguard admin users
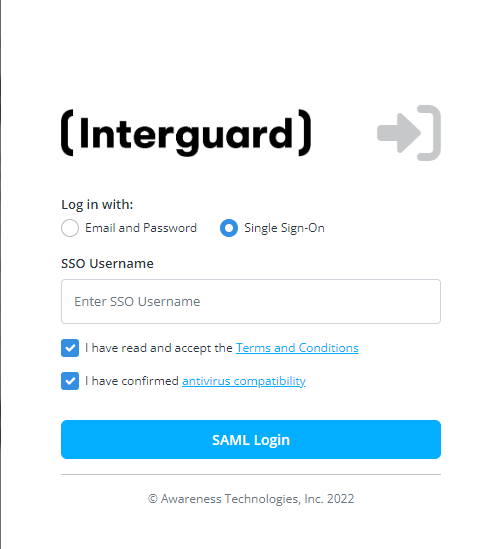
After adding users as described in Admin Logins, each user should have the choice to use Single Sign-on.
Updated: 08/16/2022