Android Agent Installation
Administrators and Managers
The latest Android OS Agent supports recording of most mobile activity and provides Interguard alerts. Refer to Android Agent Support. Keep these points in mind:
- User and Device Names match.
An Android user takes the same name as his/her device, and, like other users, first shows up in the "Unassigned" group. - All Android recording is ON.
The Android Agent obeys only screenshot ON/OFF and interval settings as set in the assigned Recording Policy.
Download the Android Agent installer file
Log into the Interguard on your computer or from an Android device.
- Select Admin | Download Agents.
The Add Agents wizard opens. Select Android.

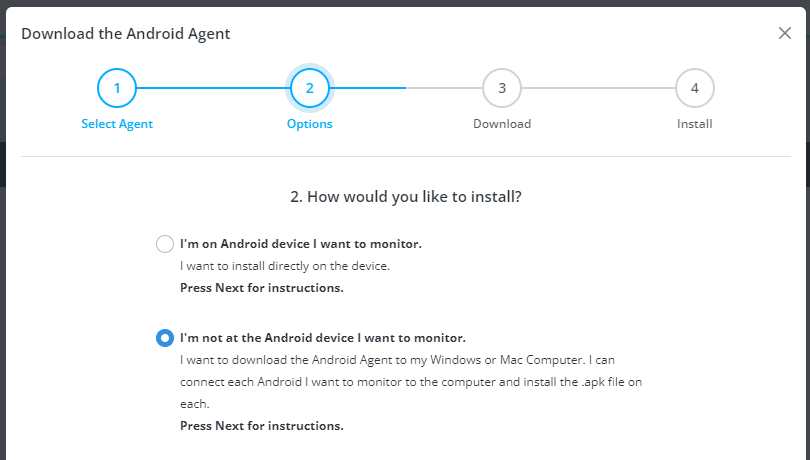
- Options
- I'm on the Android device I want to monitor.
You can download directly to the Android device and begin the installation process. - I'm not at the Android device I want to monitor.
You can download the Android Agent installer file to your computer to deliver to Android devices. Press Next.
- I'm on the Android device I want to monitor.
- Download. Press the Download button.
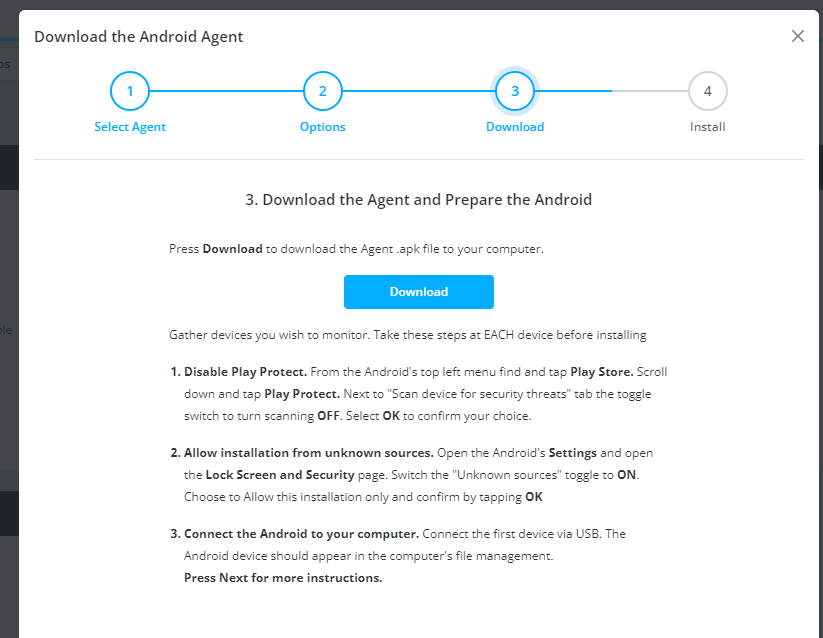
- Prepare for installation.
If you are NOT already managing Androids through a UEM (Google Enterprise, Microsoft Intune, Blackberry, etc.), review the steps below to prepare Android devices to receive the downloaded file. If you are using a UEM, follow your management system's procedures for adding the downloaded .apk file to device policies.
Prepare Android devices for installation
If you plan to install directly the Agent directly on the Android device, take these steps BEFORE attempting to run the Android Agent Installer.
- Name the device, if necessary.
Make sure the device has a recognizable name.
Access Settings | About Device | Device Name.
Enter (or verify) the name for this device and press Done. - Disable Play Protect.
From the Android's top left menu find and tap Play Store.
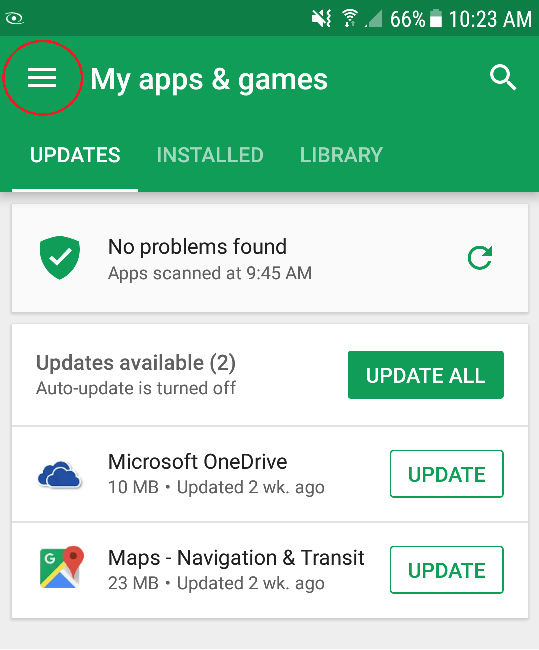
Scroll down and tap Play Protect.
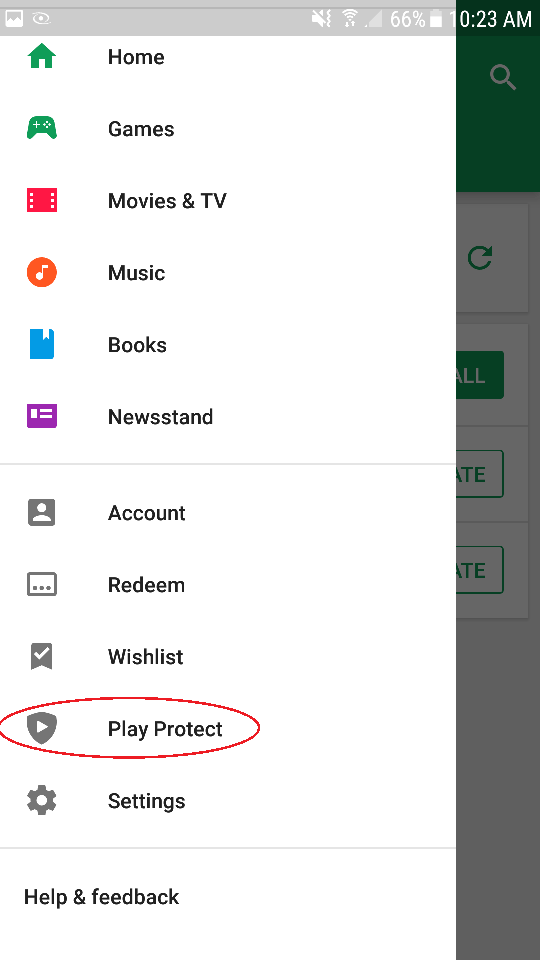
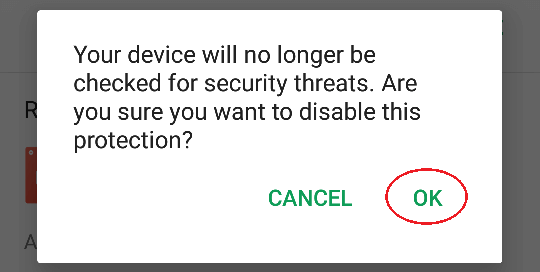
Next to "Scan device for security threats" tab the toggle switch to turn scanning OFF.
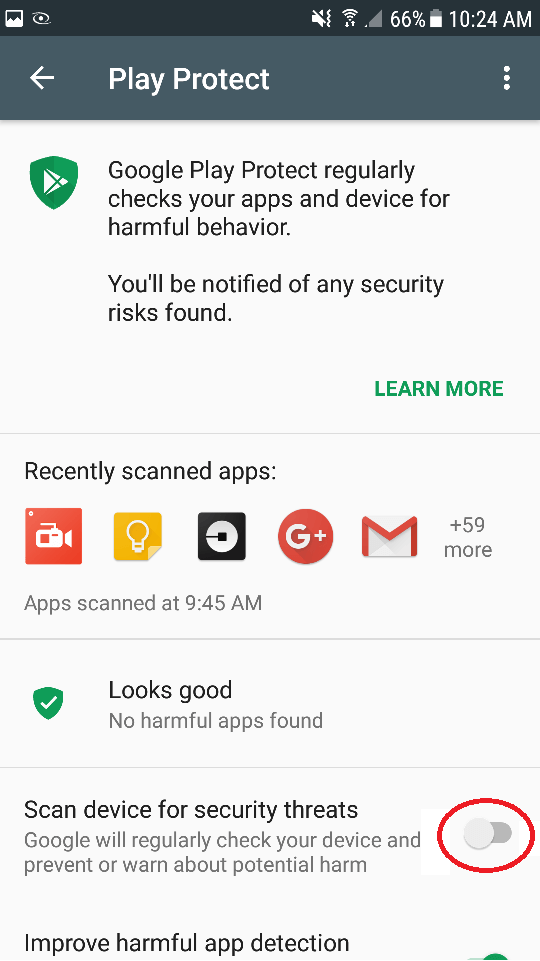
Select OK to confirm your choice. The device should say "Full scanning turned off. Only Play Store apps will be checked."
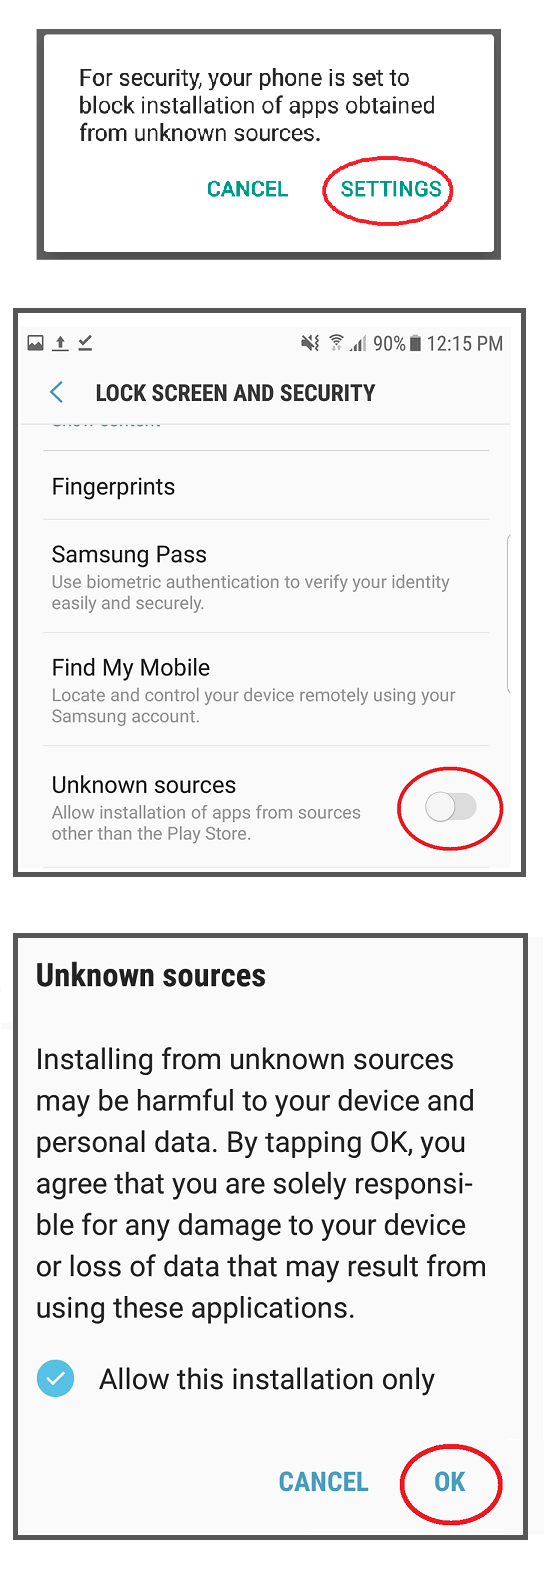
- Allow installation from unknown sources.
Open the Android's Settings and open the Lock Screen and Security page.
Switch the "Unknown sources" toggle to ON.
Choose to Allow this installation only and confirm by tapping OK.
- When the Android Agent is fully installed and configured:
Return to the device Settings and switch OFF Unknown sources.
Return to the Google Play Store and switch ON "Scan device for security threats."
Install on an Android device
Login to Interguard from a browser on the Android mobile device or sideload the installer file from your computer.
- Download: From the Add Agents wizard, tap Download. An *.apk file is downloaded.
Sideload: Download the *.apk Android Agent installer to your computer. Attach the Android device directly to your computer. Copy the downloaded file to the device.
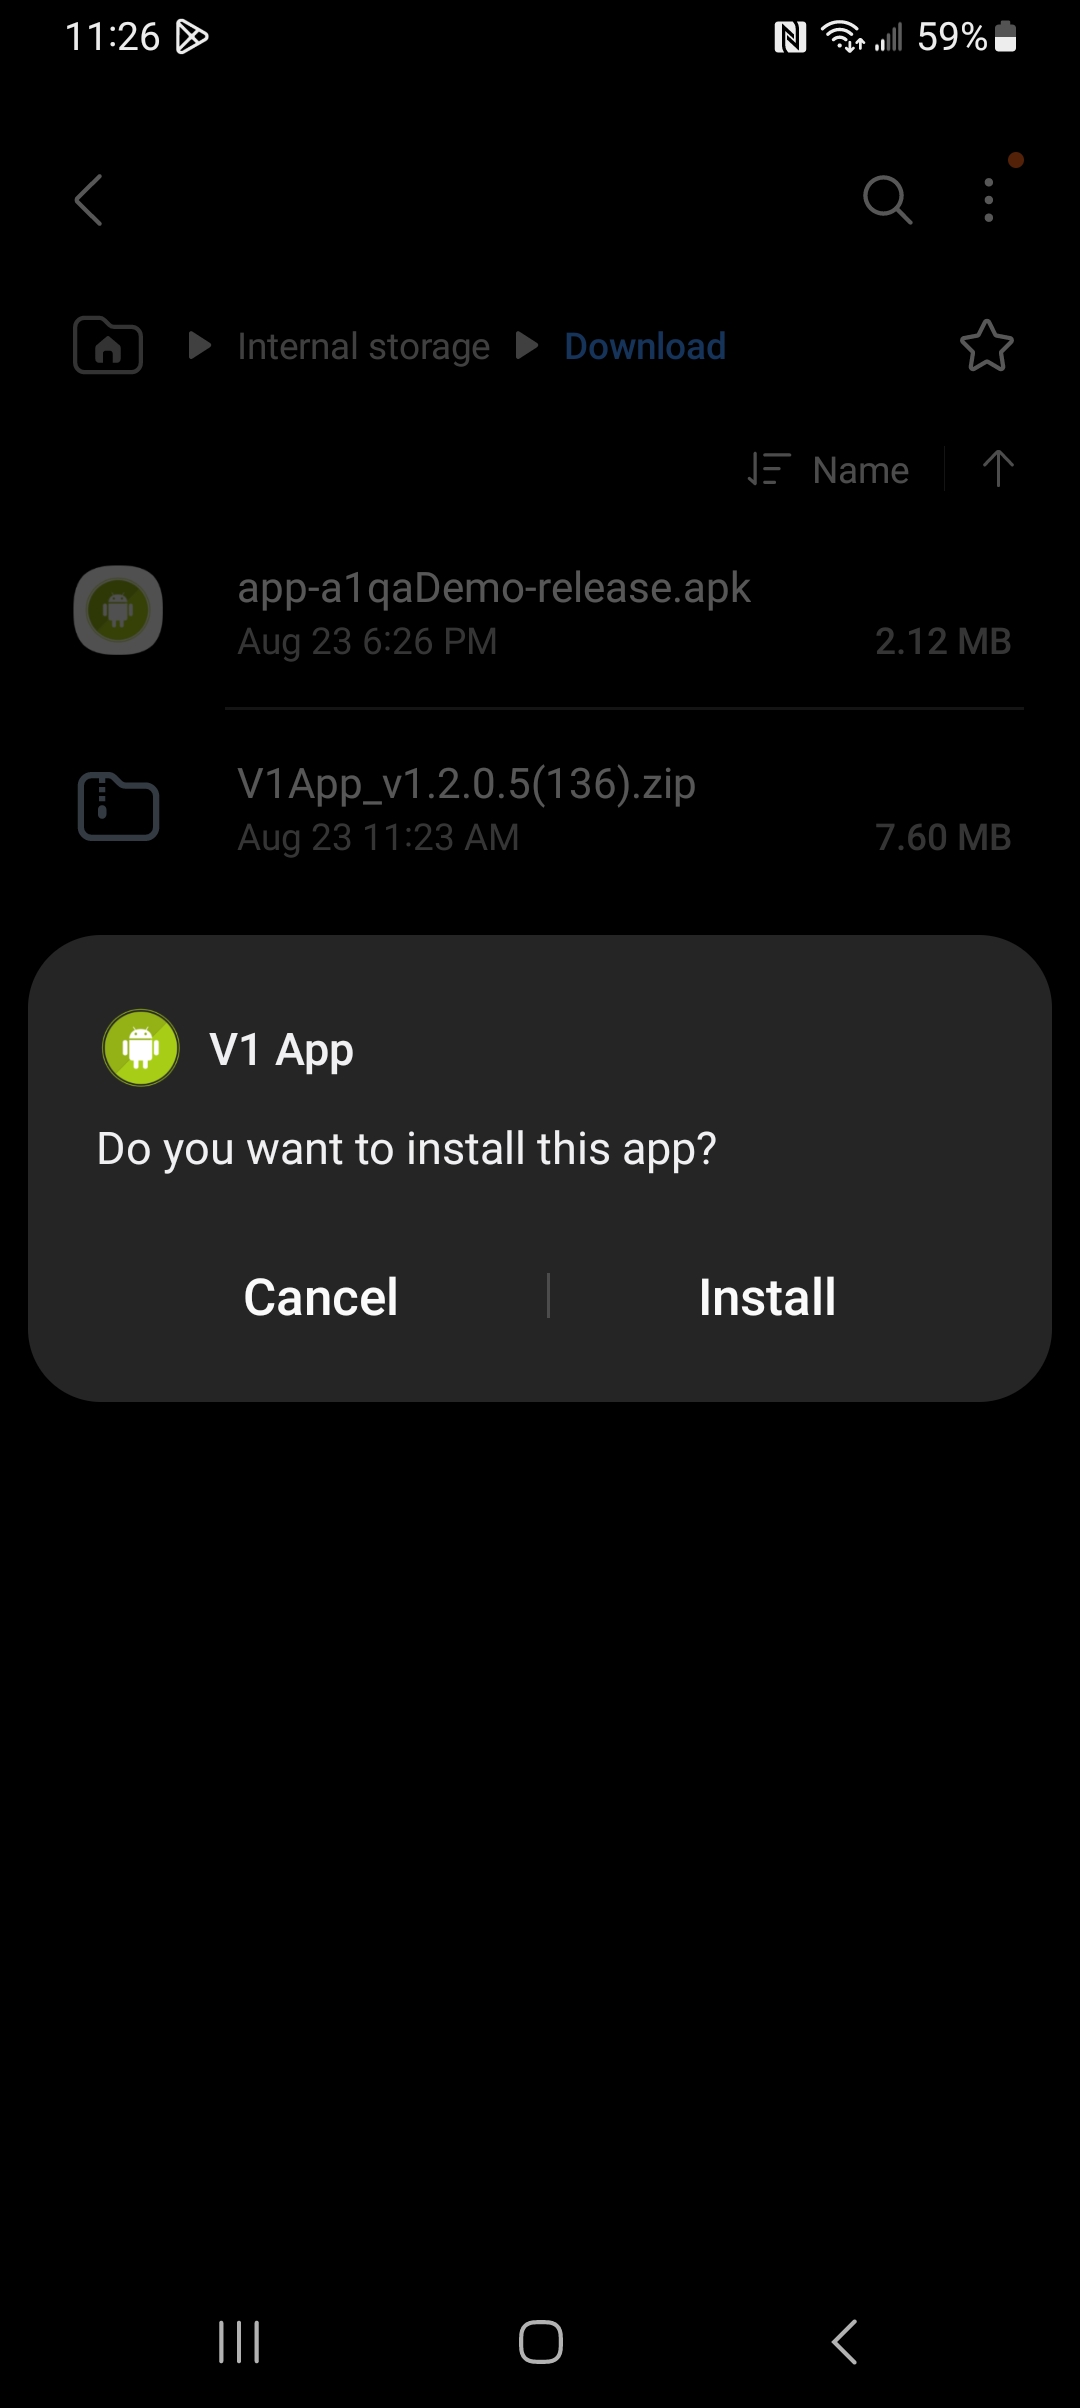
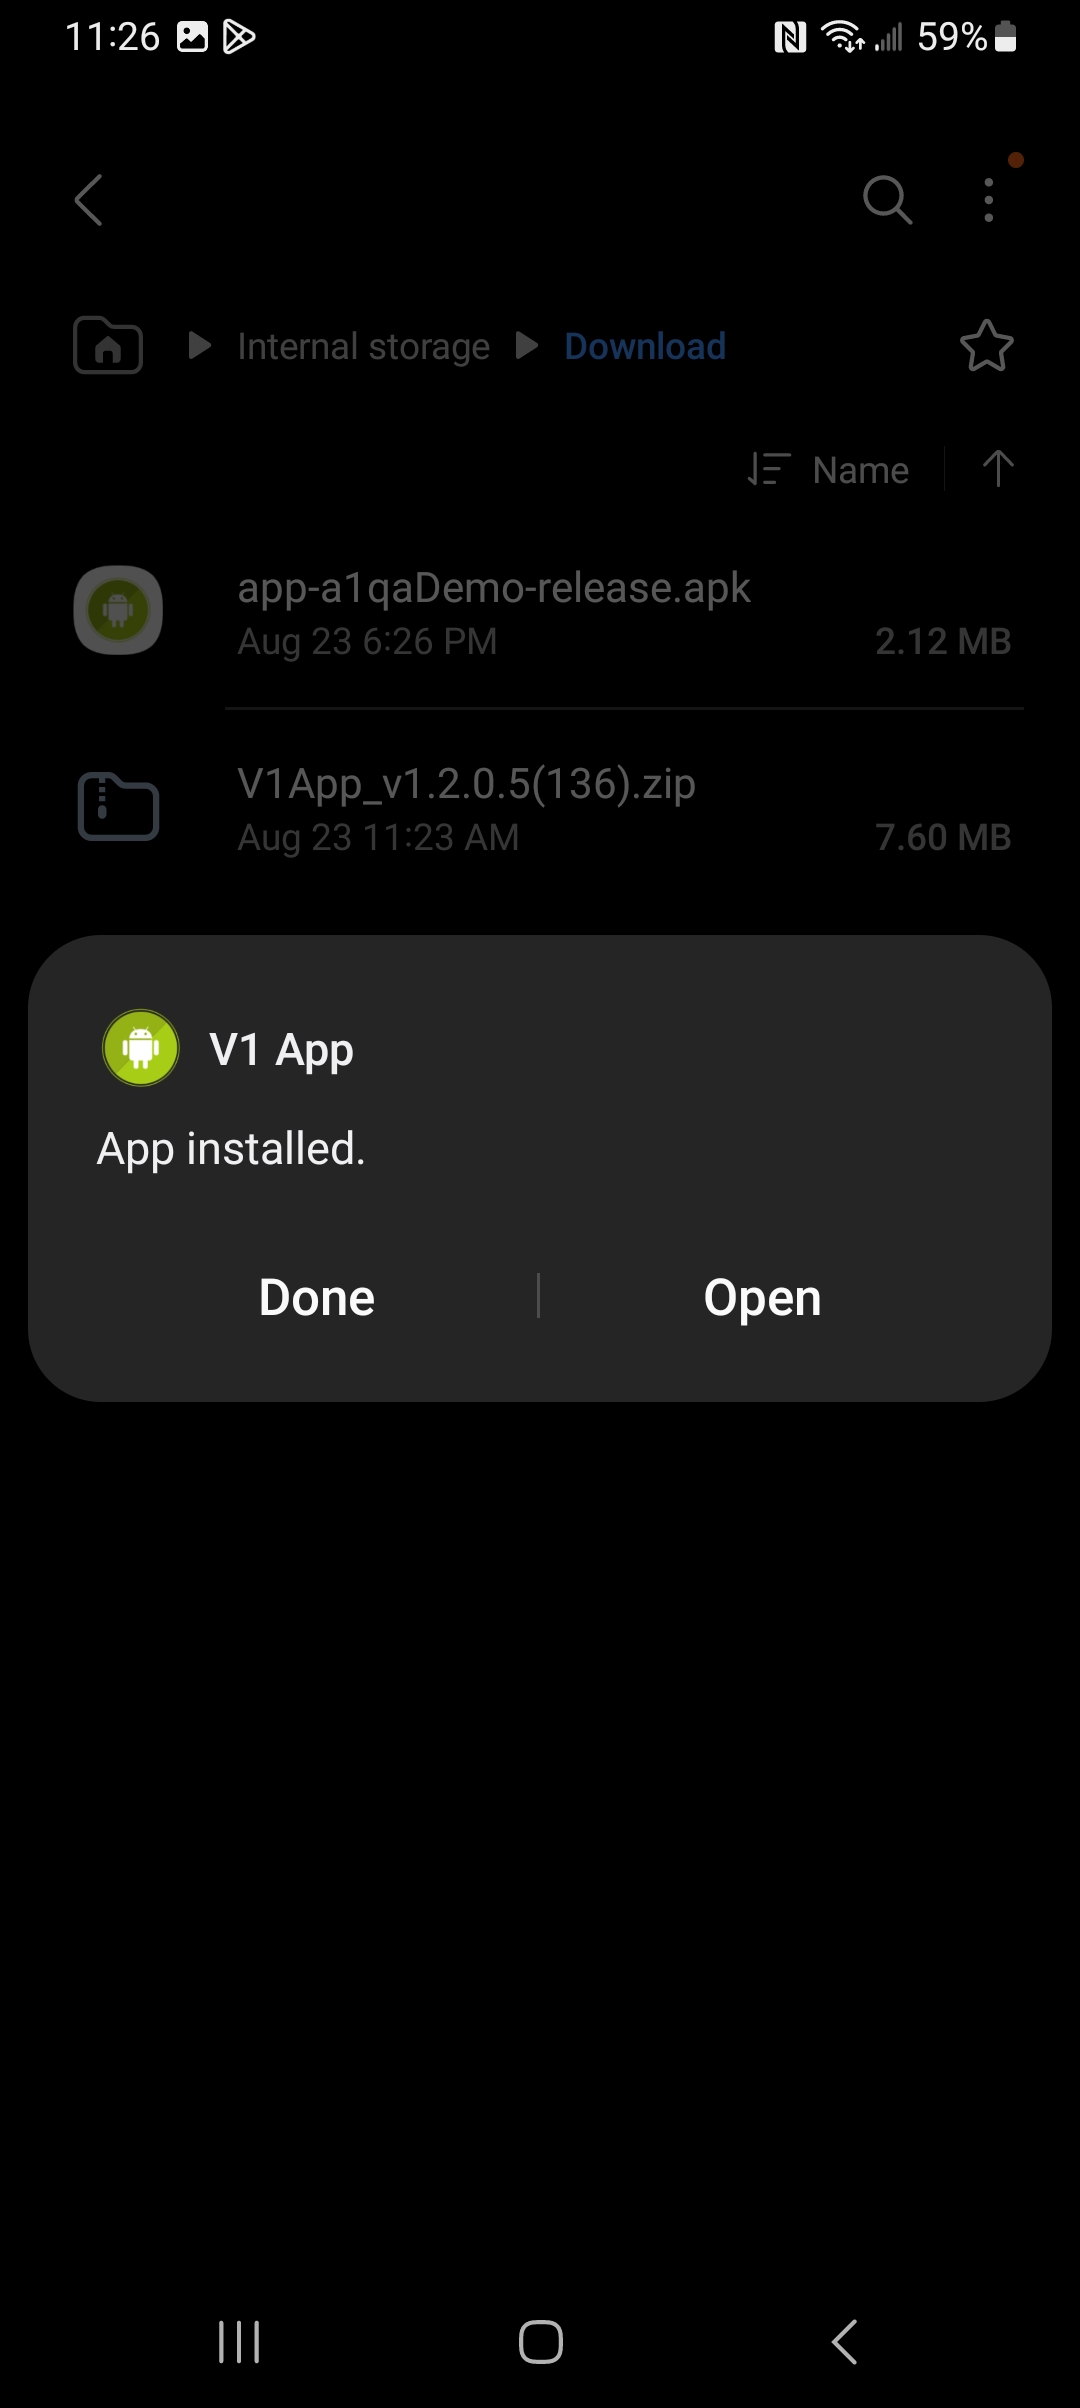
In the mobile device, navigate to the Download directory and tap the V1 App file. - Install. When you are prompted to install the V1 App. Select Install.
When you see "App installed," tap Open. (Do not tap Done!)
- Register the device and log in.
Enter a device name you will be able to recognize as belonging to its user; for example, "Bill's Android" or "marketing-east-bwilson." Enter your Interguard app login credentials to register this device to your account.
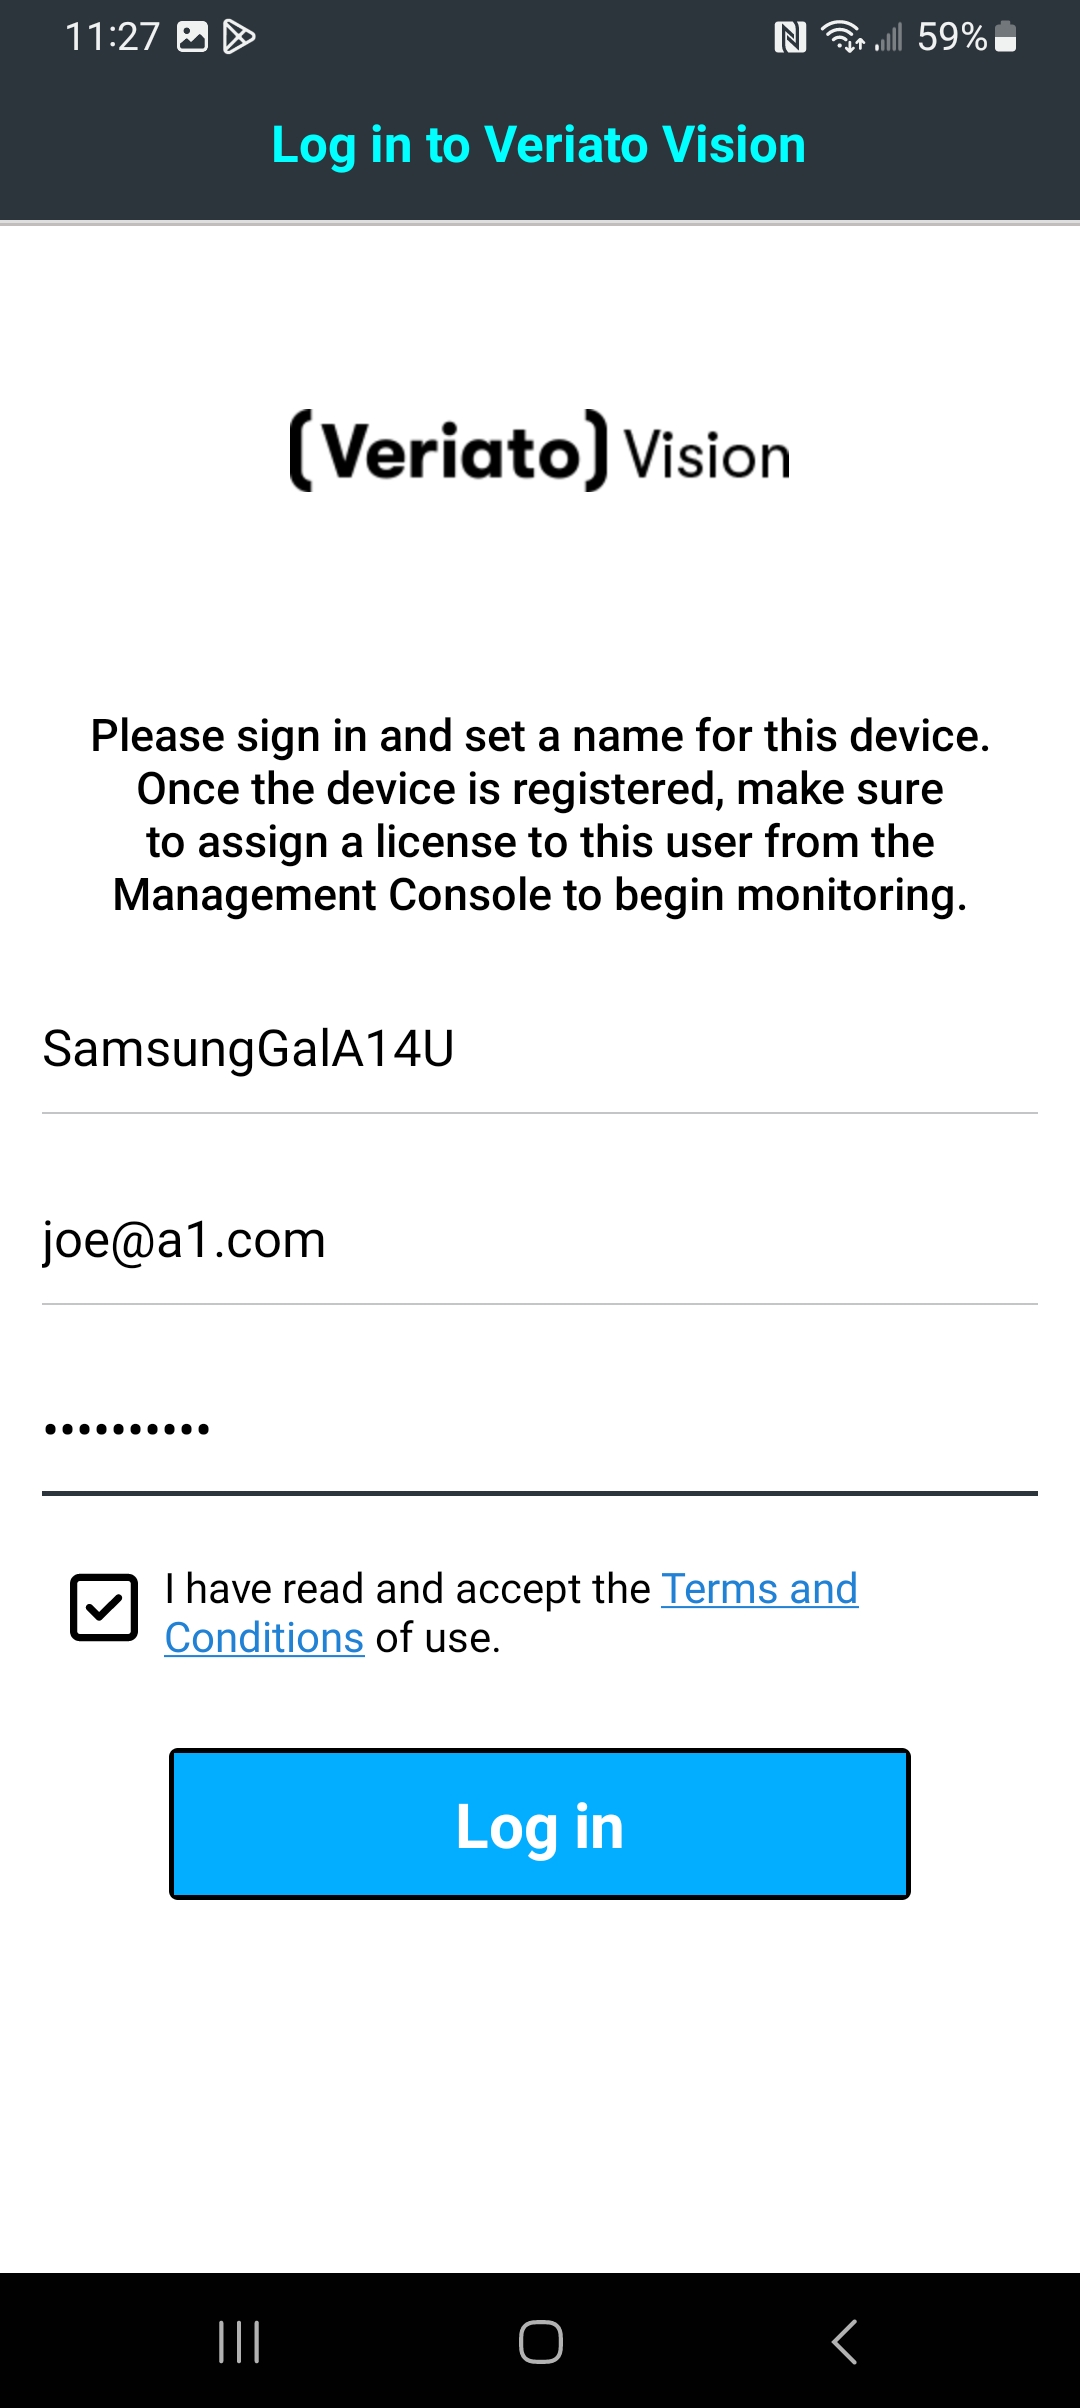
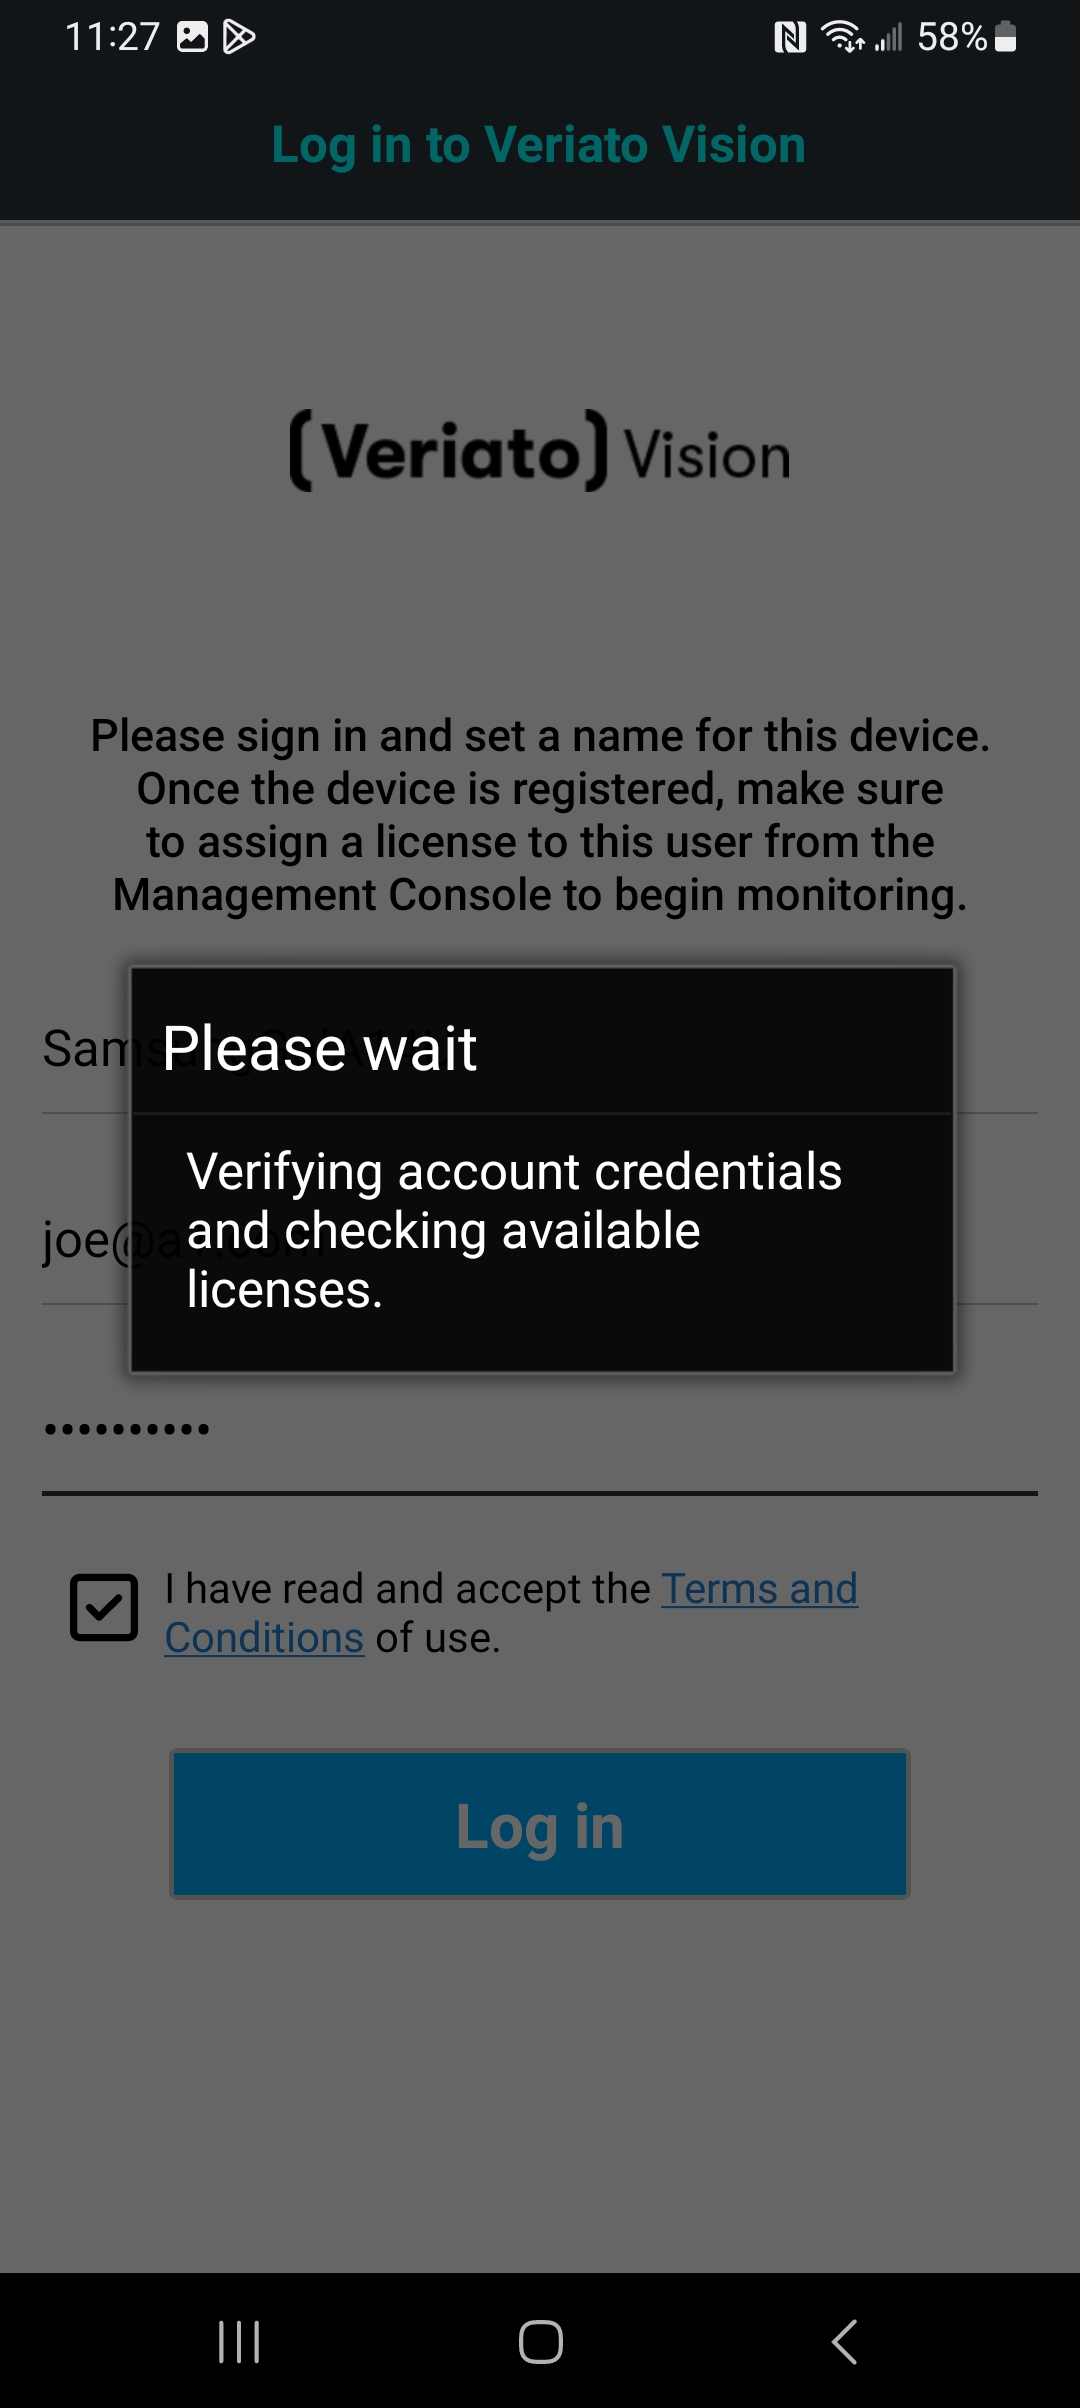
Tap Log in. When the account is verified, the device is registered. This allows the Agent to report back to your account.
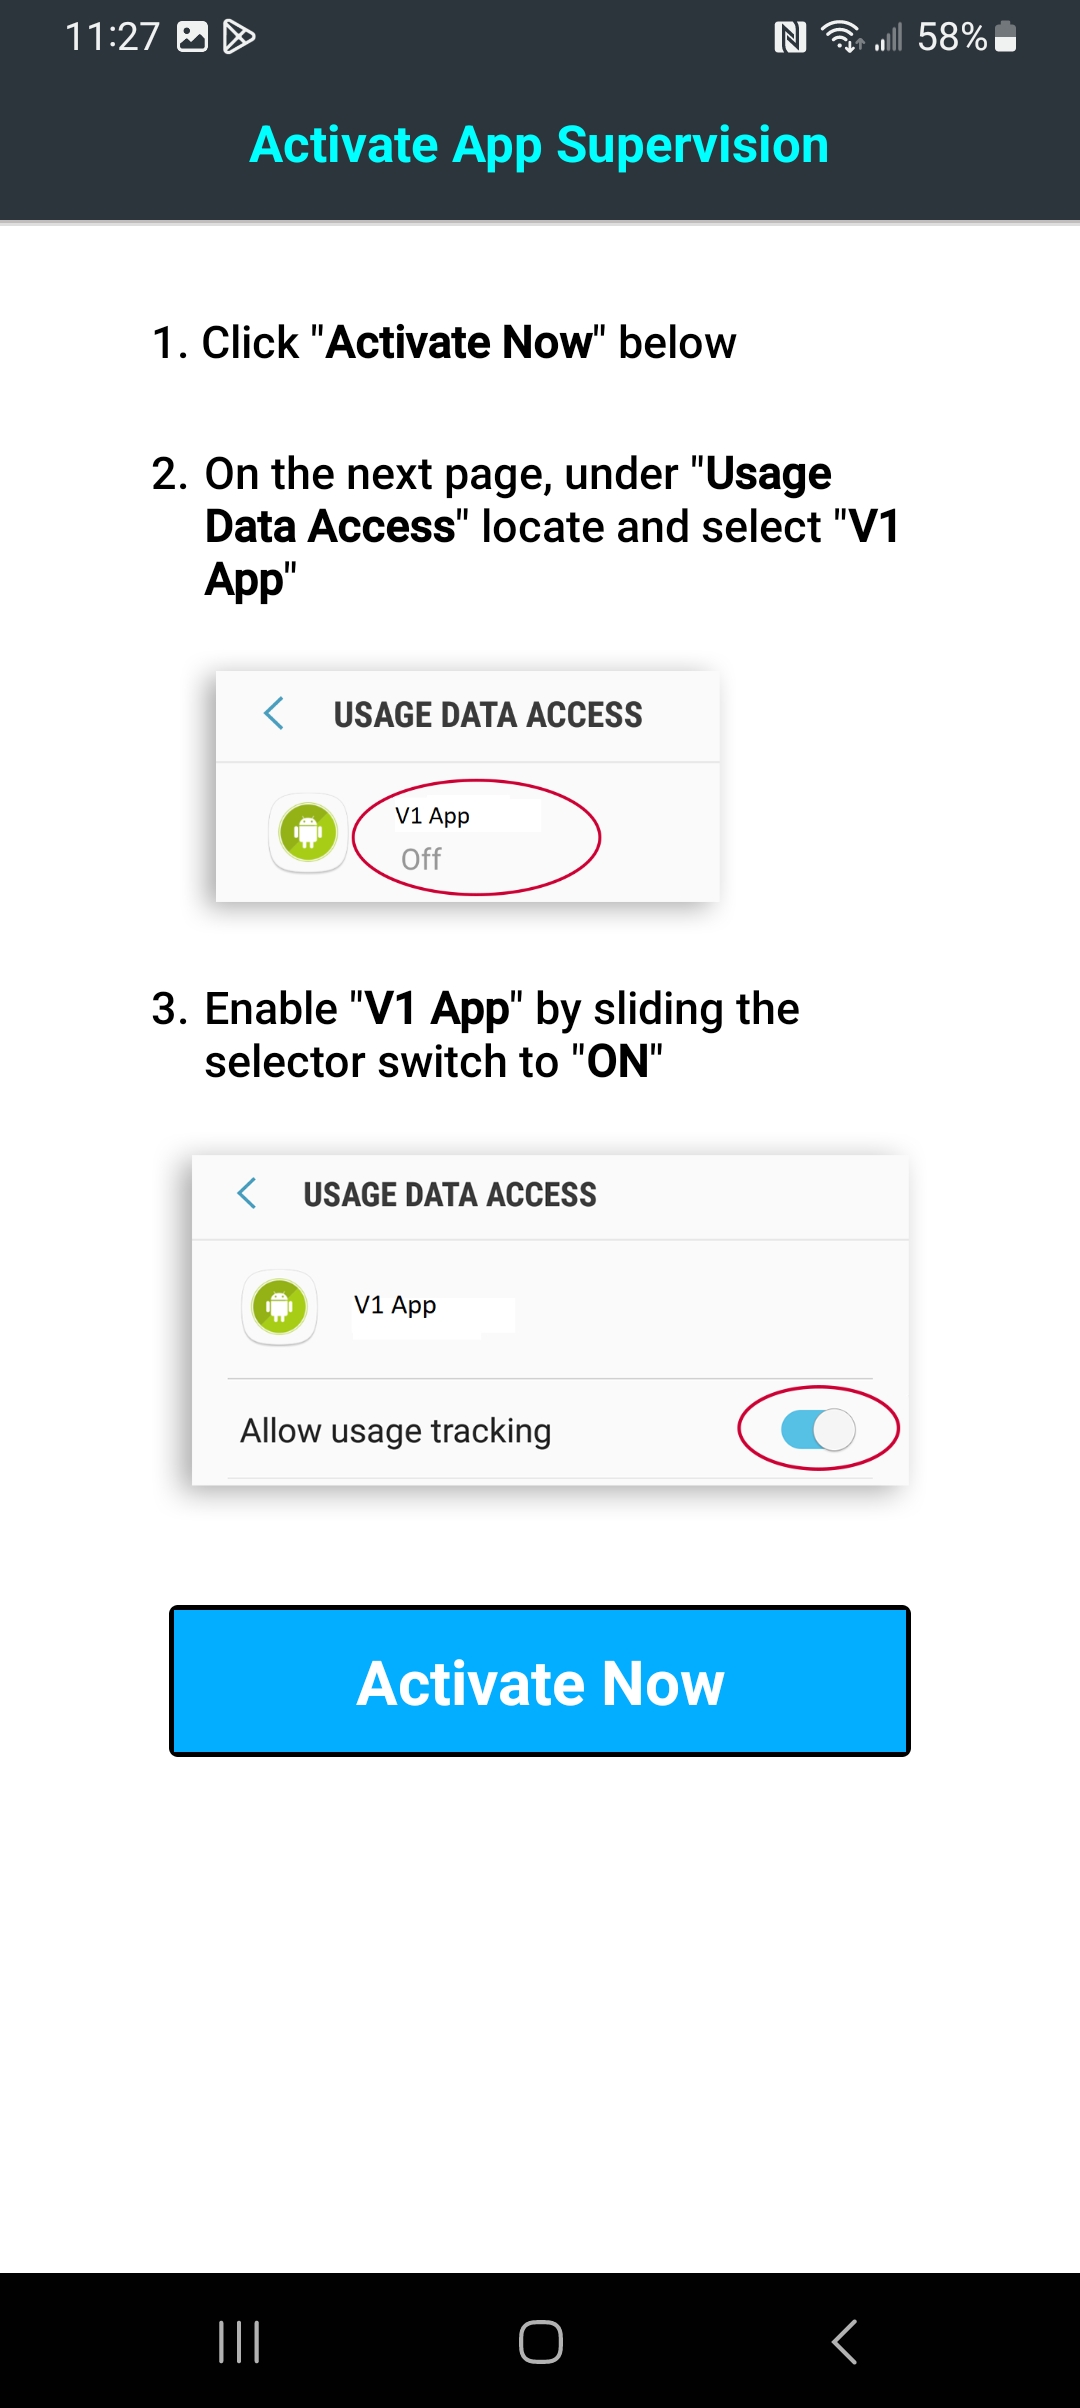
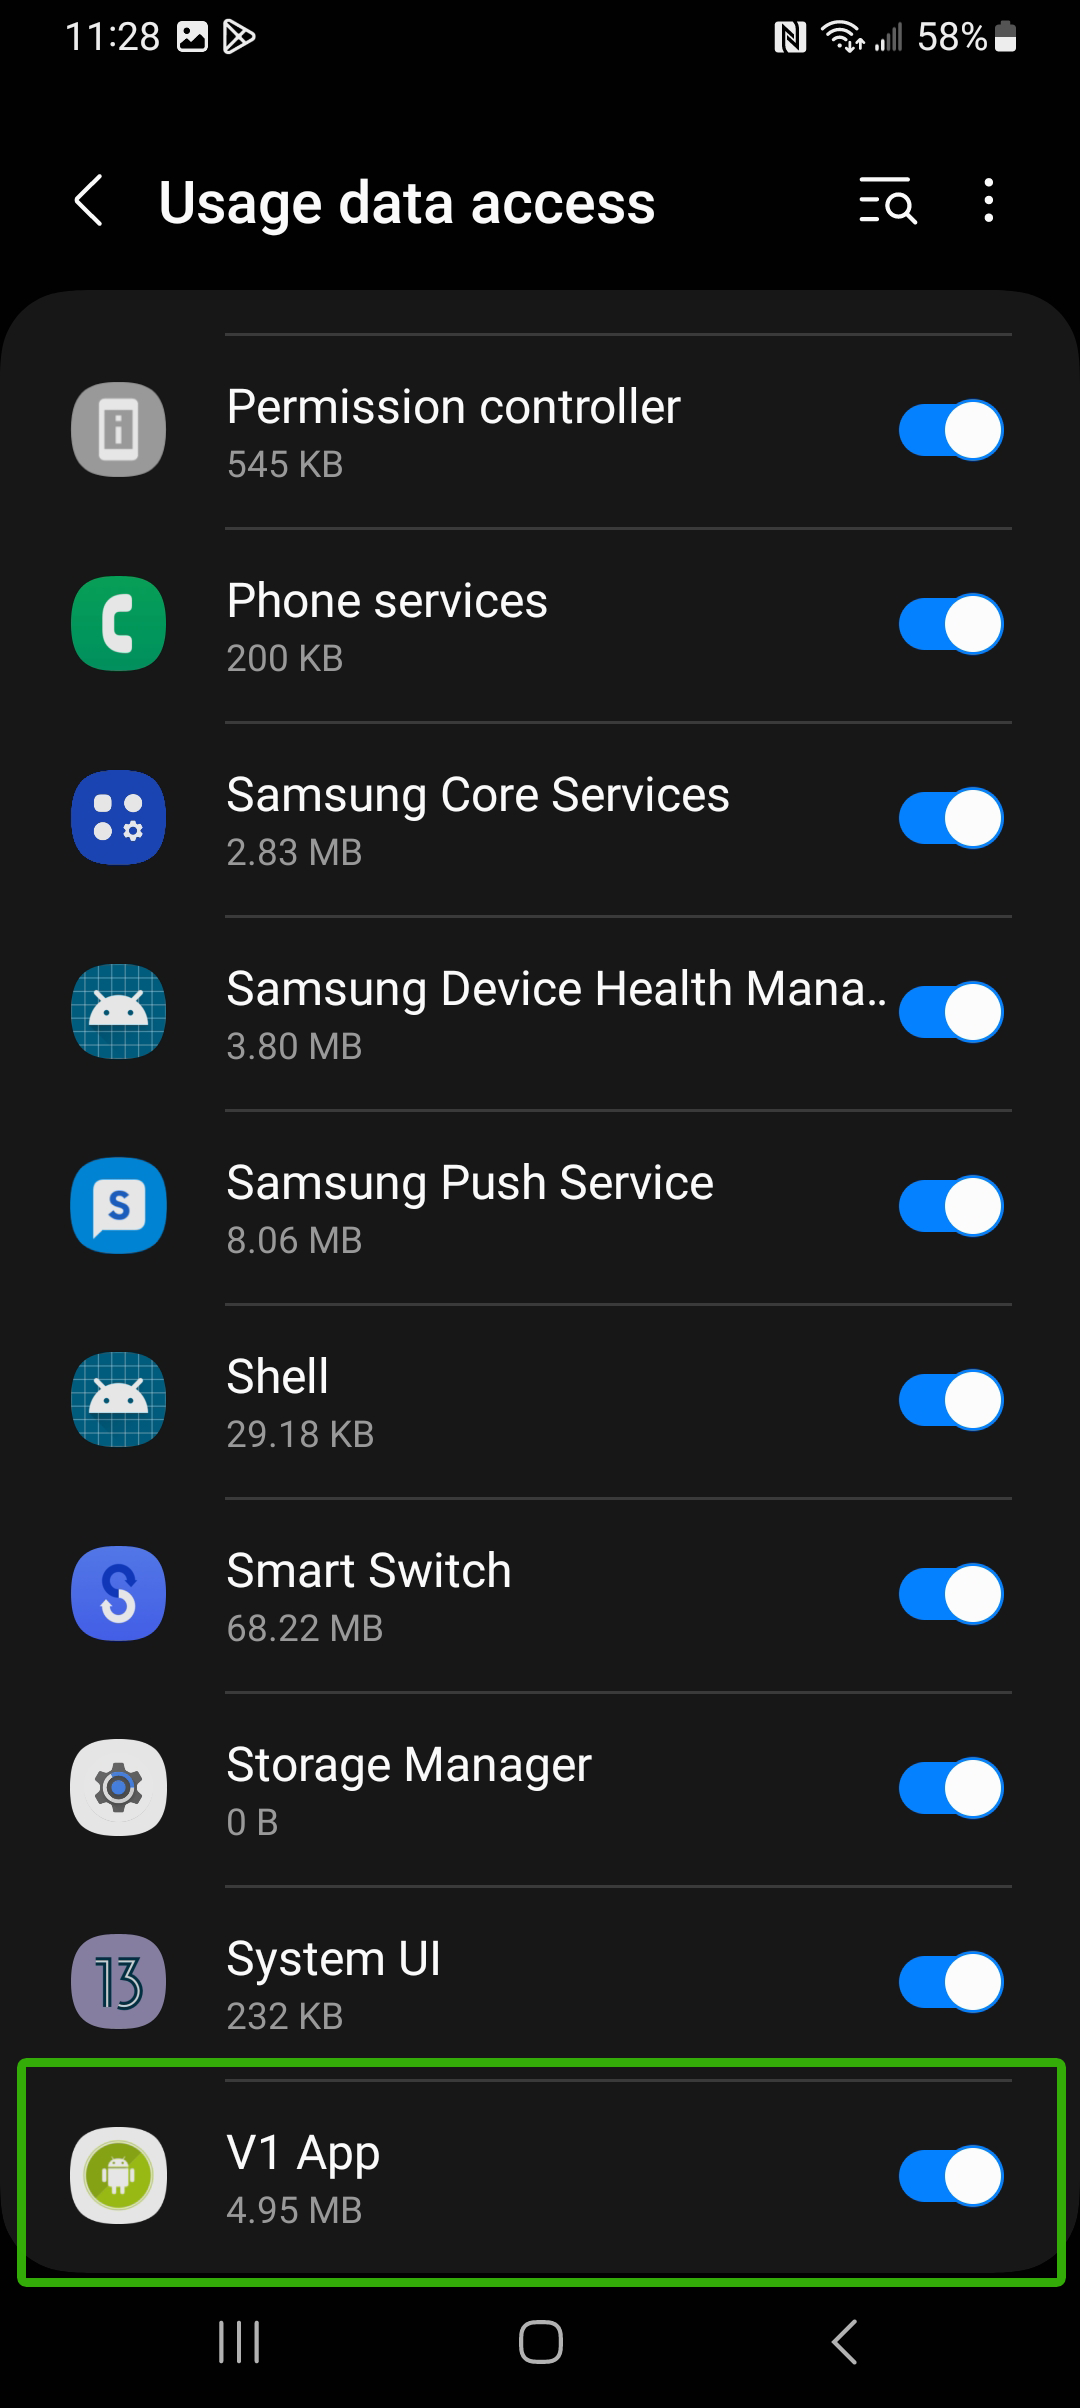
- Activate App Supervision.
Give the app permission to capture activity on the phone. Tap Activate Now.
Under Usage data access, find "V1 App" and switch it ON.
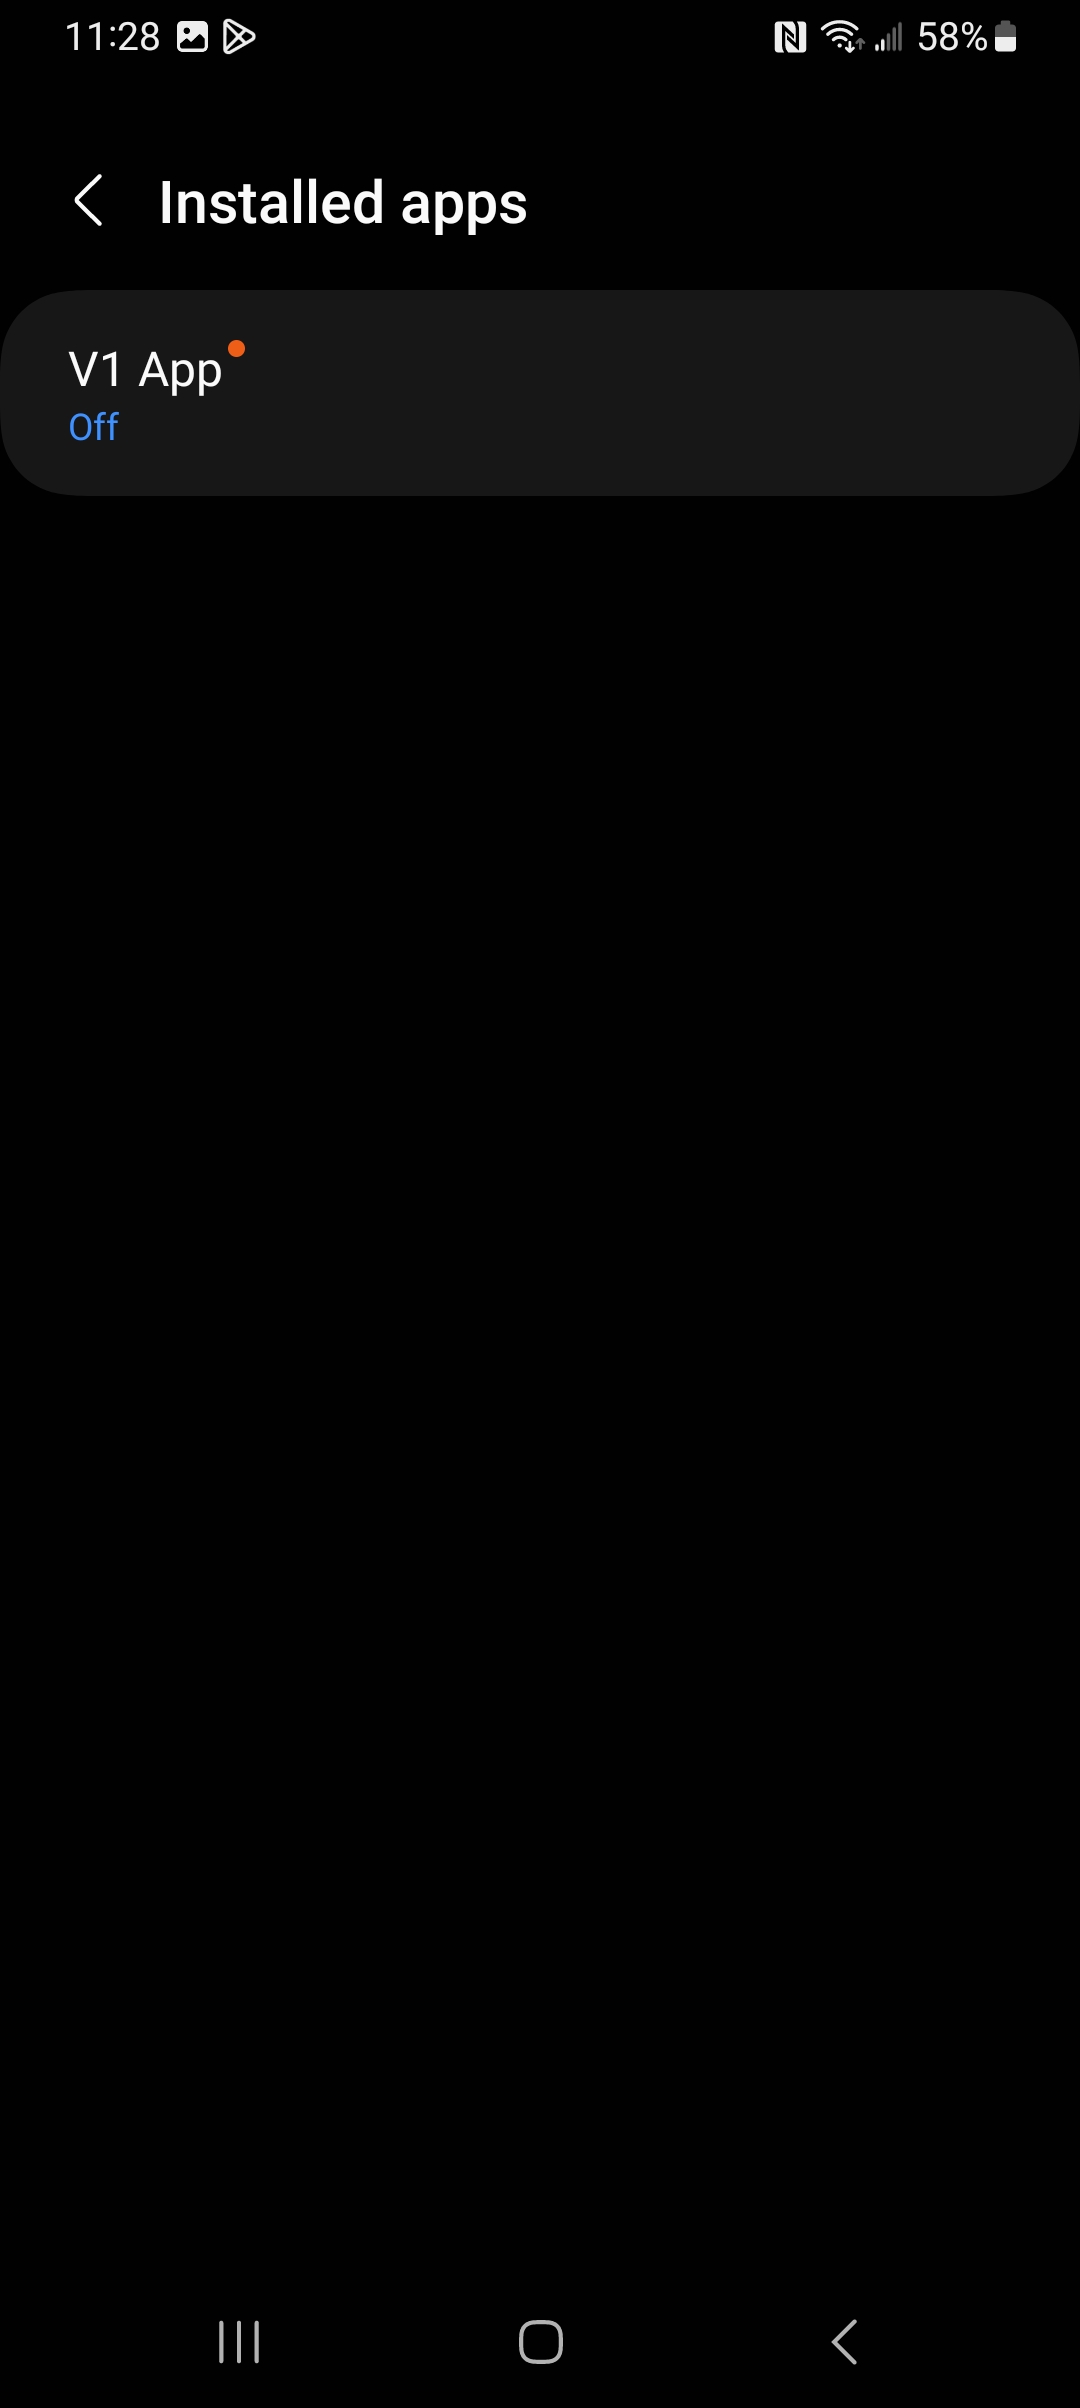
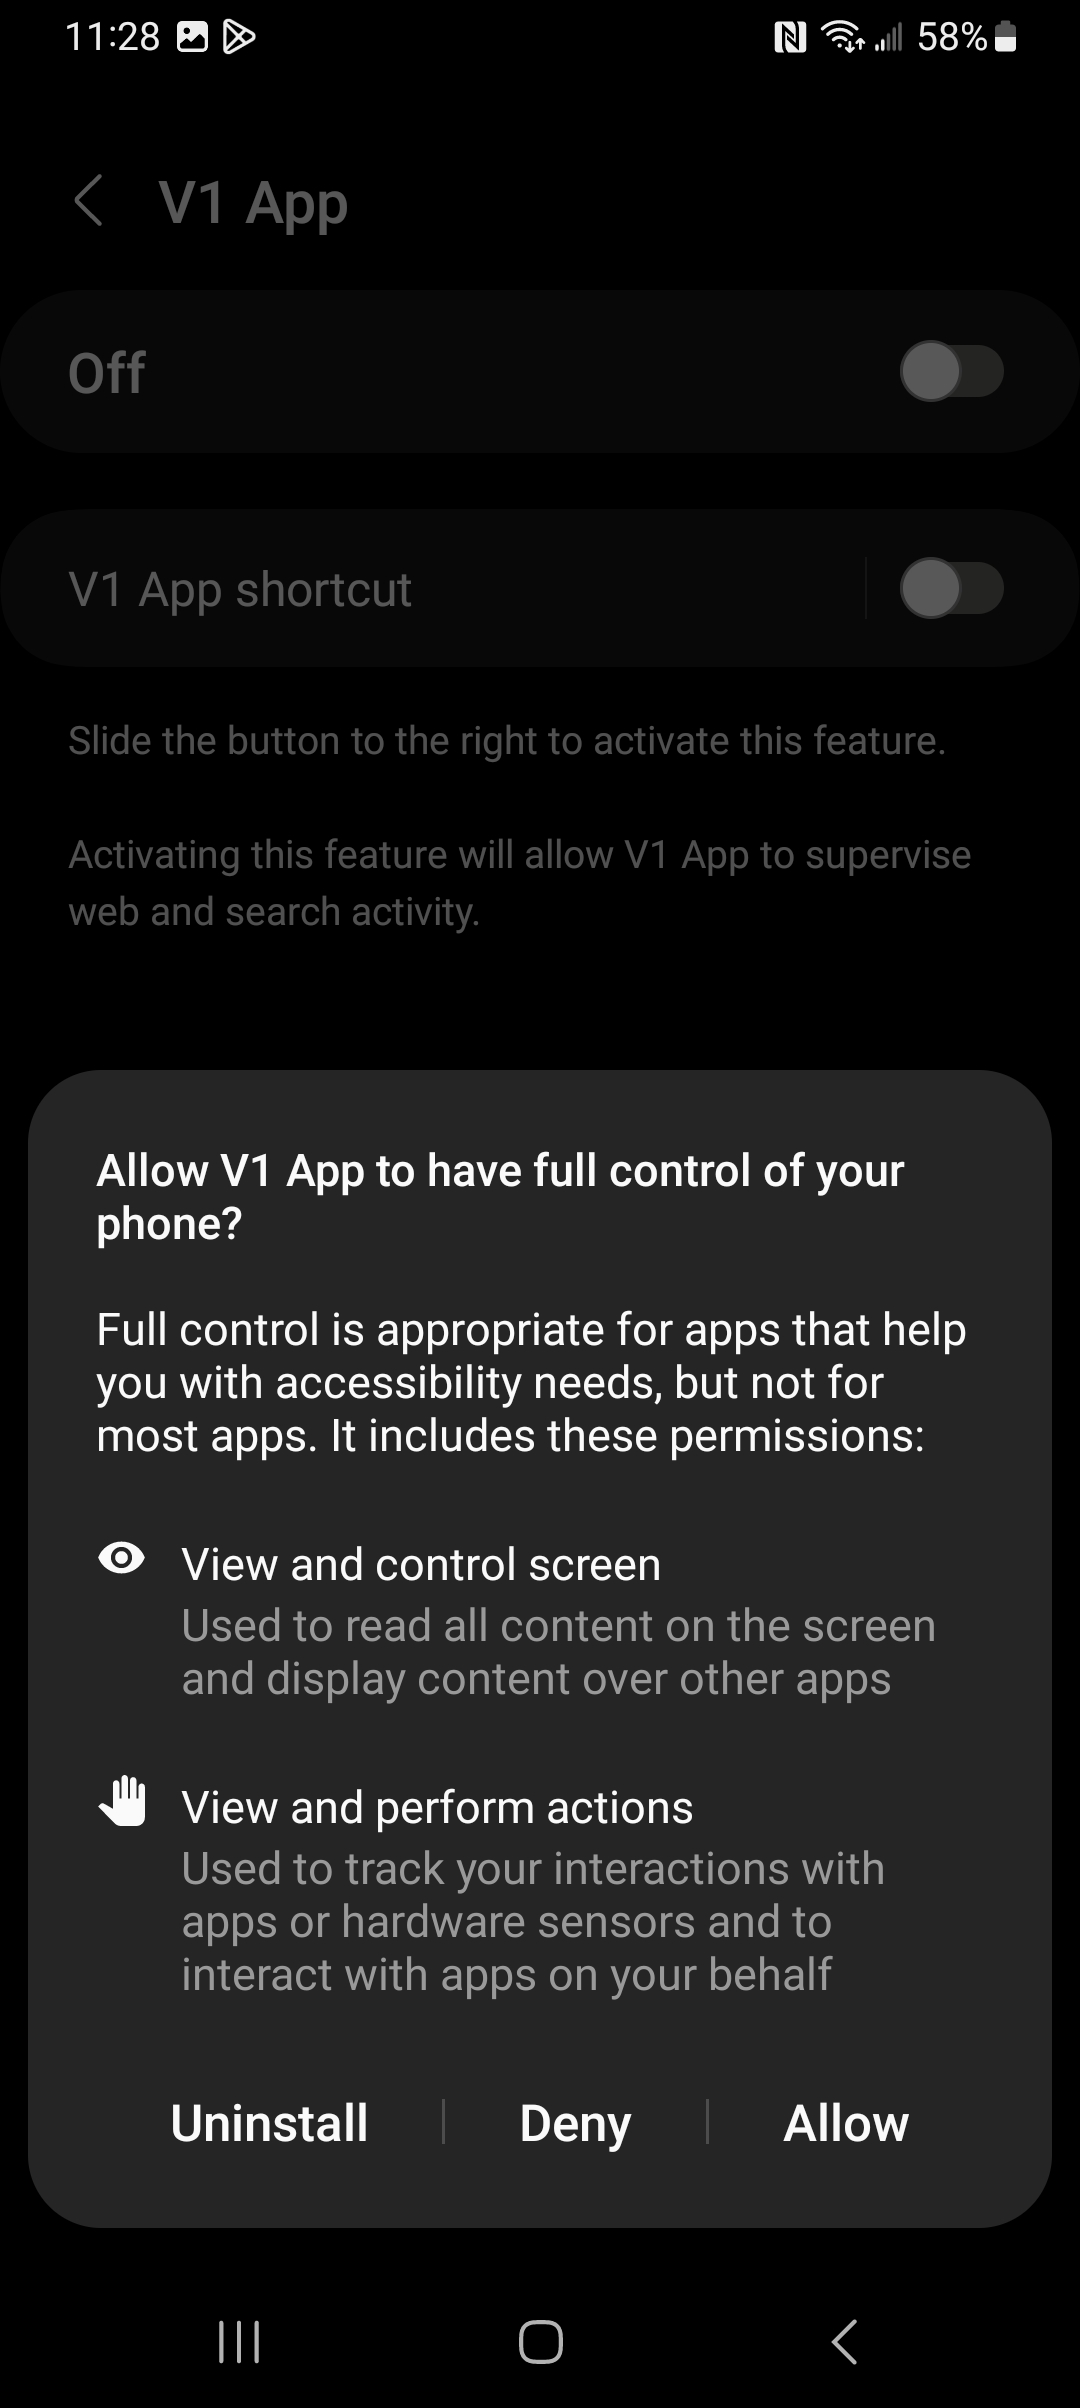
- Activate Web Supervision.
Tap Activate Now.
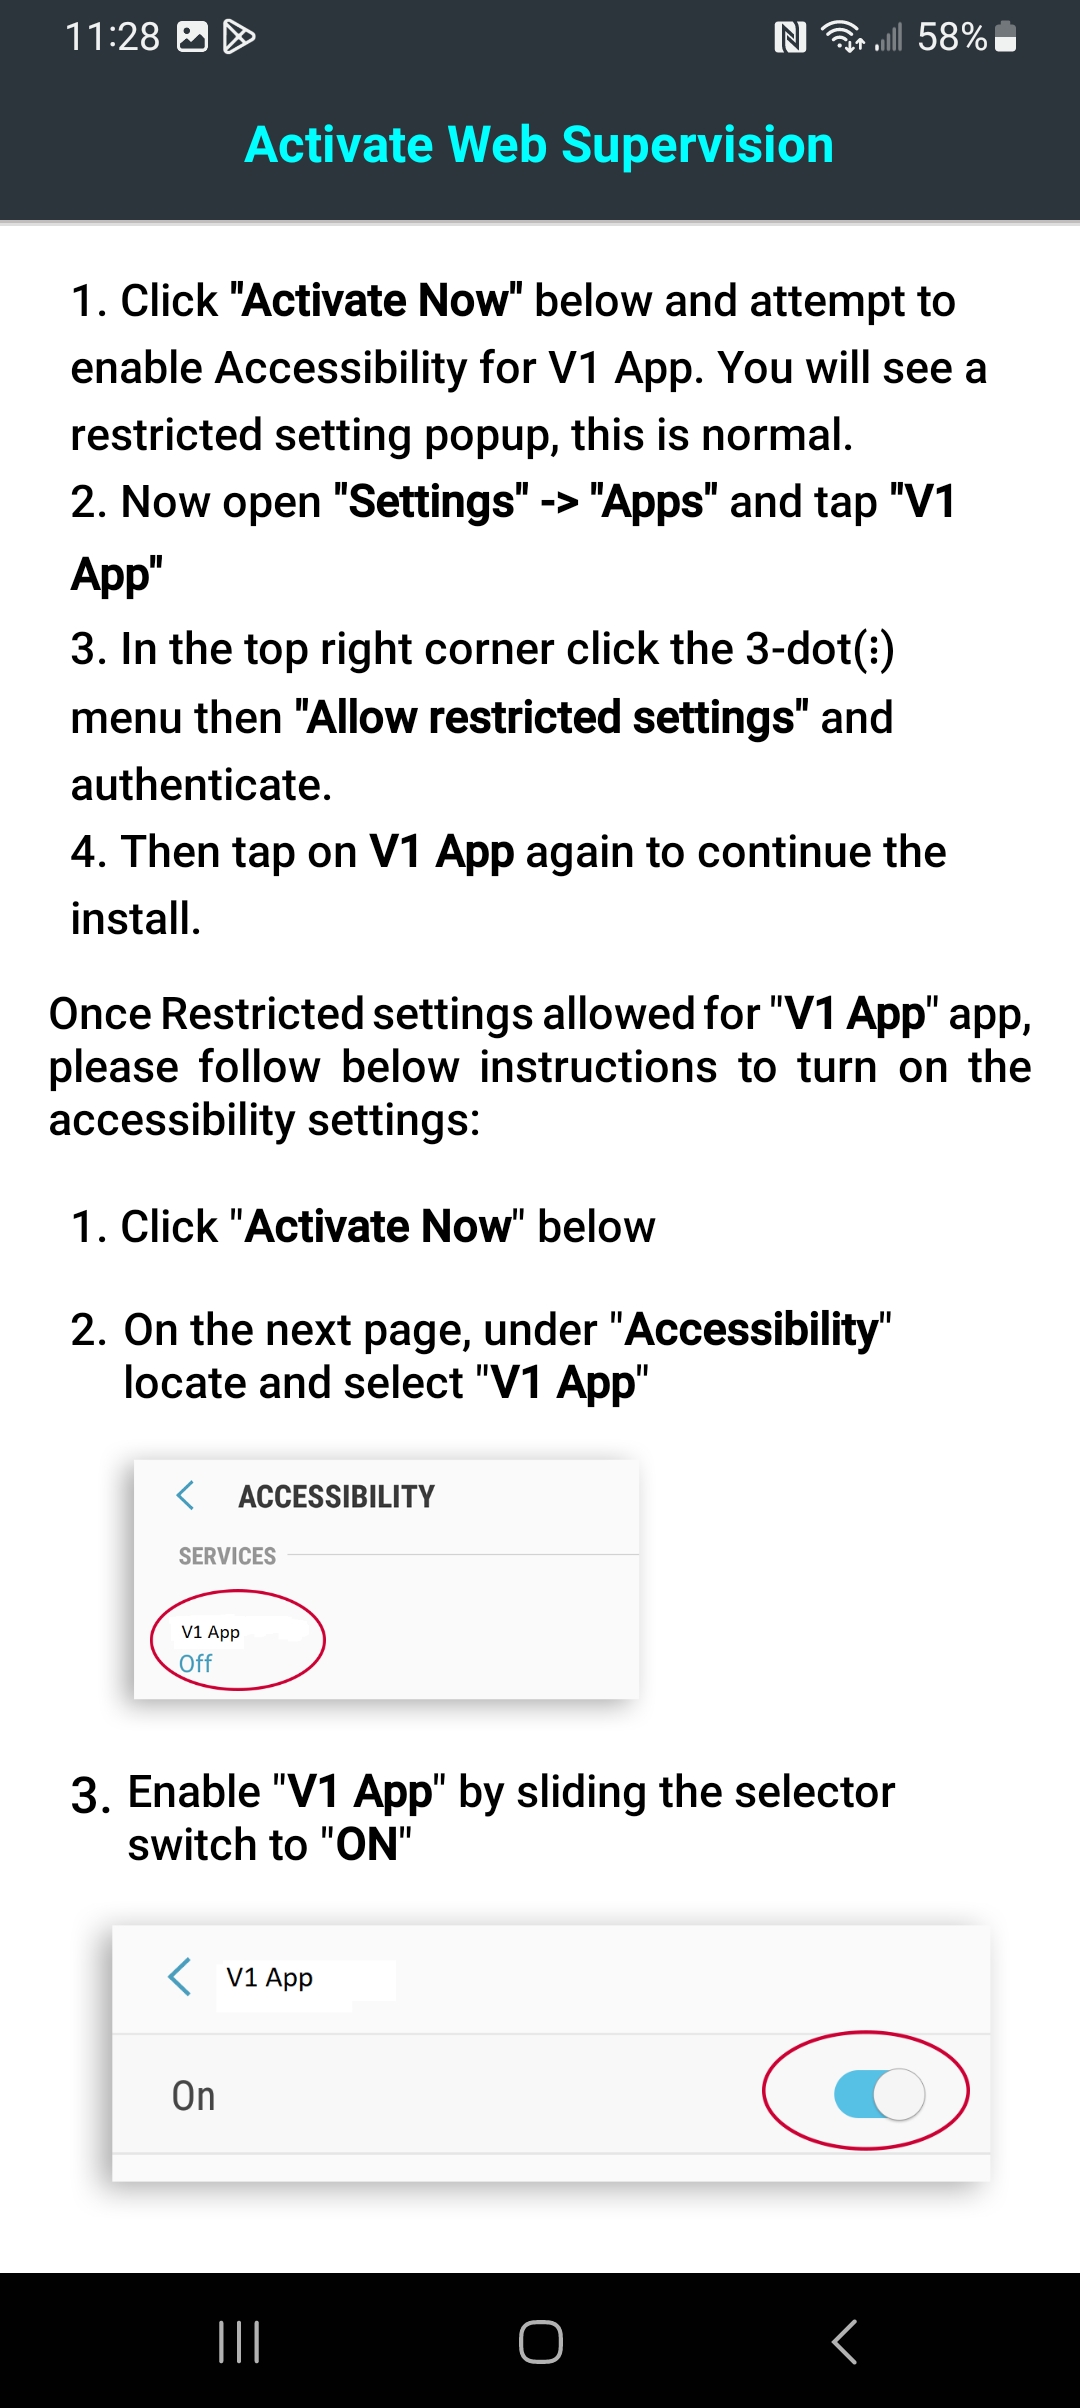
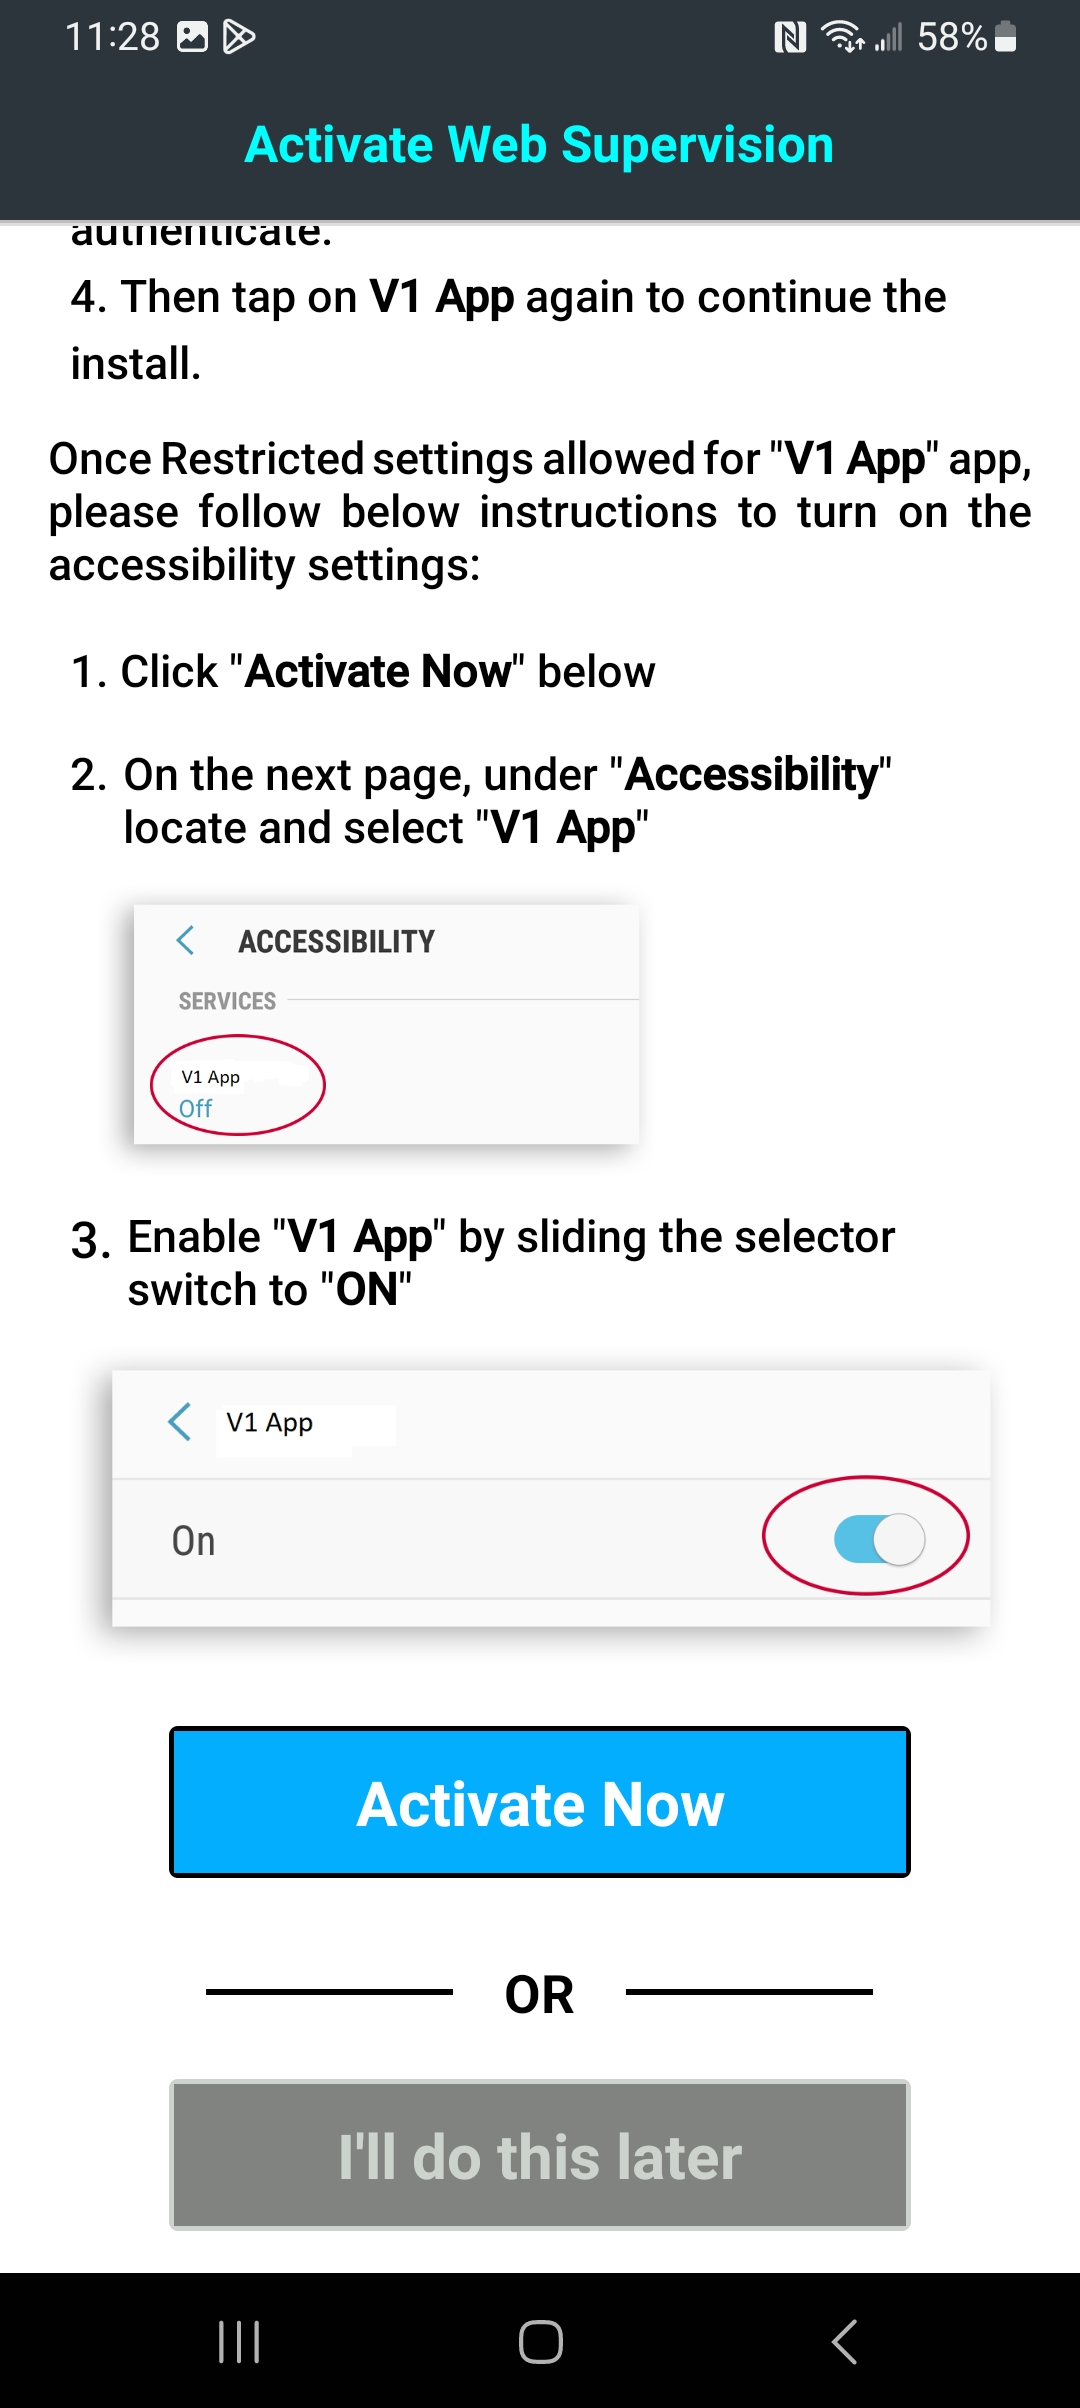
Under Installed apps, tap V1 App. When prompted, select Allow to allow full control of the phone.
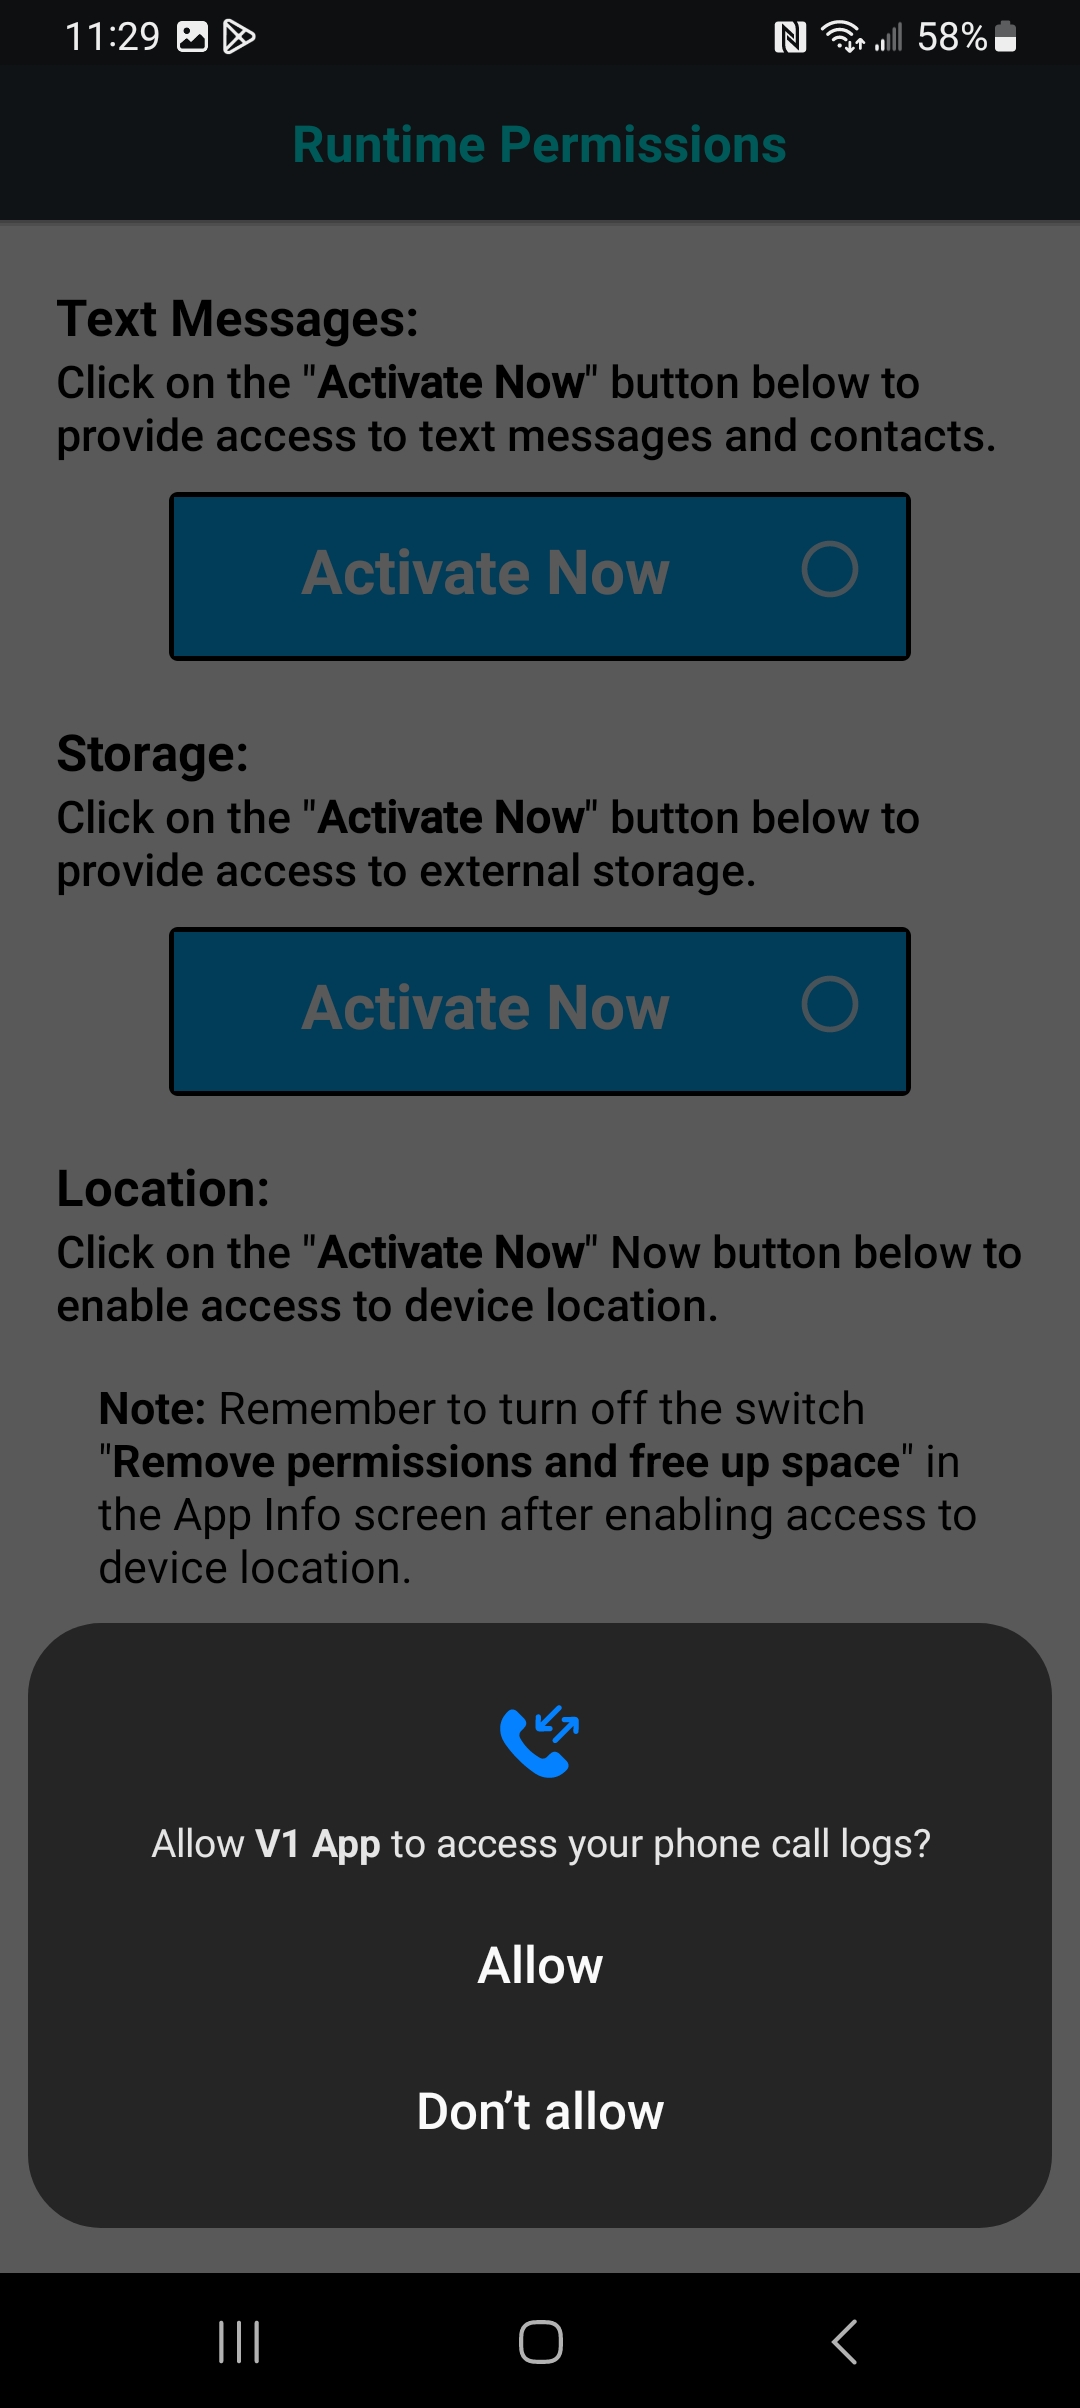
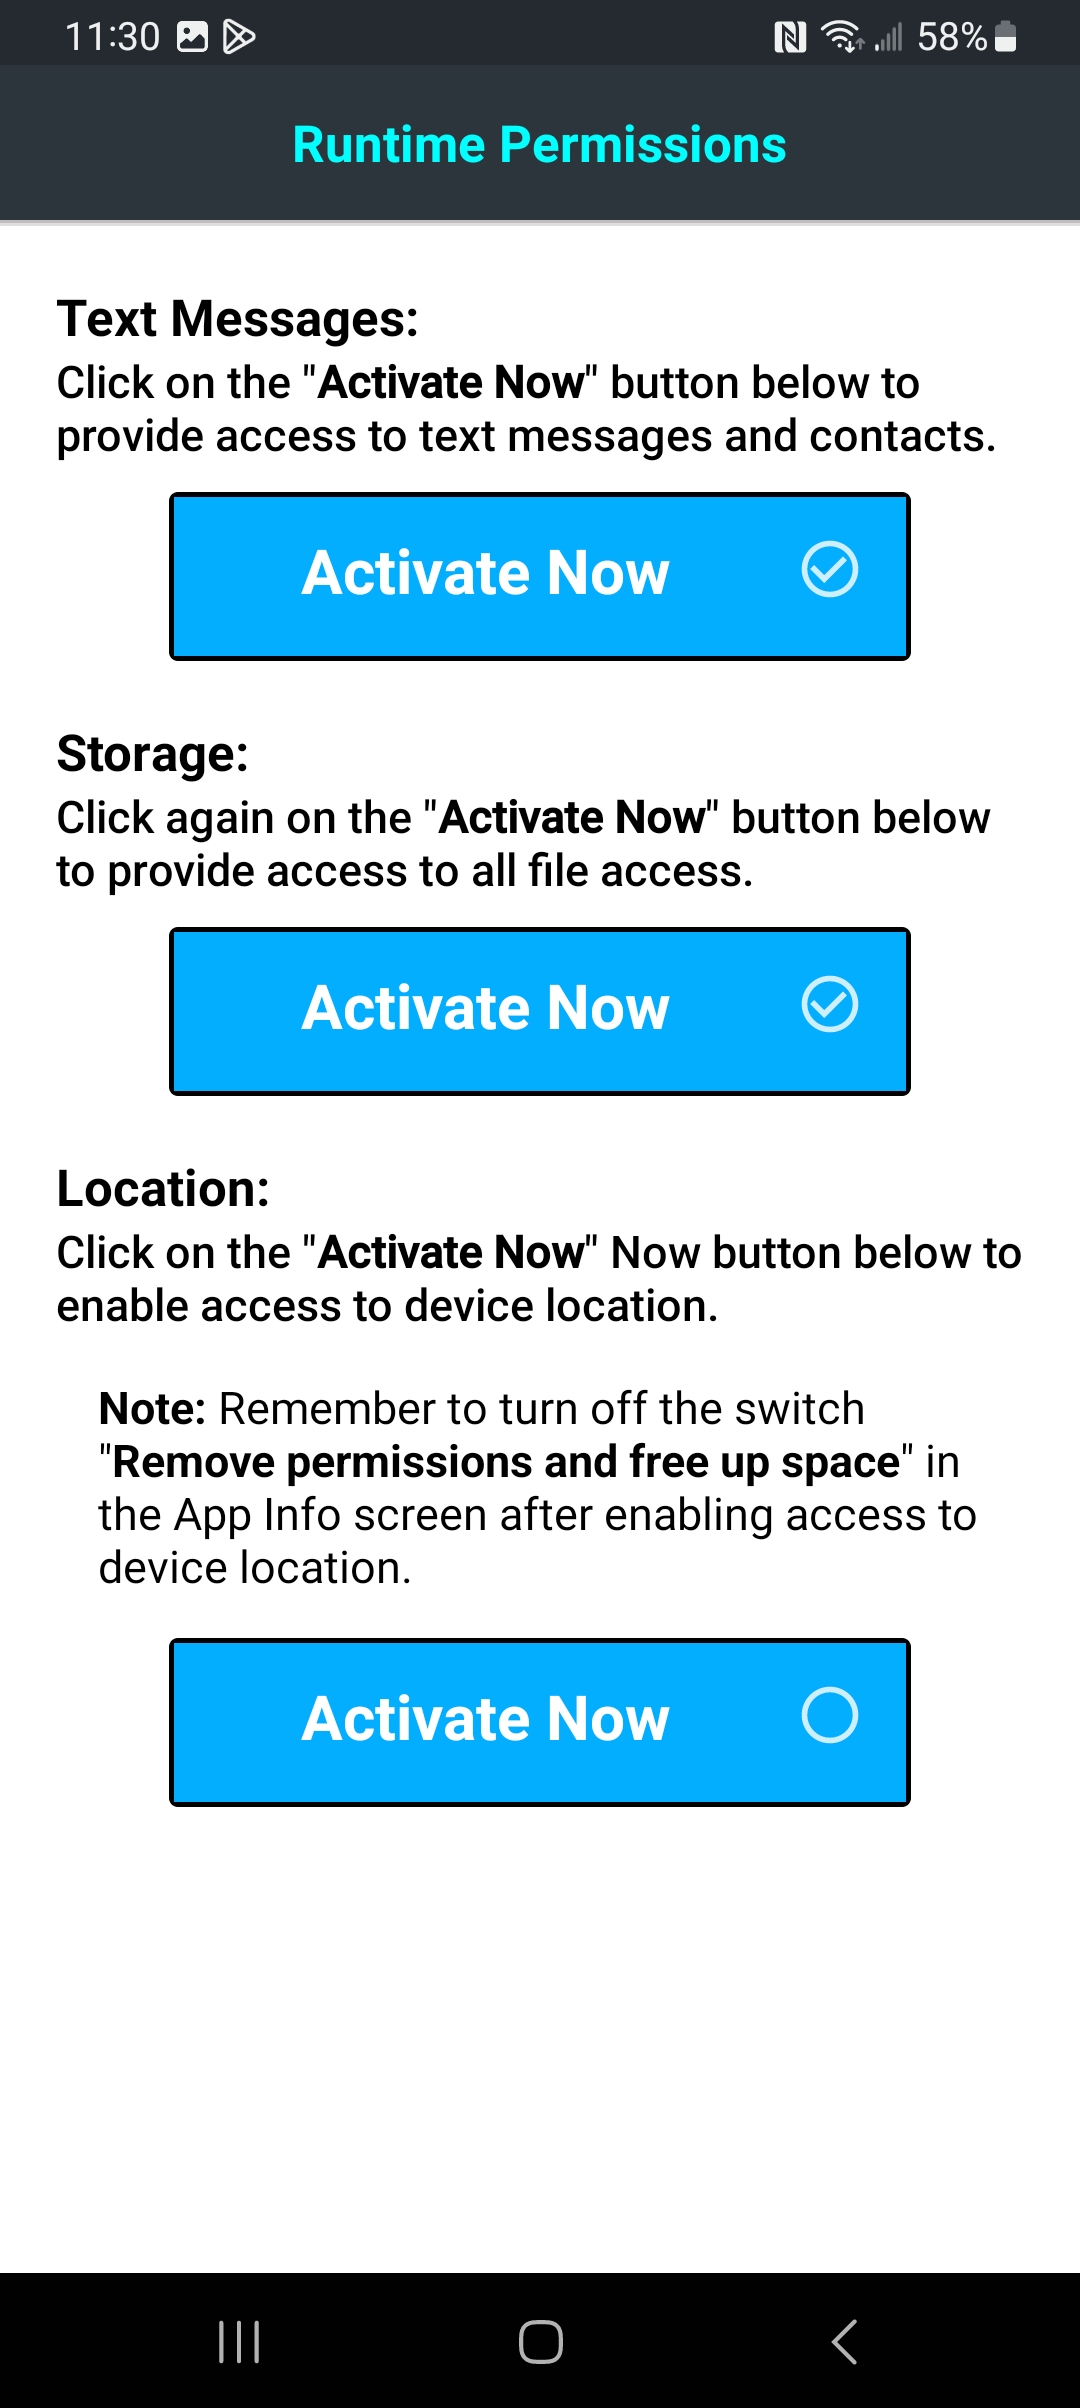
- Activate access to Text Messages.
Under "Text Messages," press Activate Now. When prompted, select Allow to allow access to phone call logs.

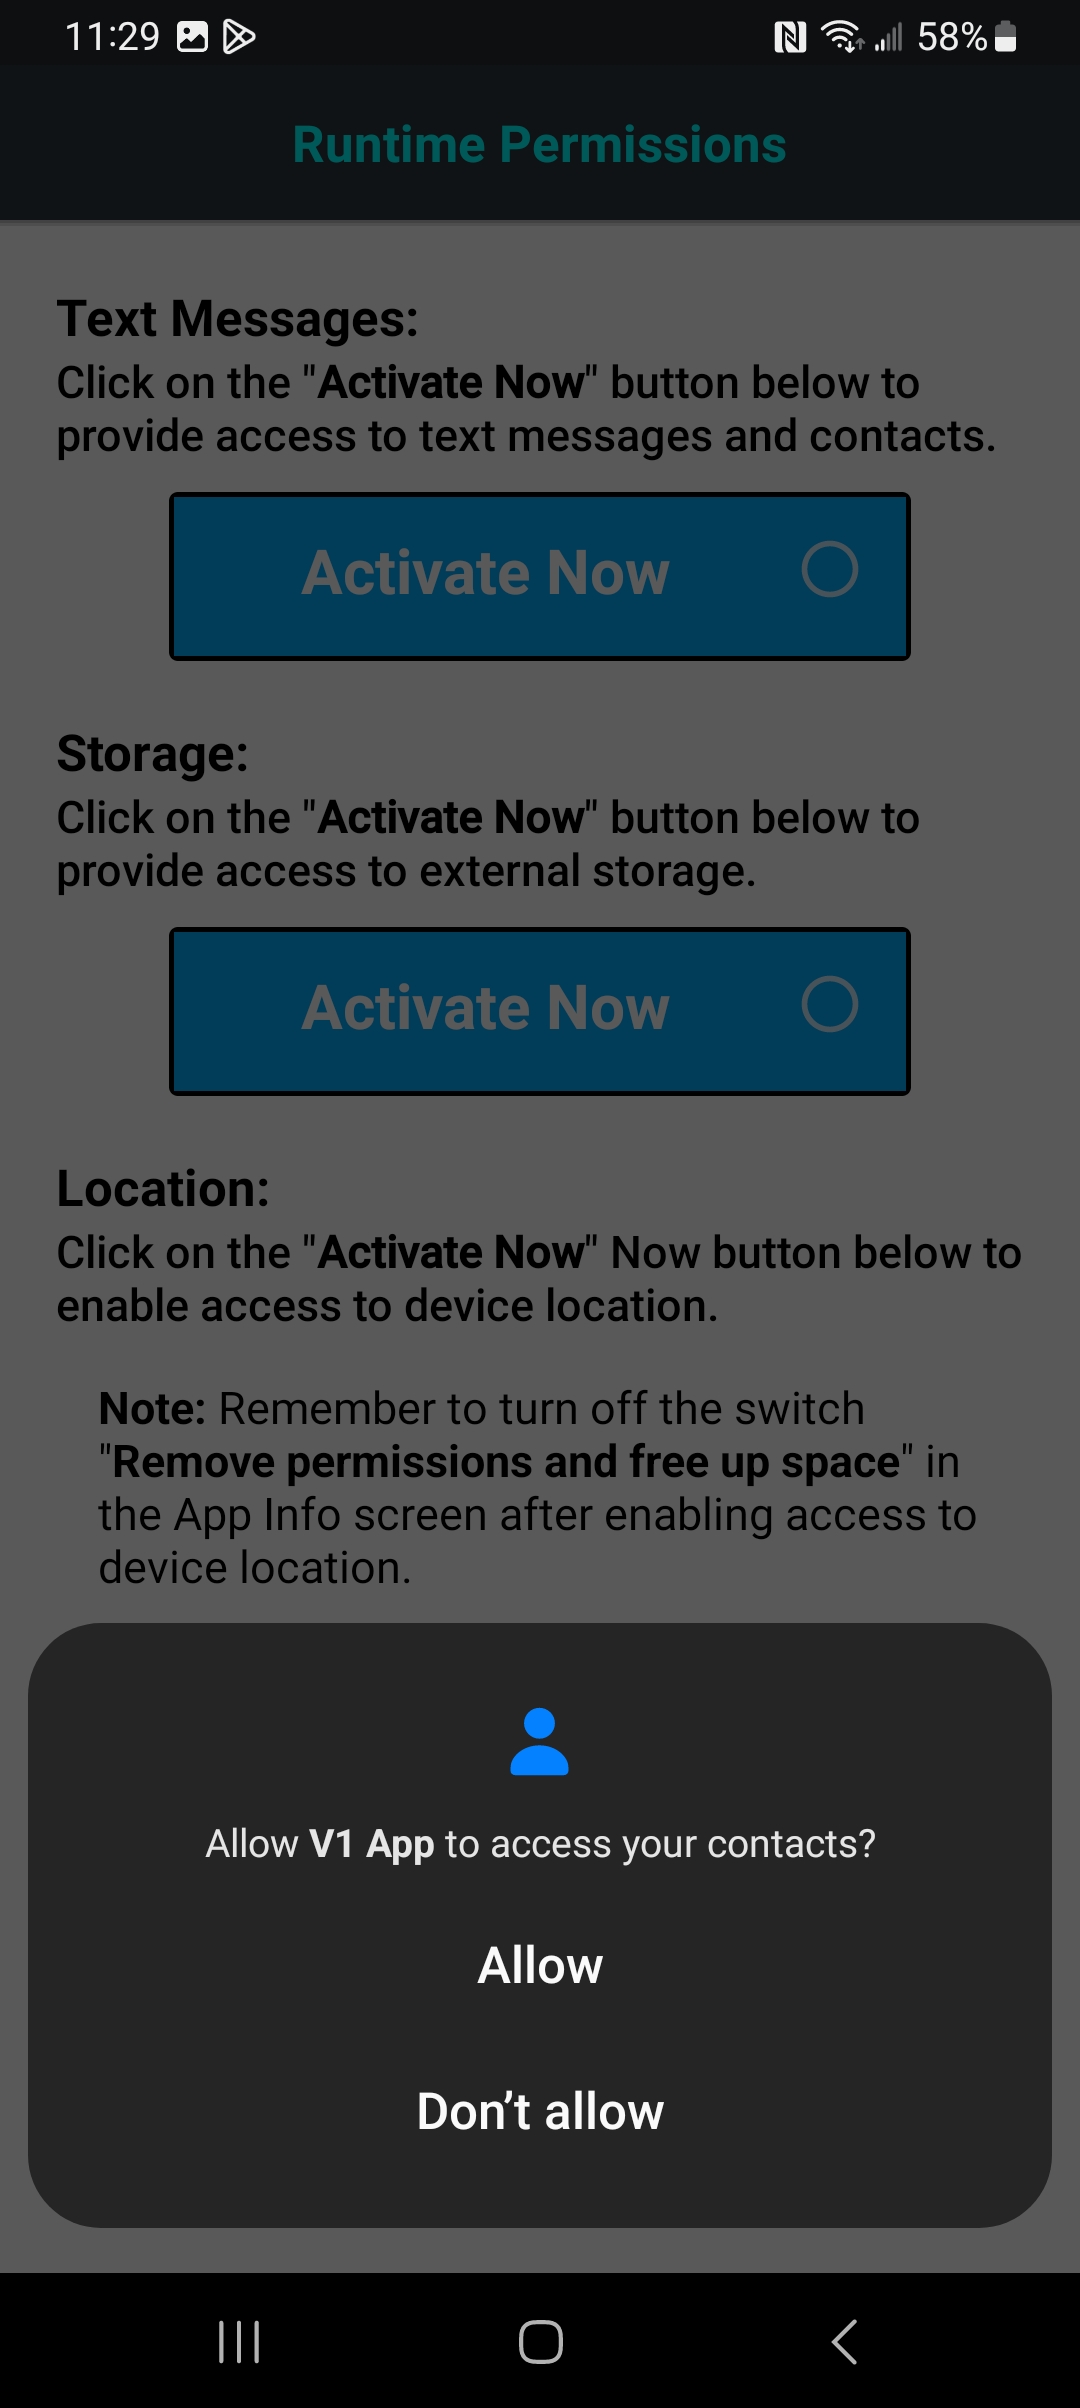
When prompted to allow access to contacts, select Allow.
When prompted access SMS messsages, select Allow.

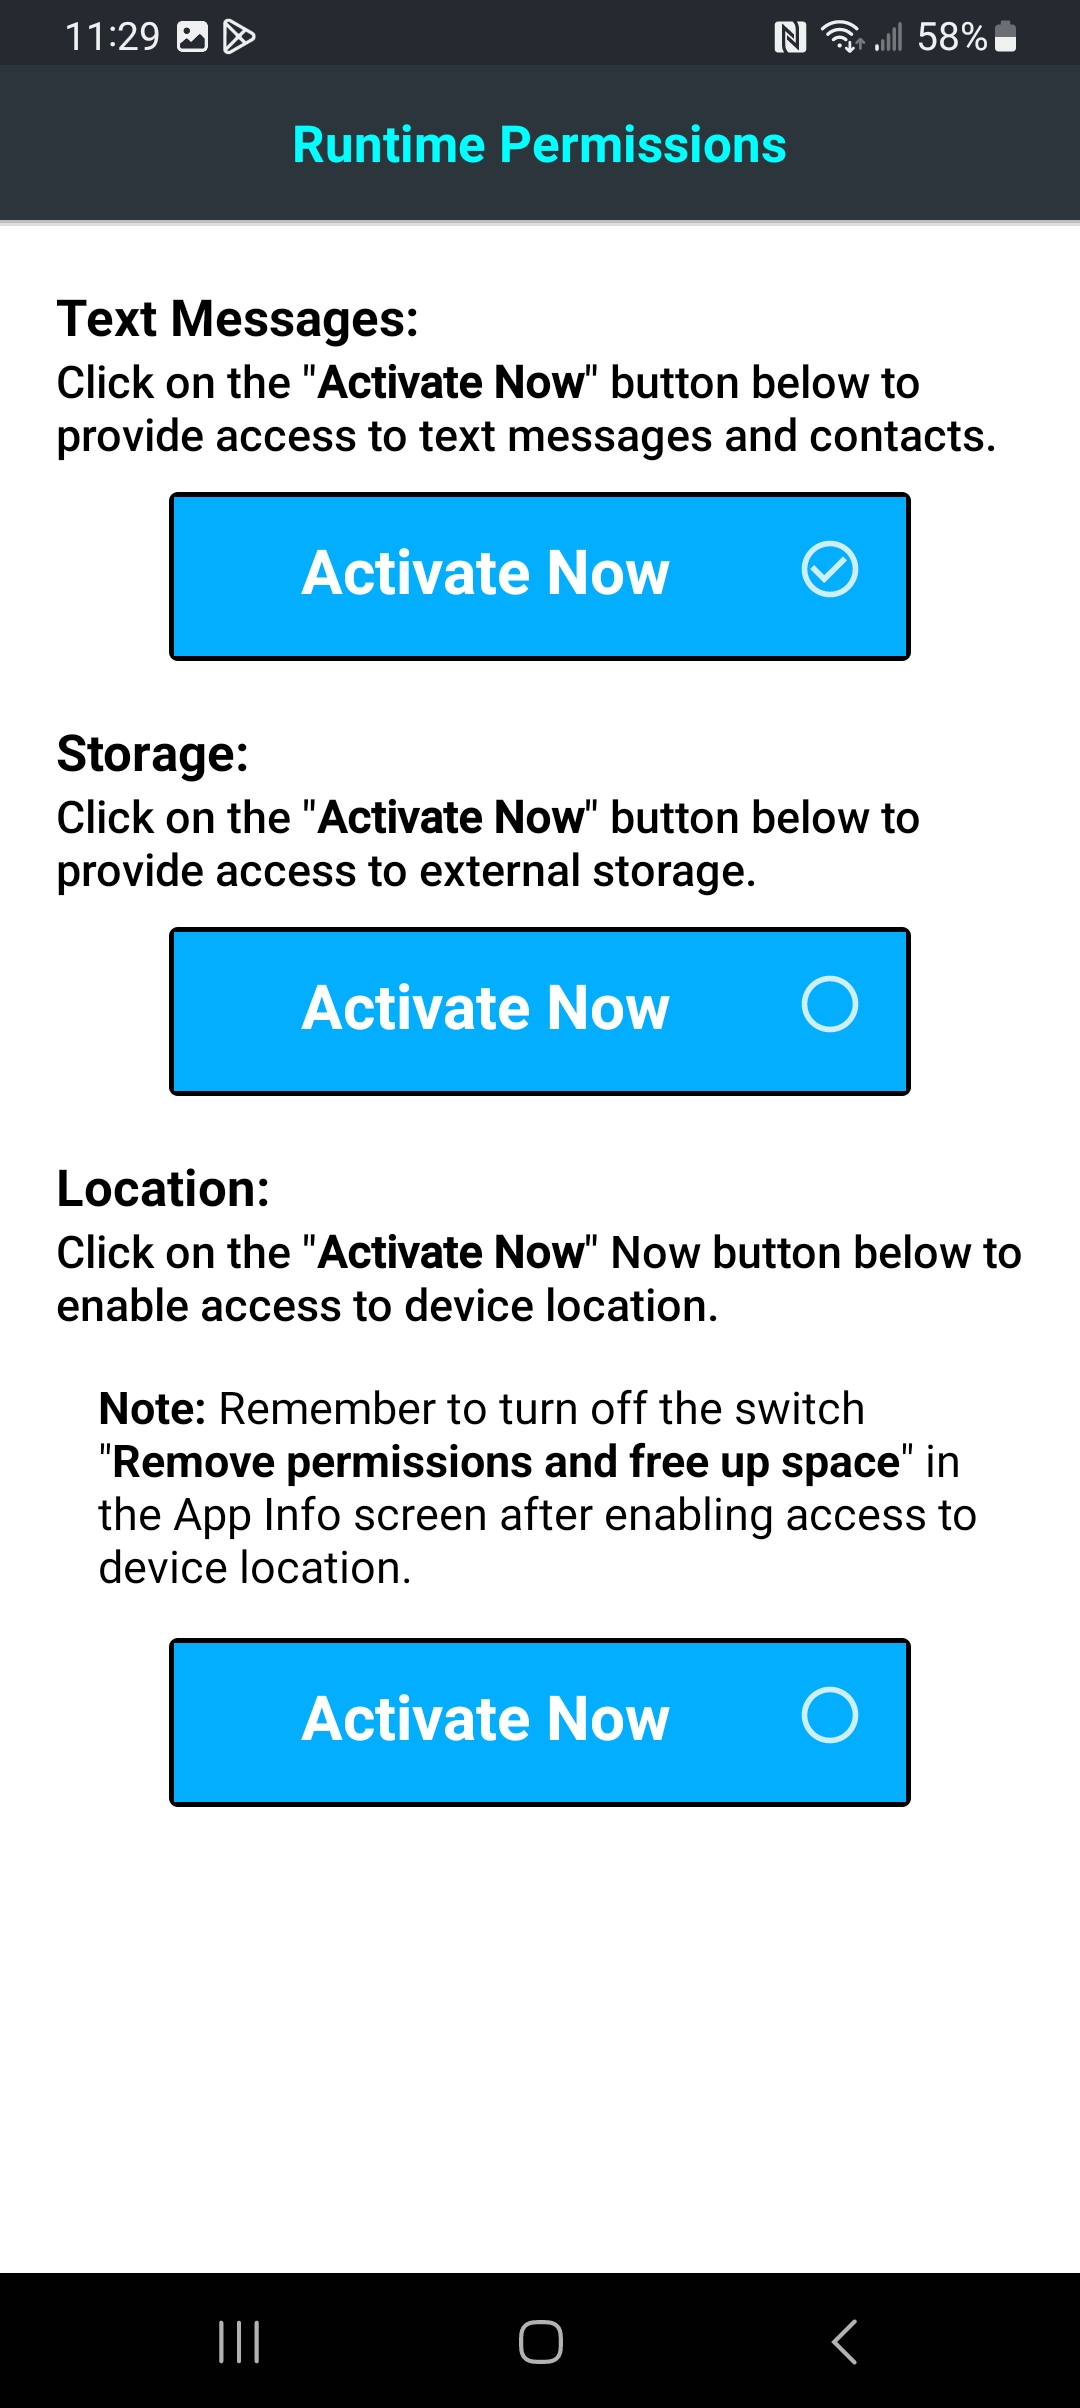
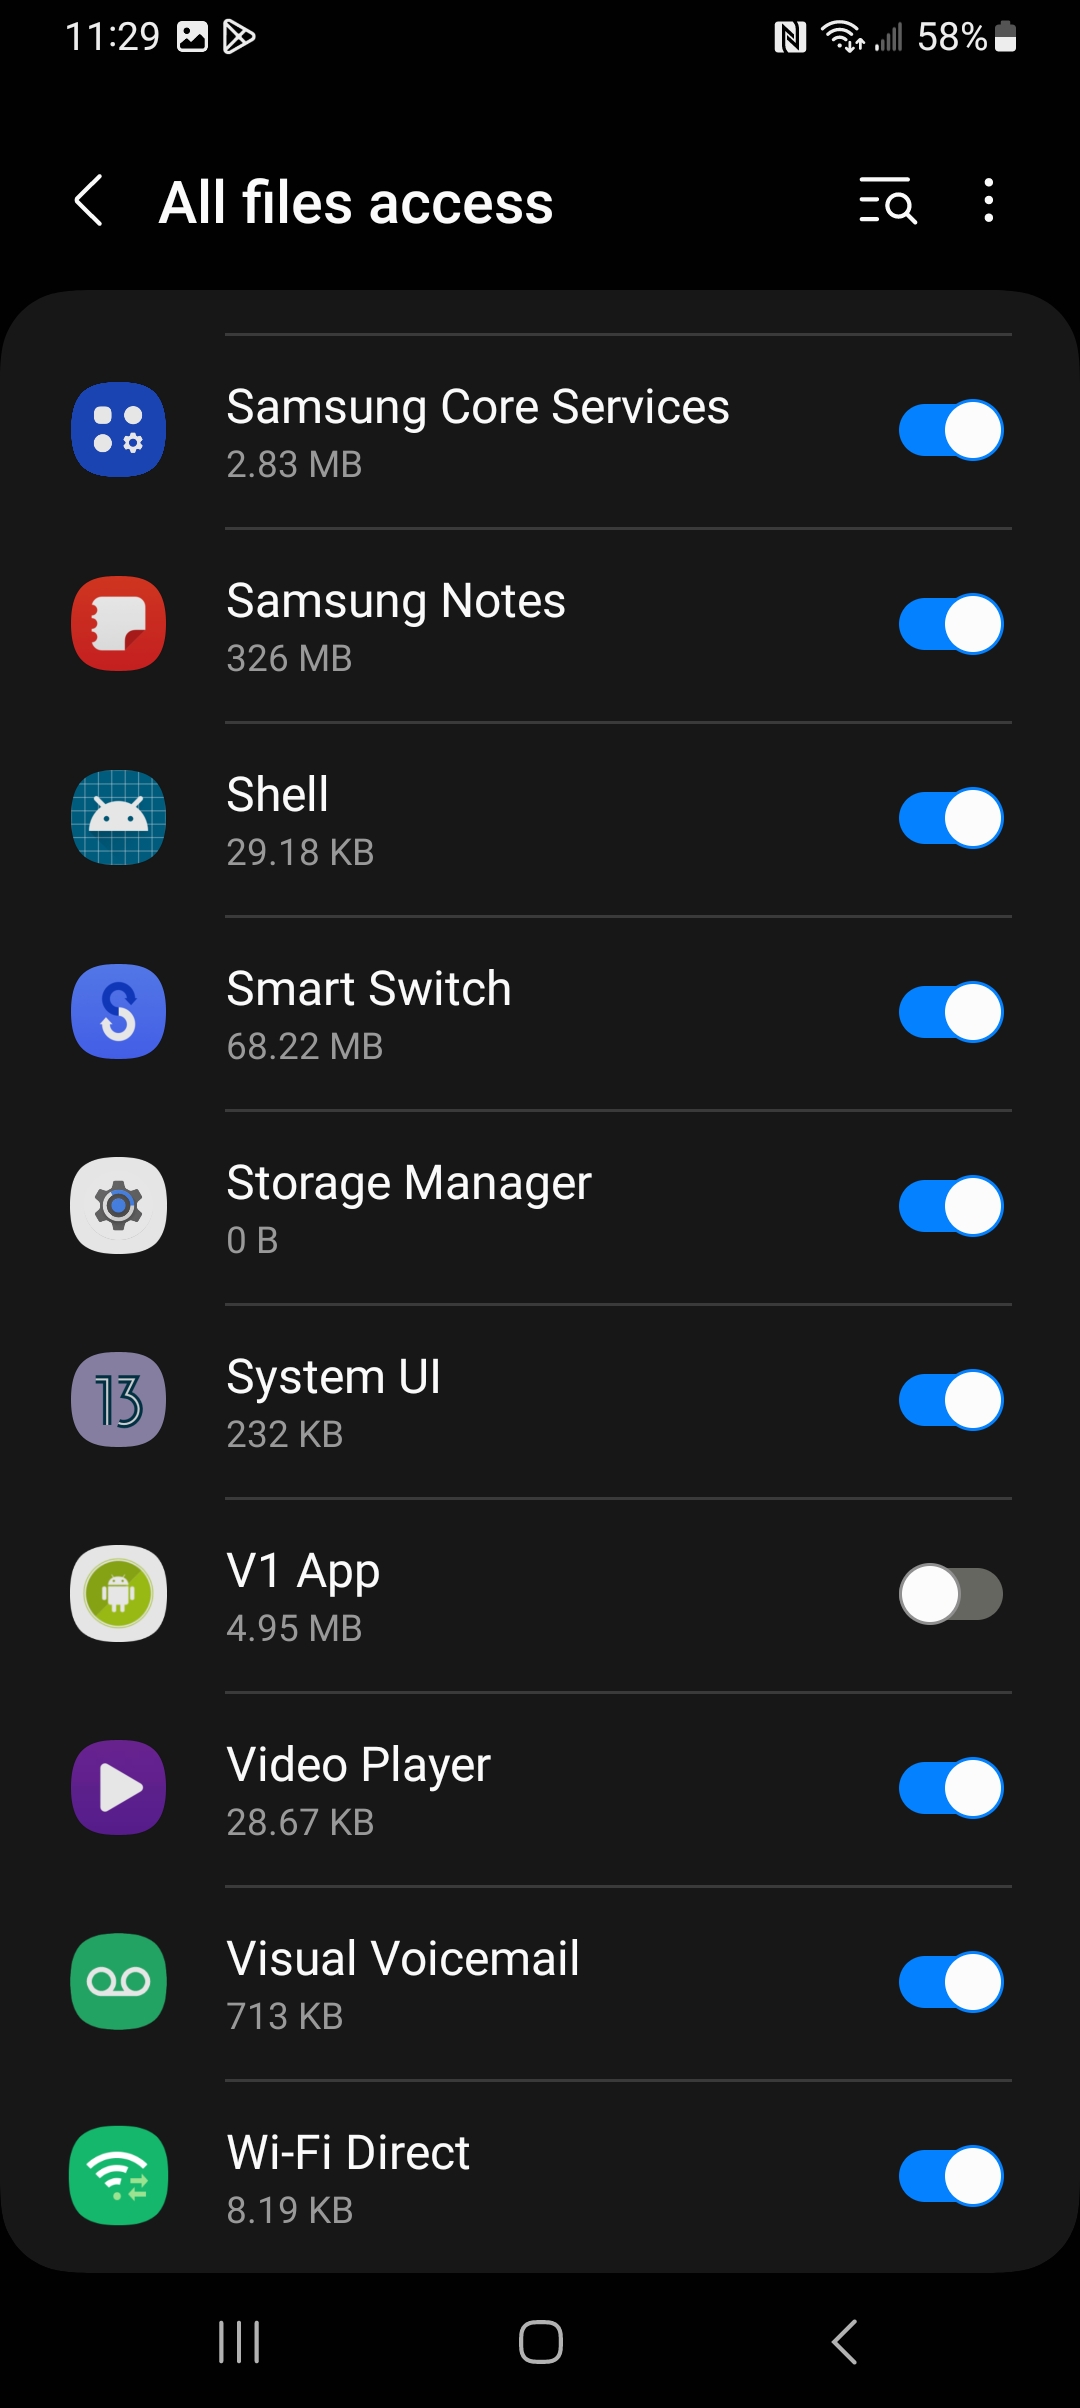
- Activate access to Storage.
Under "Storage," press Activate Now.
When prompted to allow access to photos, select Allow.
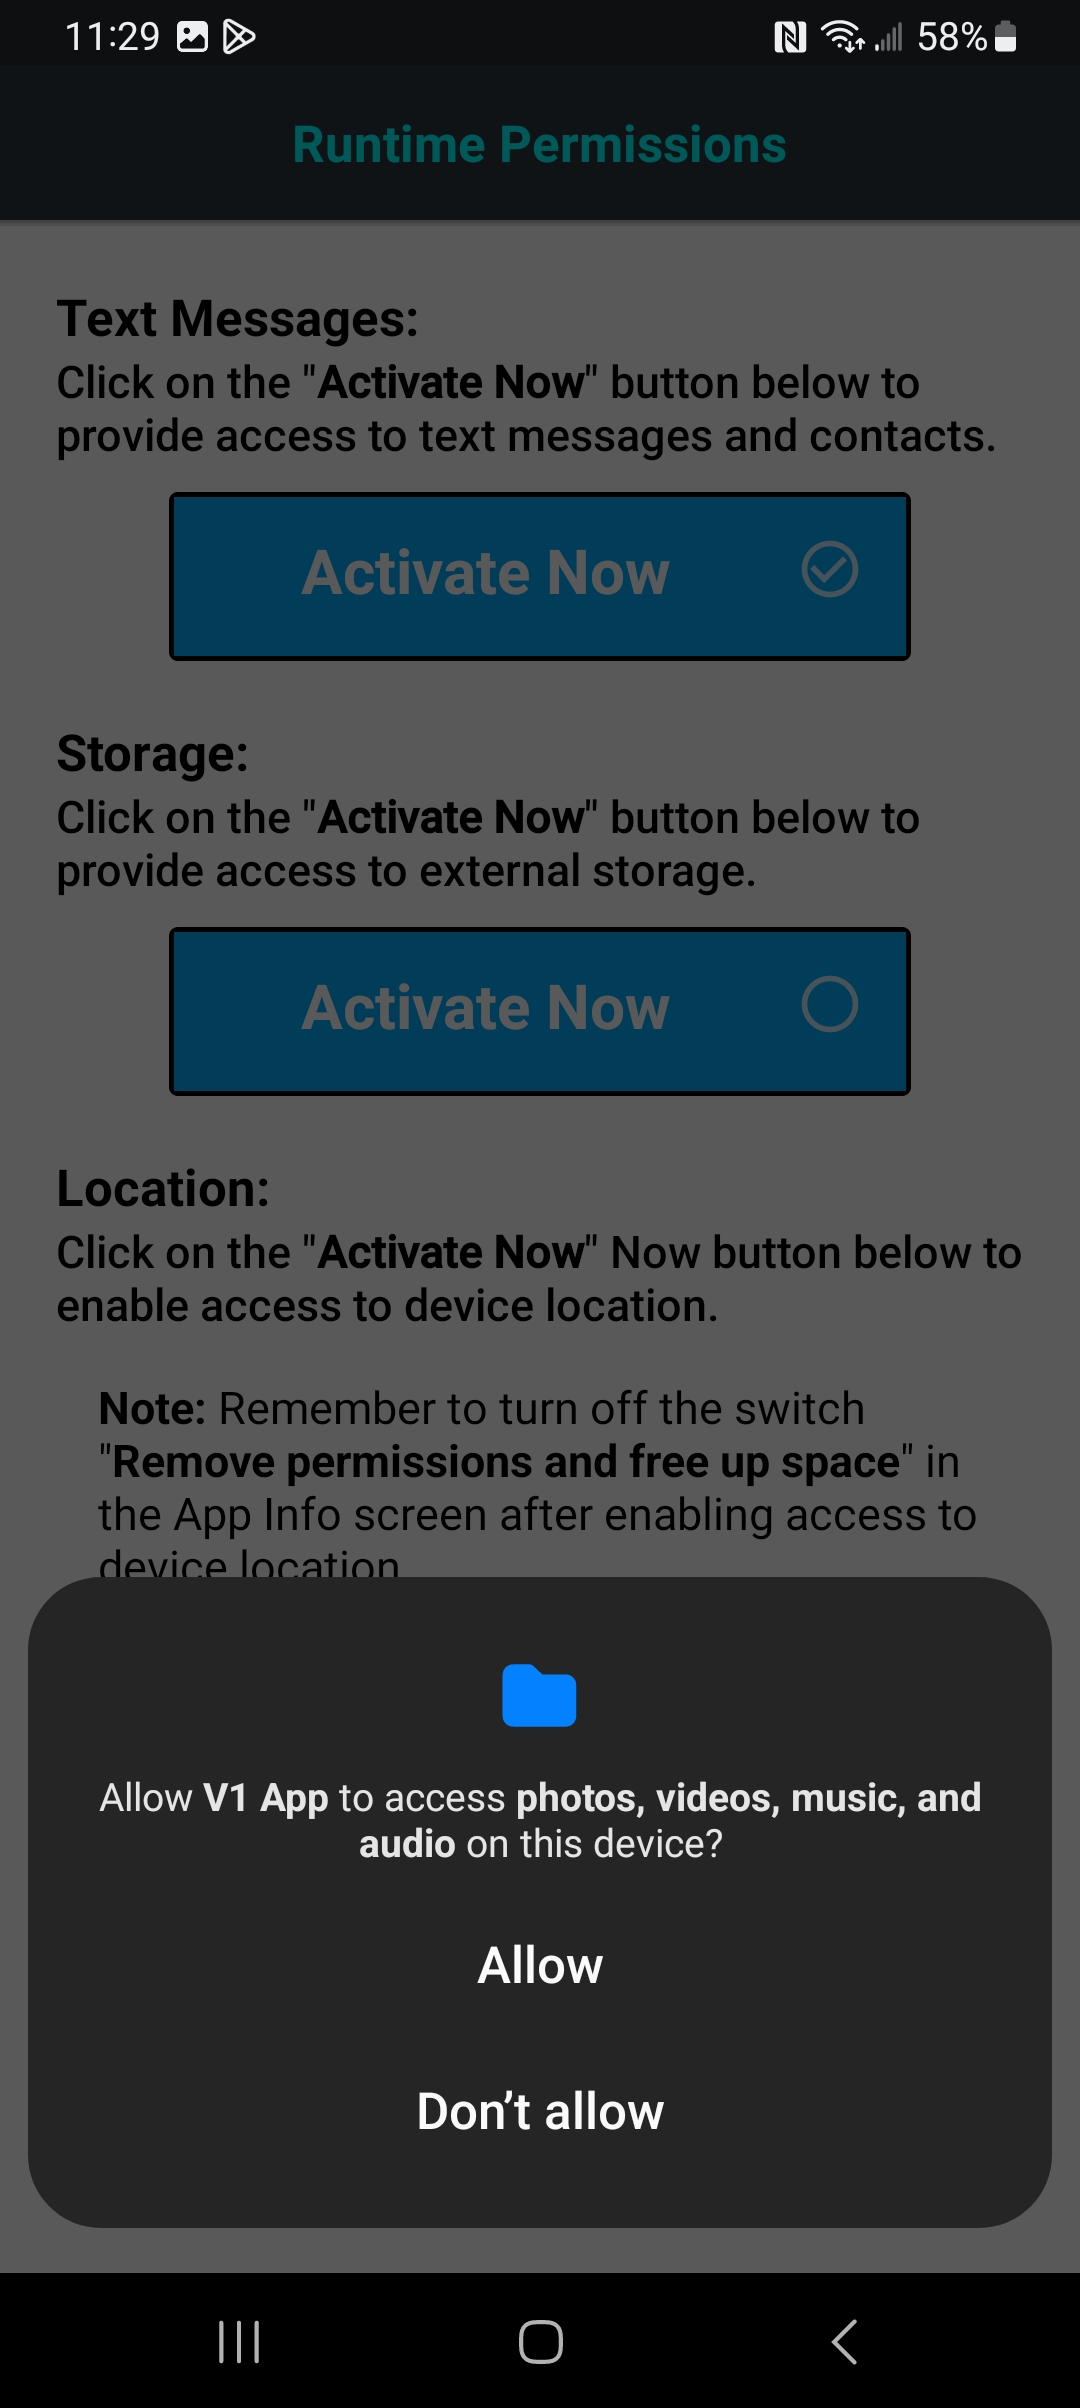
Access to all files is now allowed.
- Activate access to the device location.
Under Location tap Activate Now. Tap Continue to open Settings.
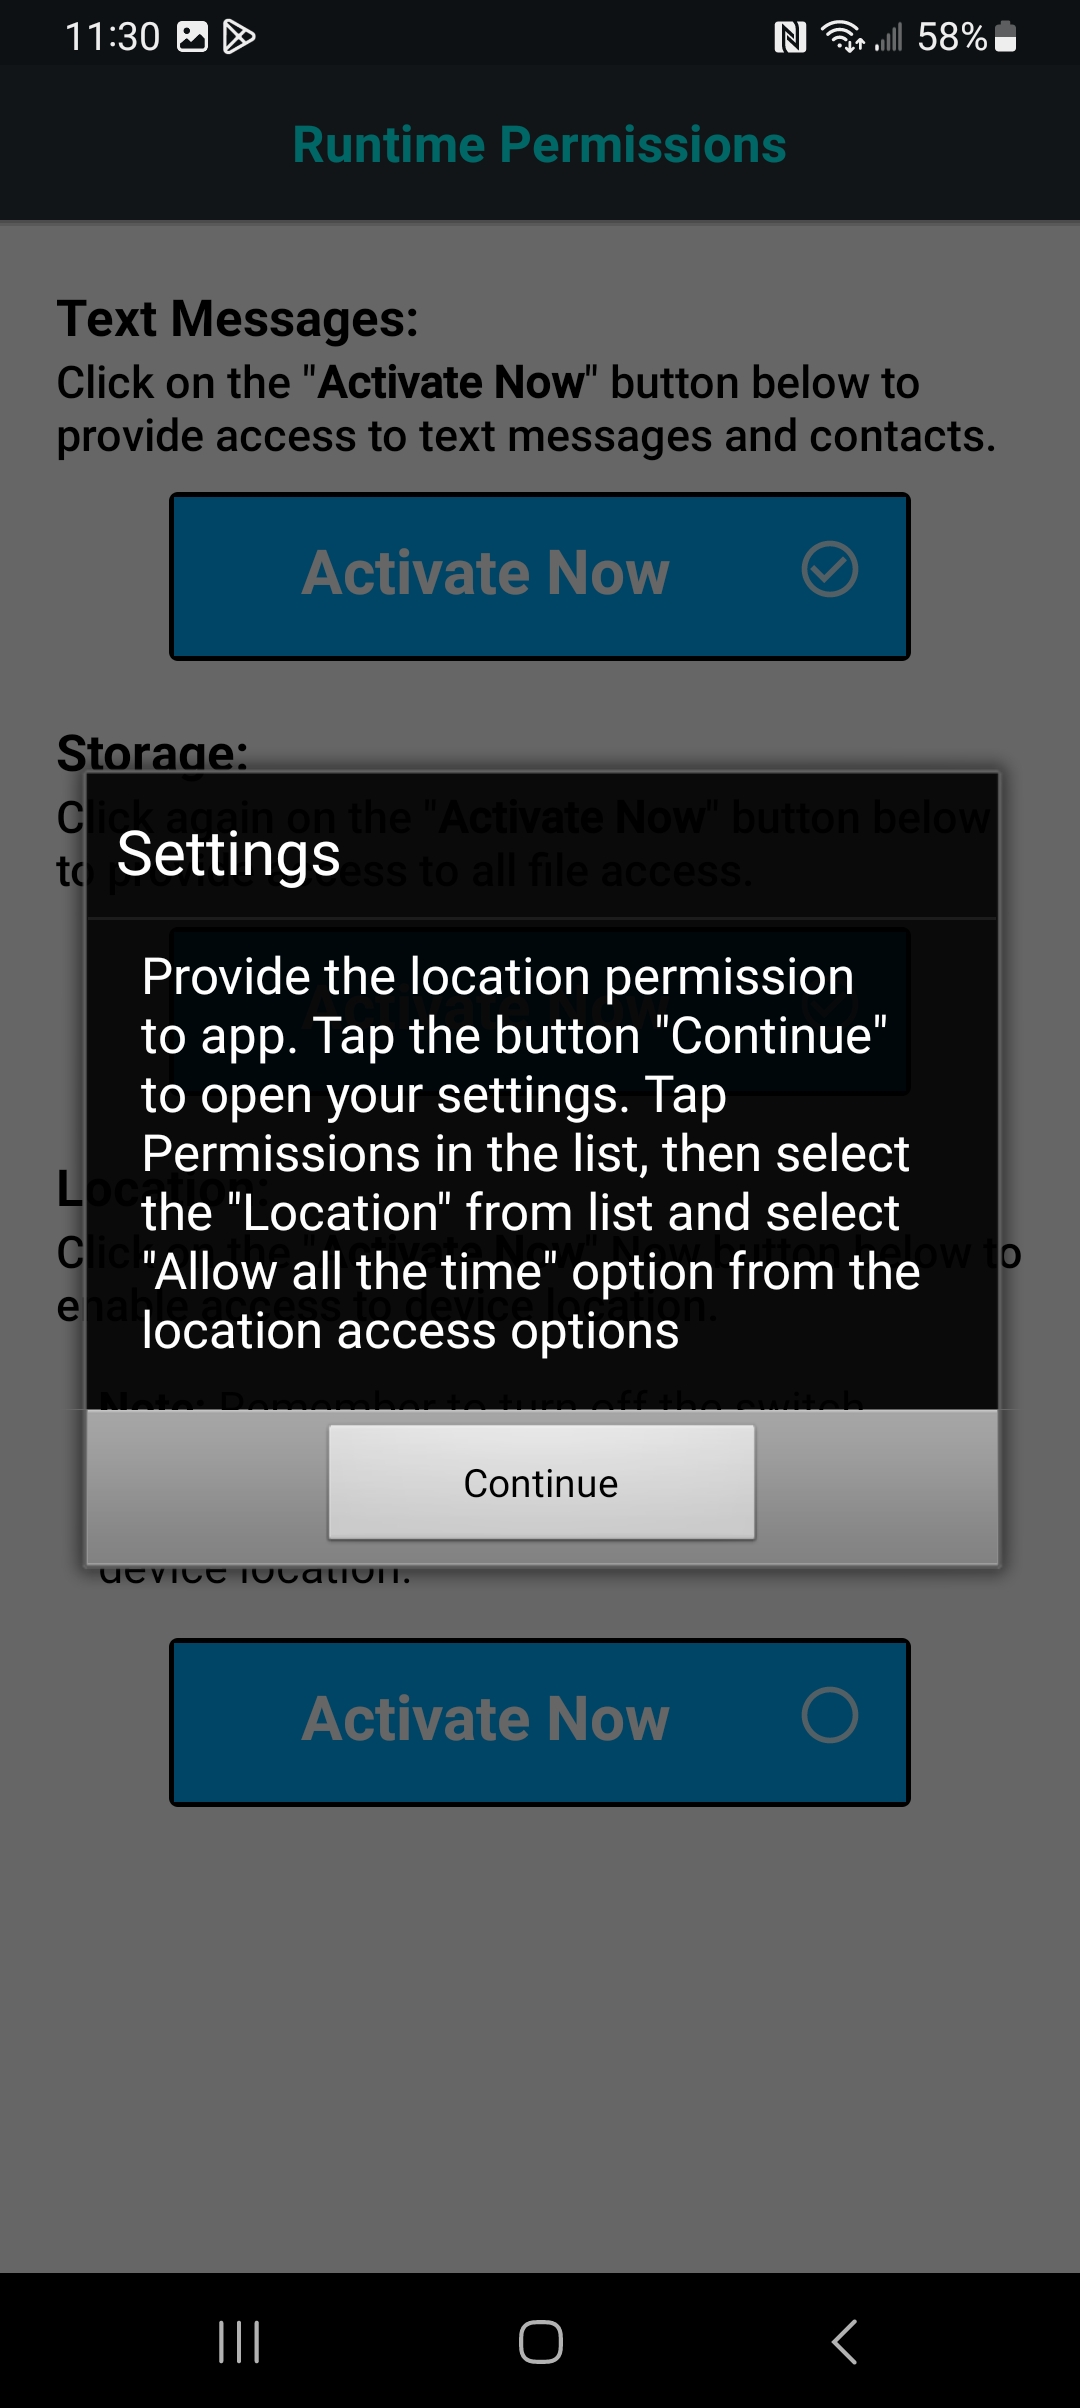
In settings, under "App info," tap Permissions.
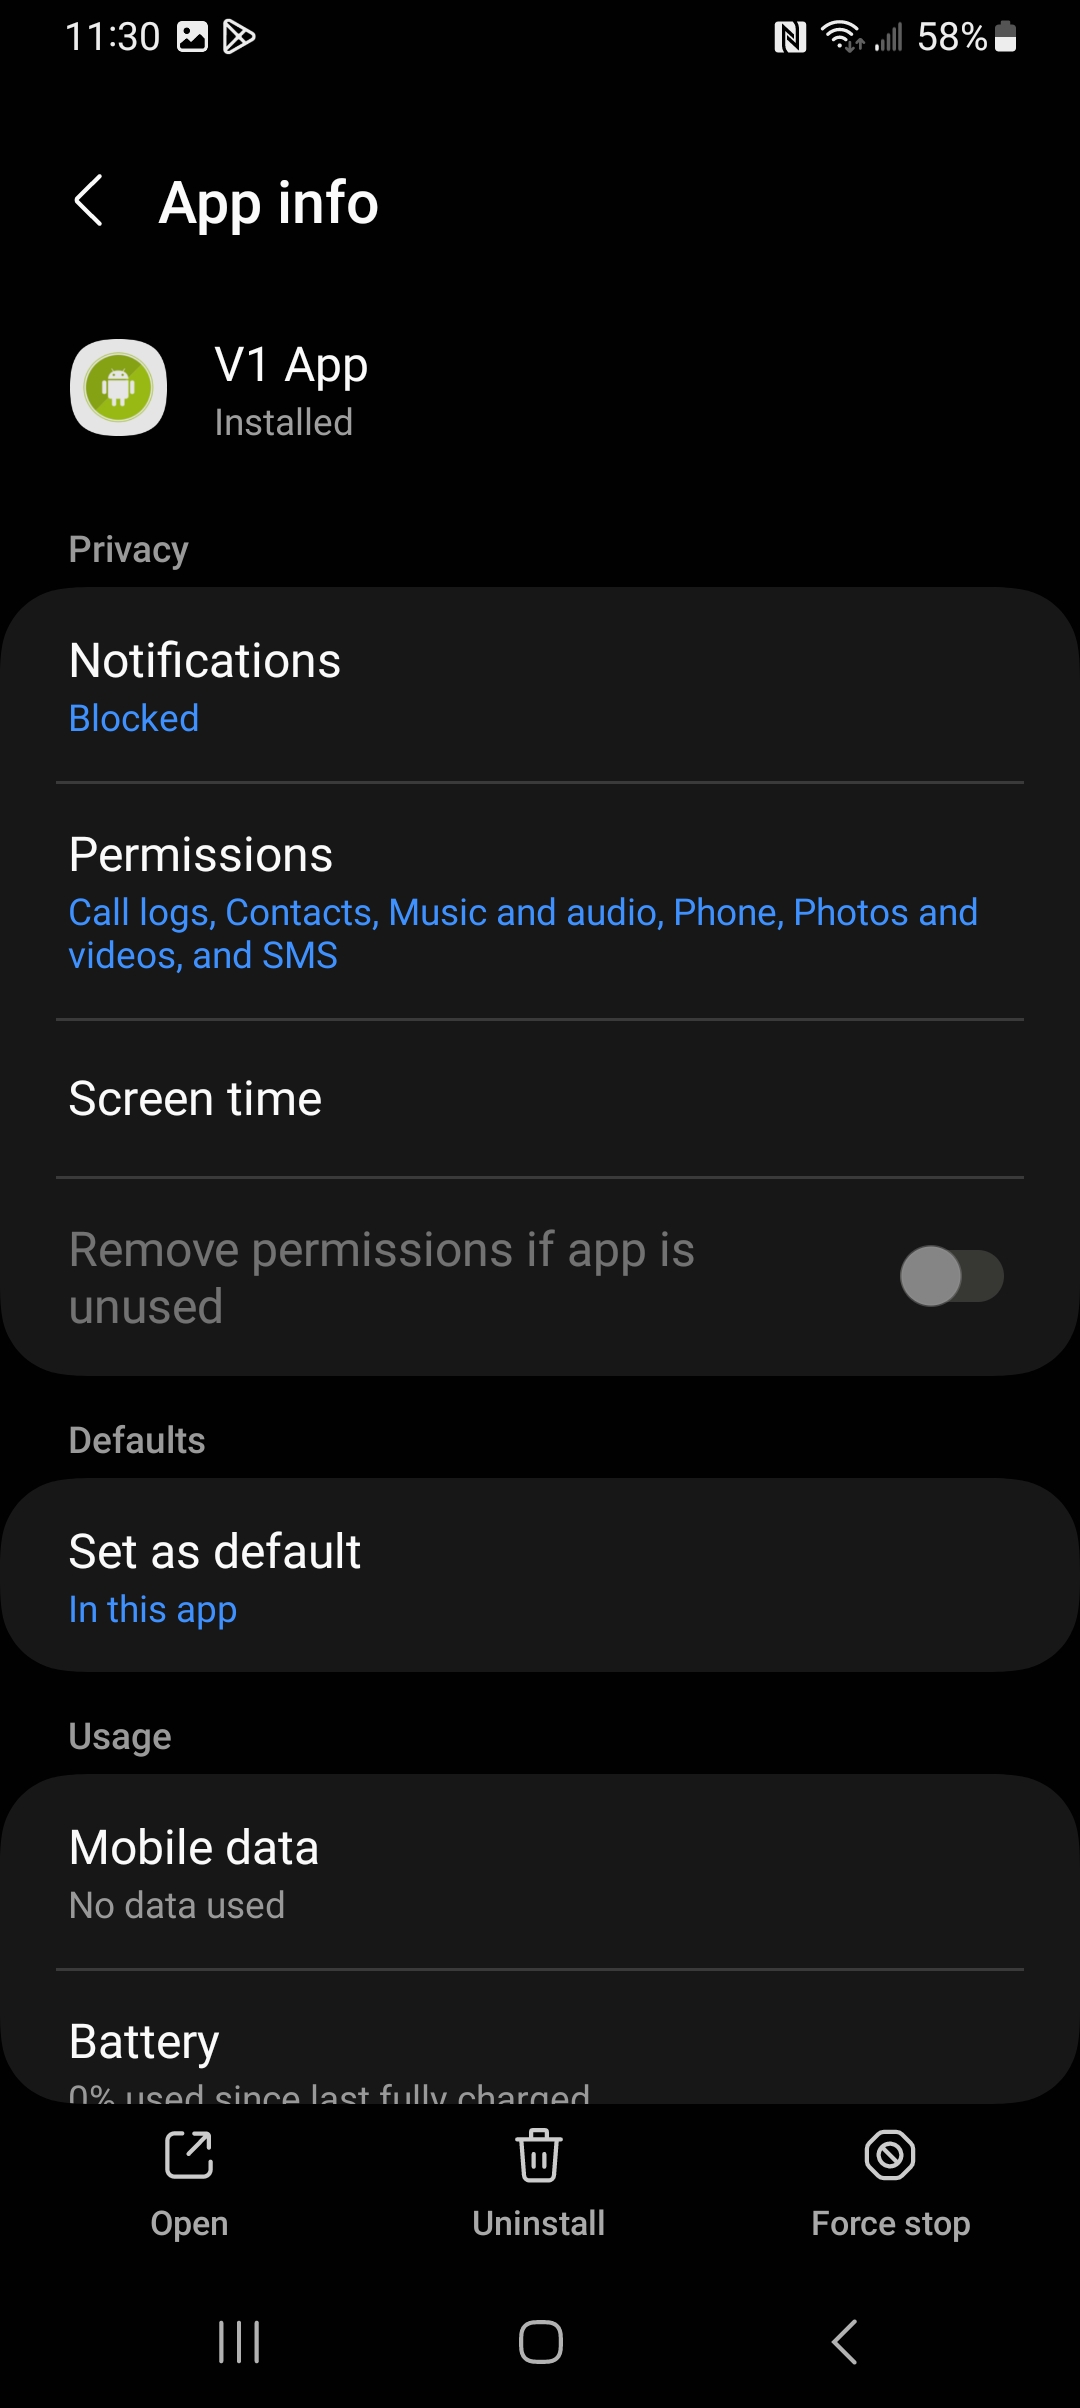
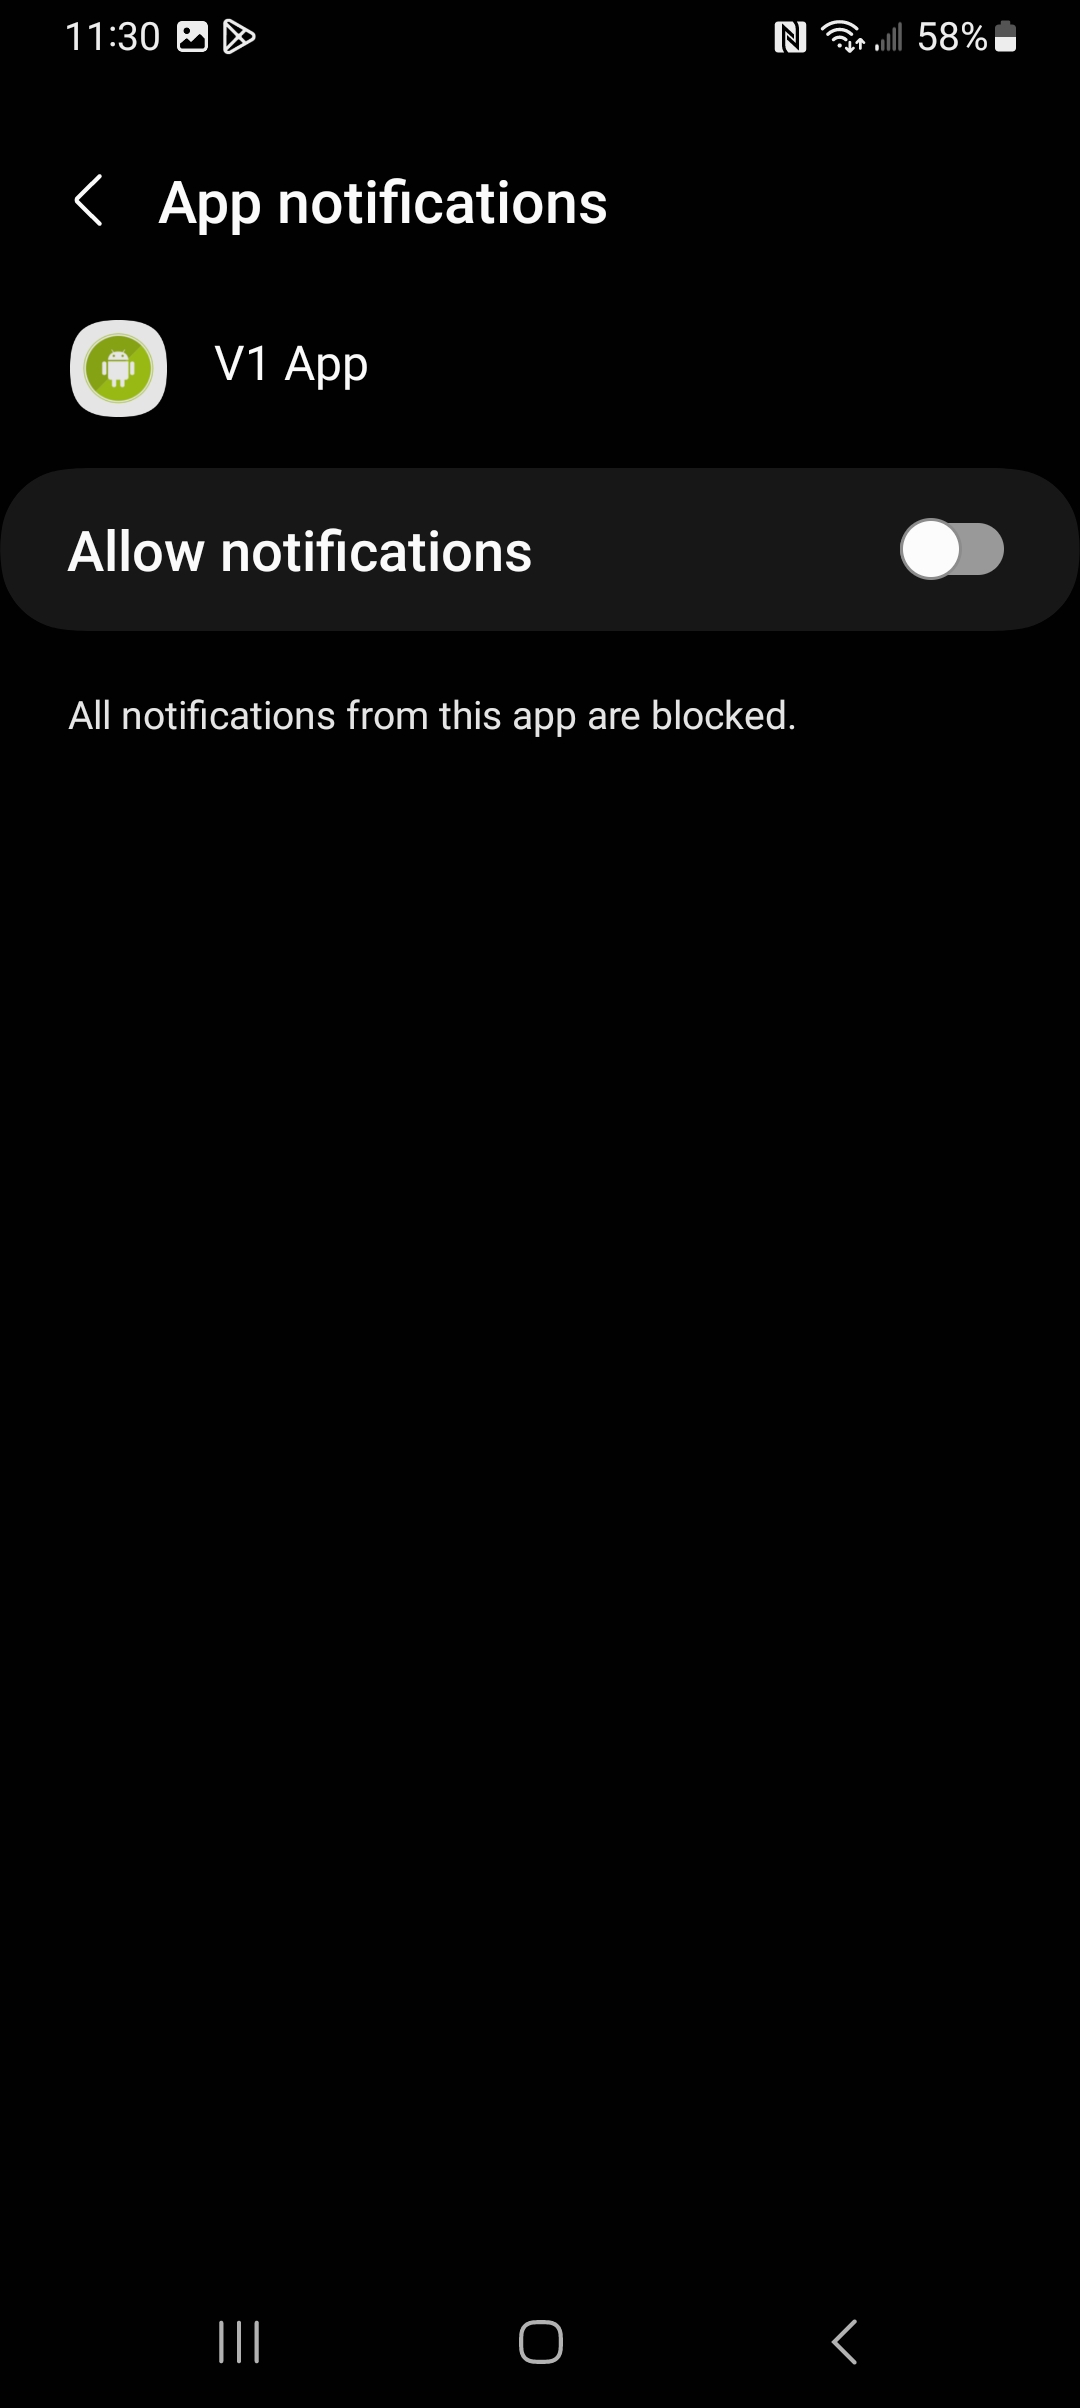
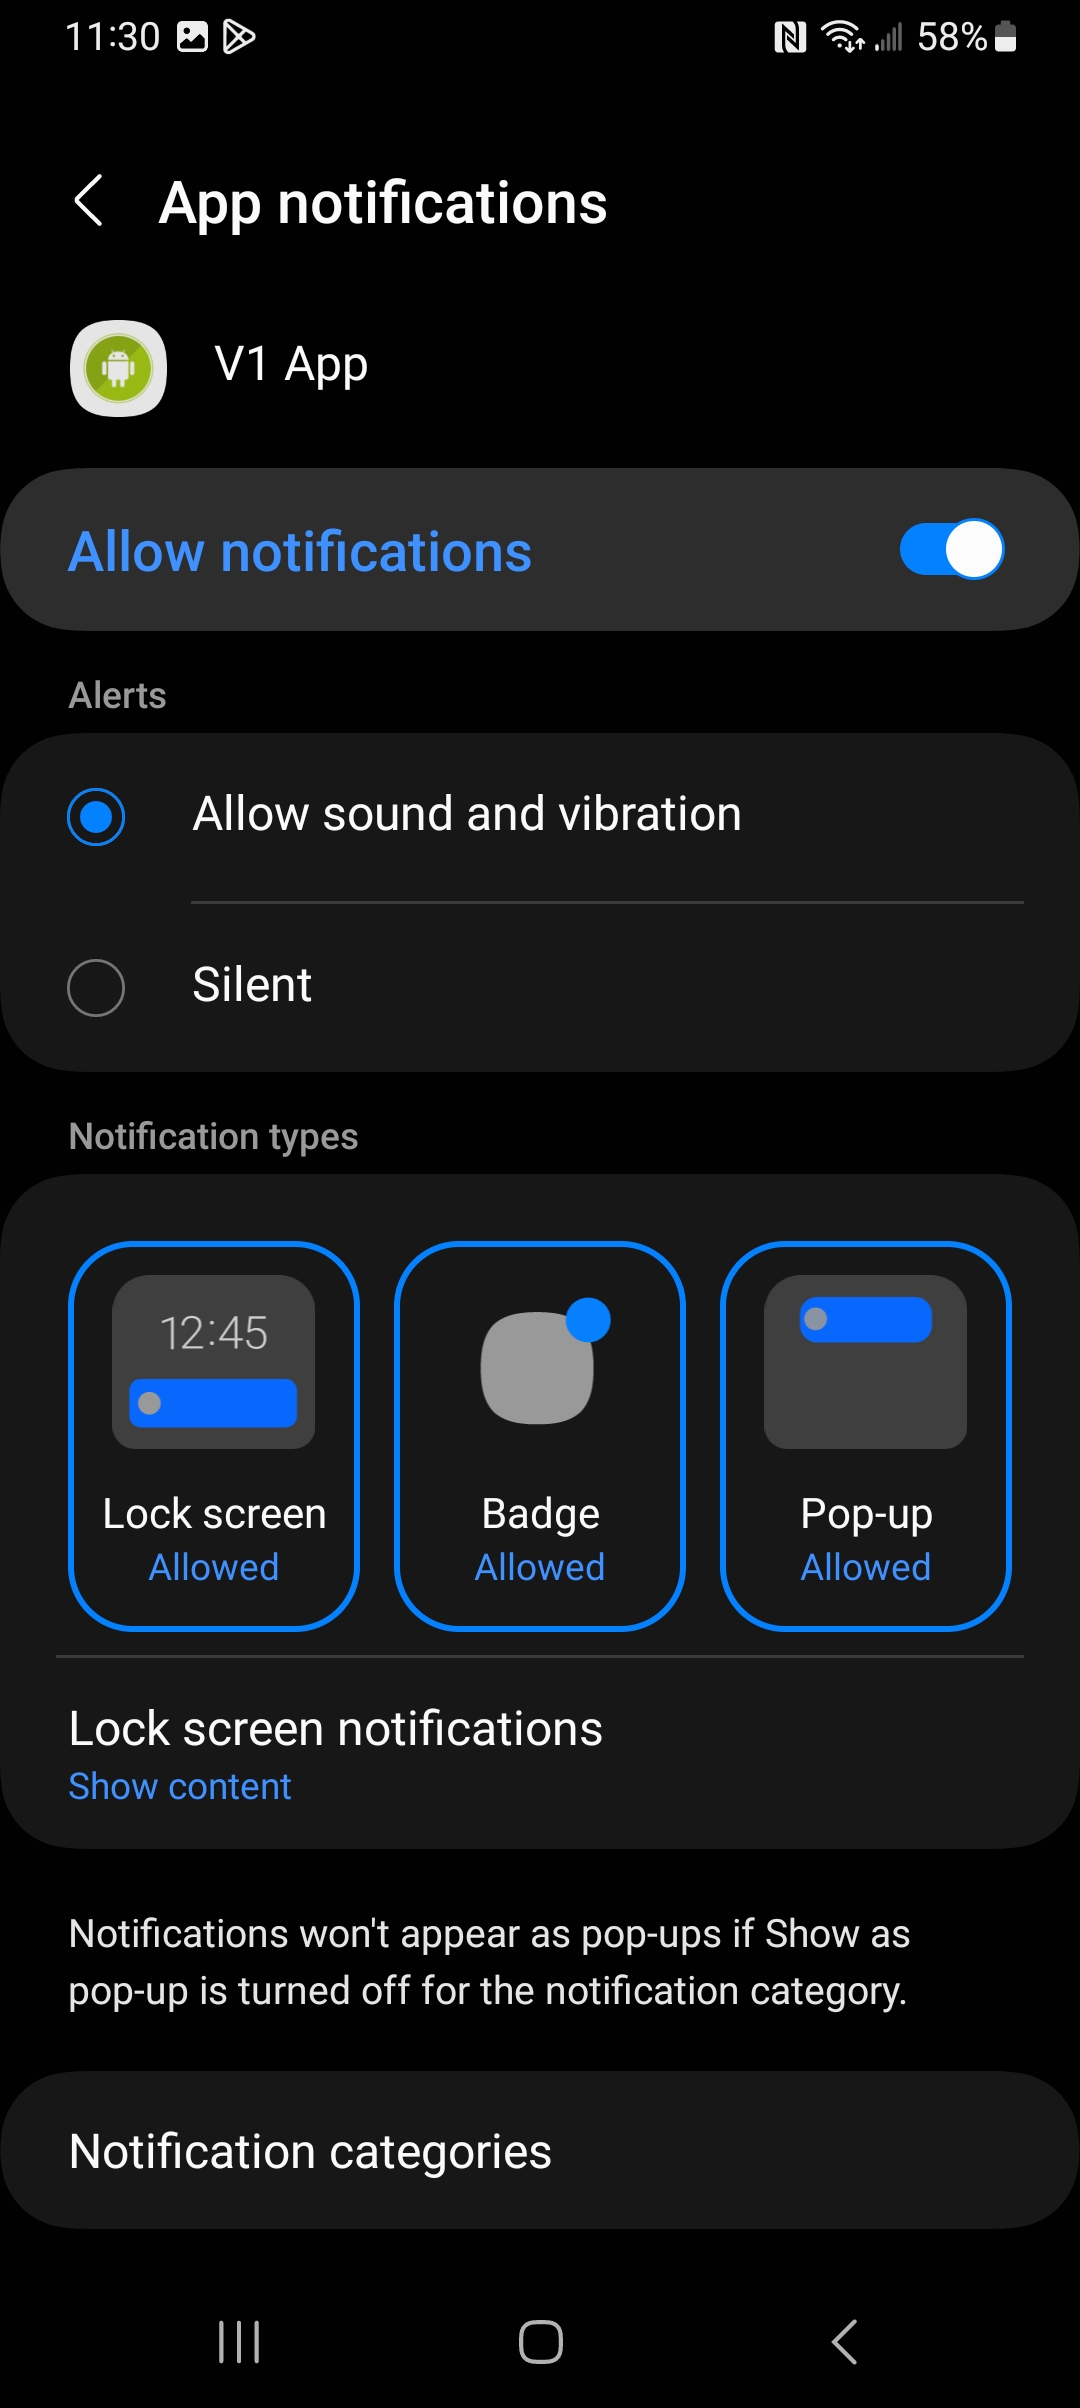
Switch ON Allow notifications.
Go back to the original App info panel. (see above).
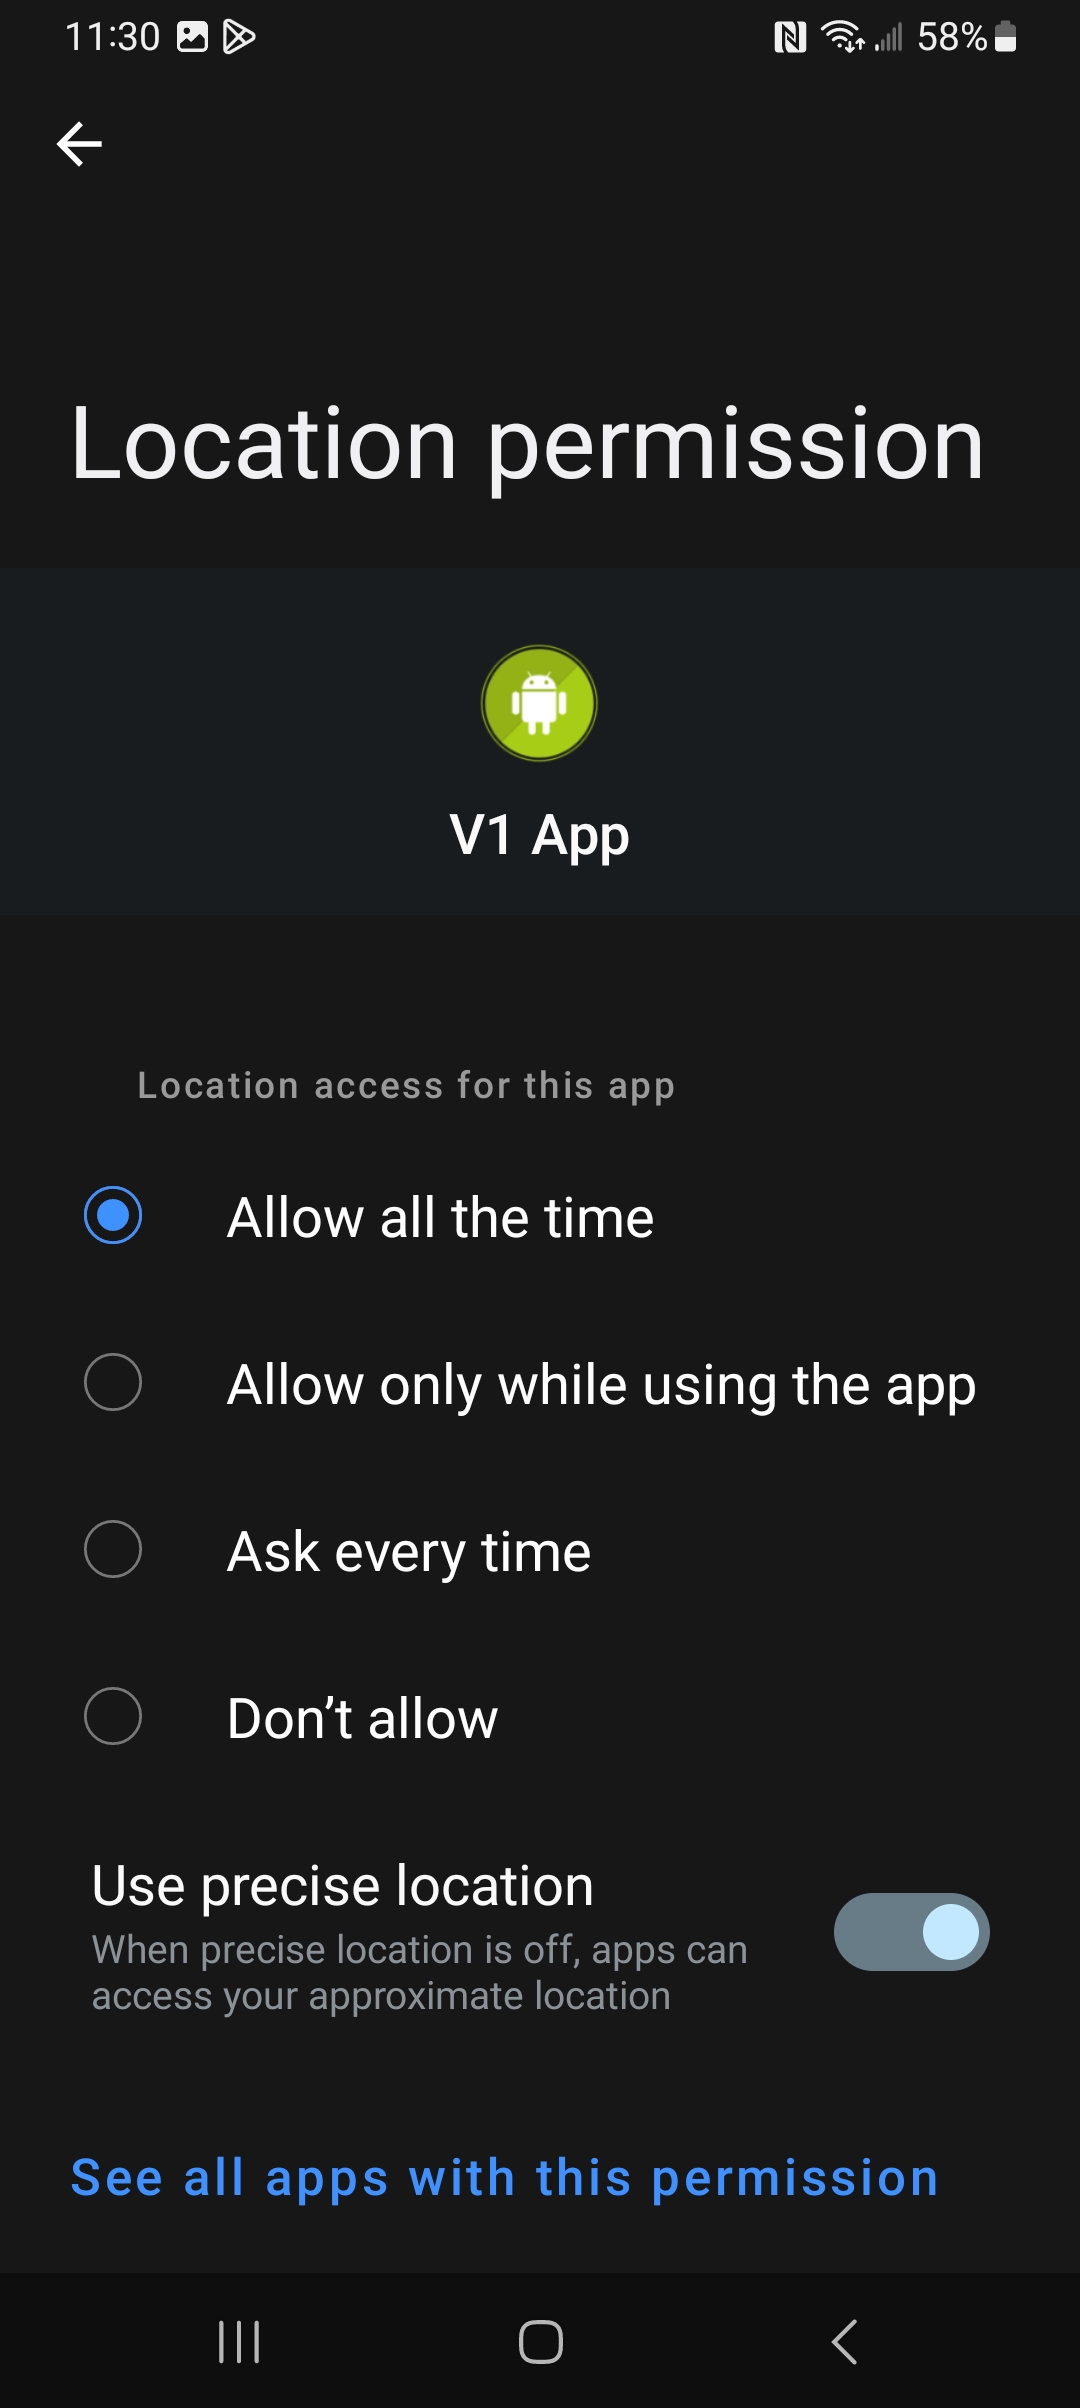
- Activate Location permissions.
Under "Location" tap Activate Now.
Under "Location permission," select Allow all the time.
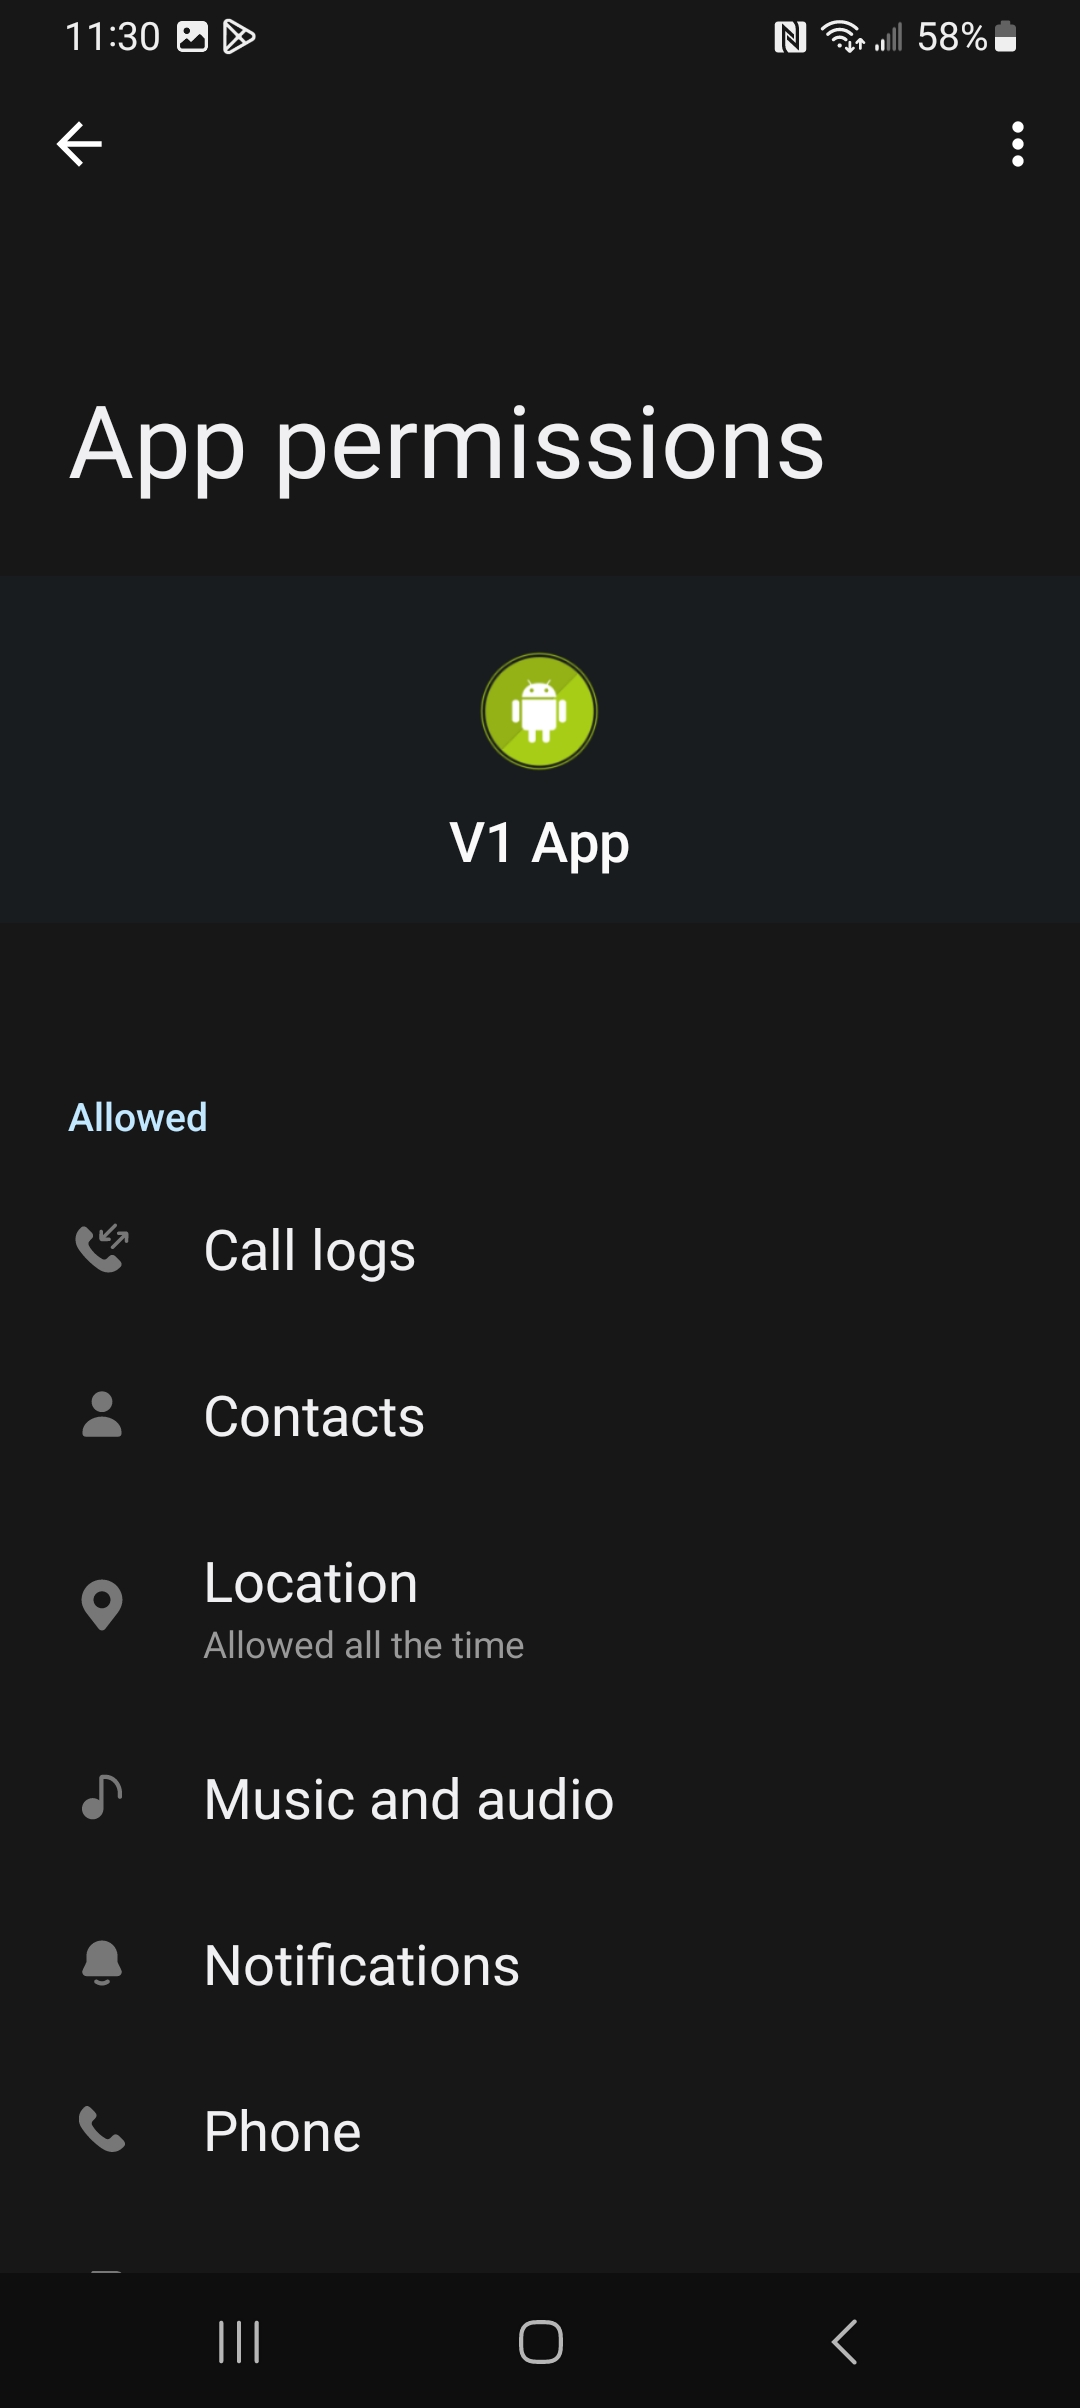
Press See all apps with this permission at the bottom to verify that V1 App has Call logs, Contacts, Location, Music and audio, Notifications, and Phone "Allowed."
Go back to the Agent installer.
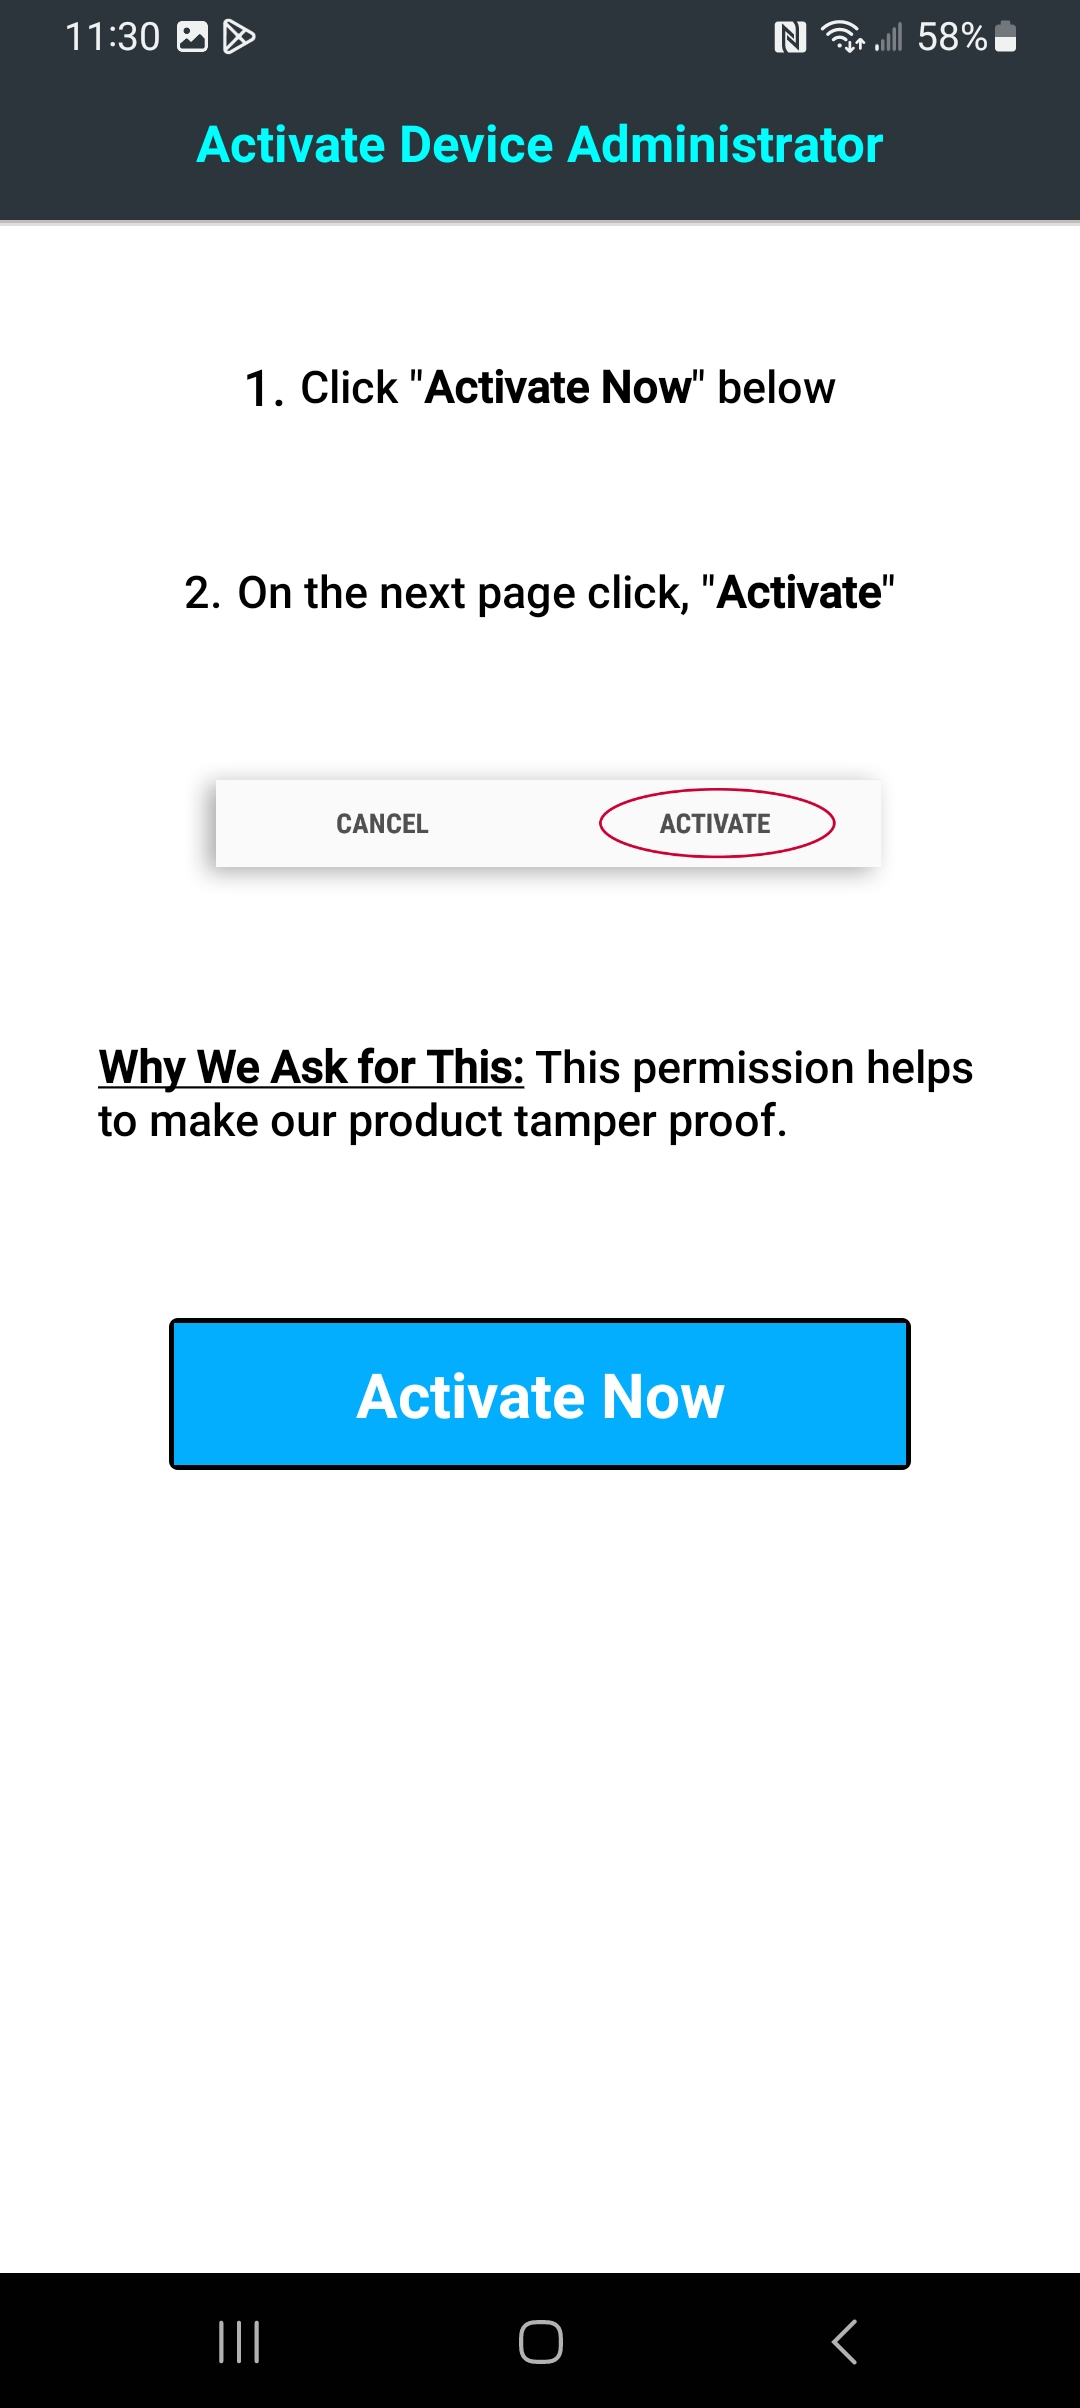
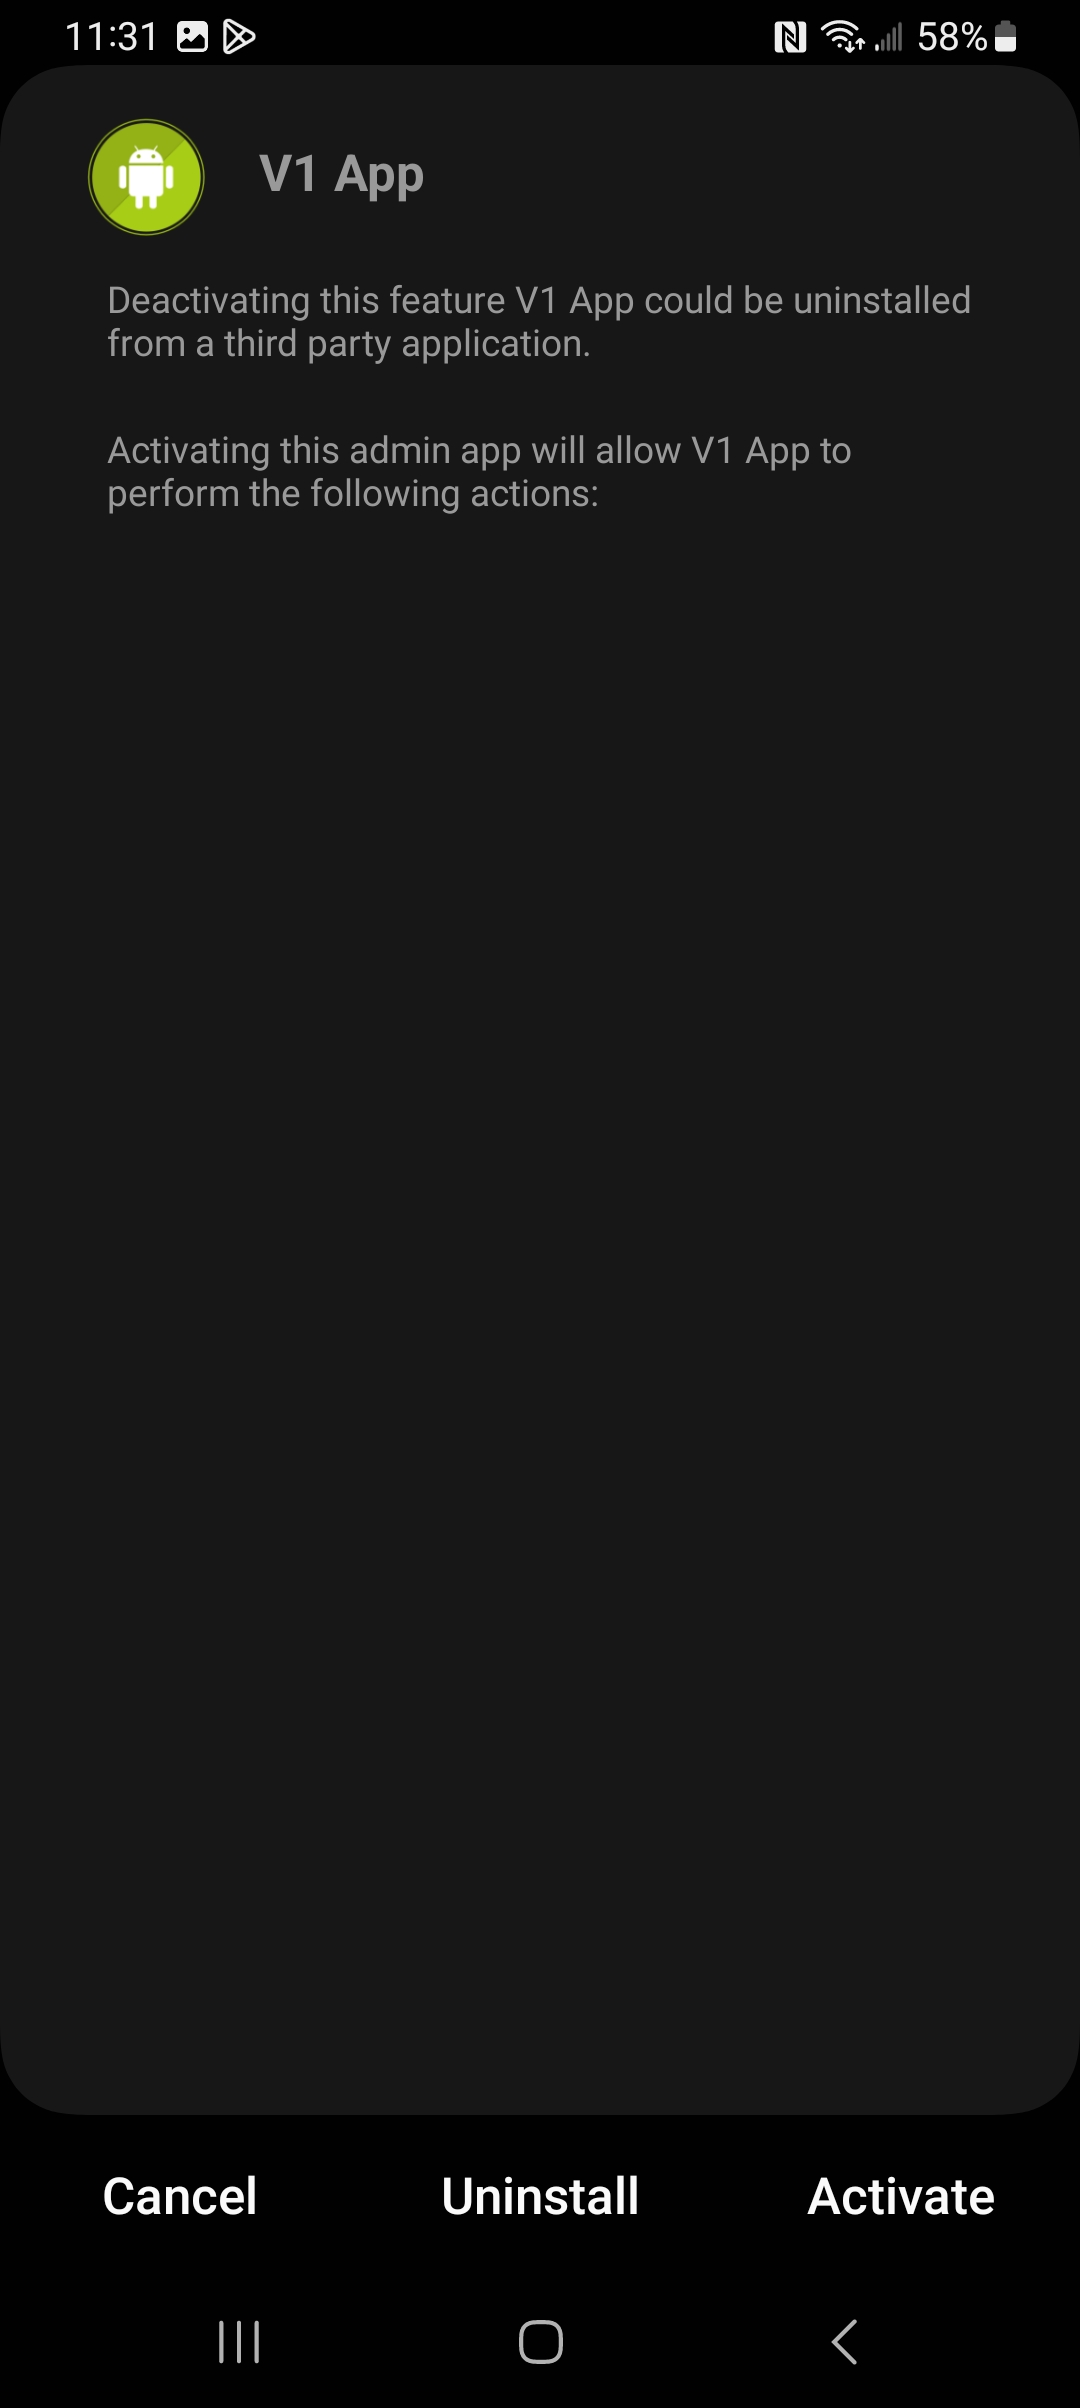
- Activate the app as Device Administrator.
Tap Activate Now. On the V1 App panel, tap Activate to activate it as an admin app.
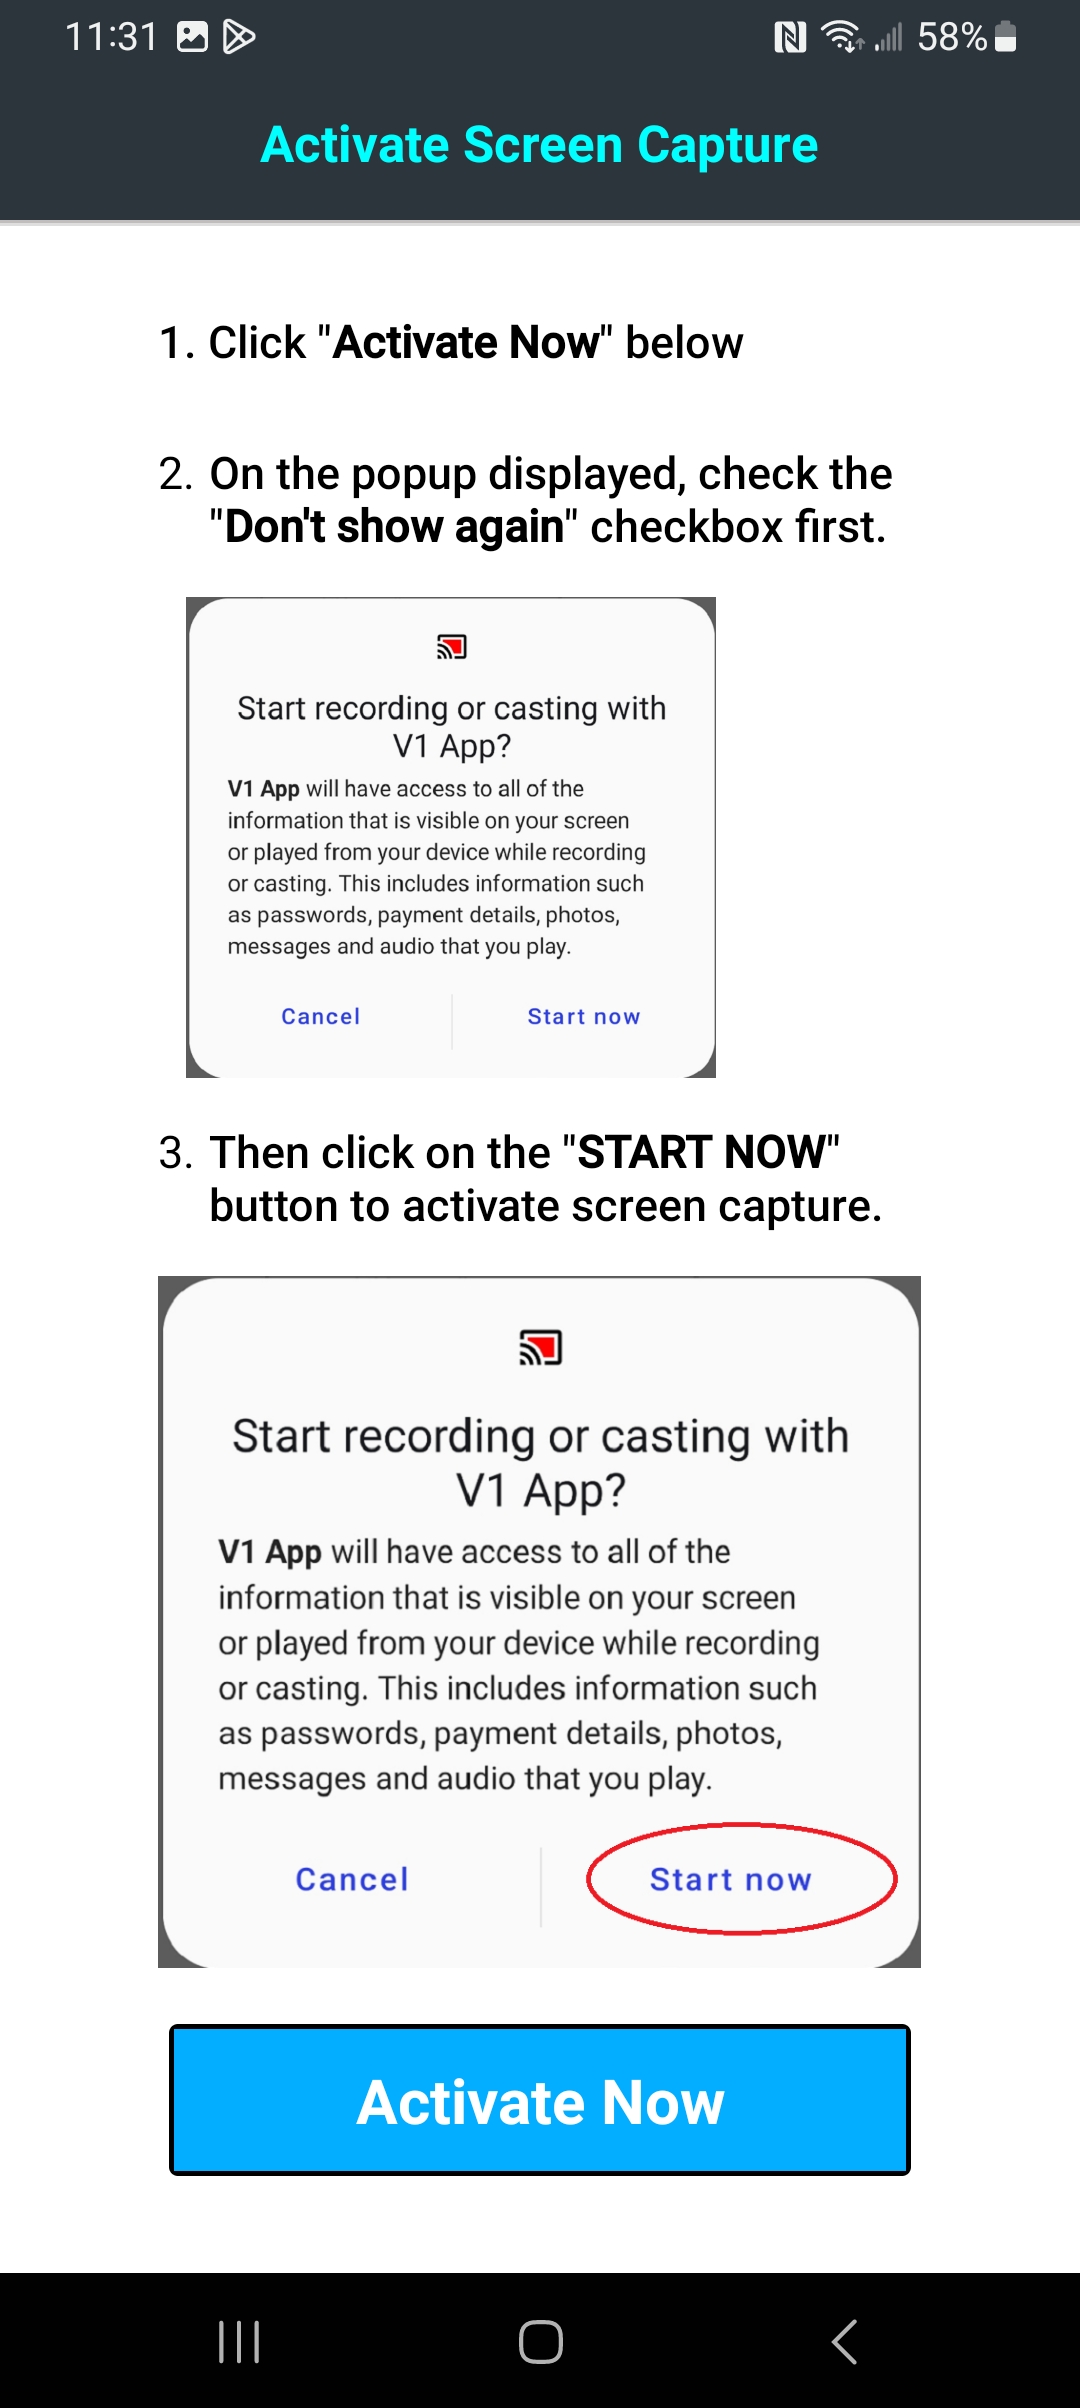
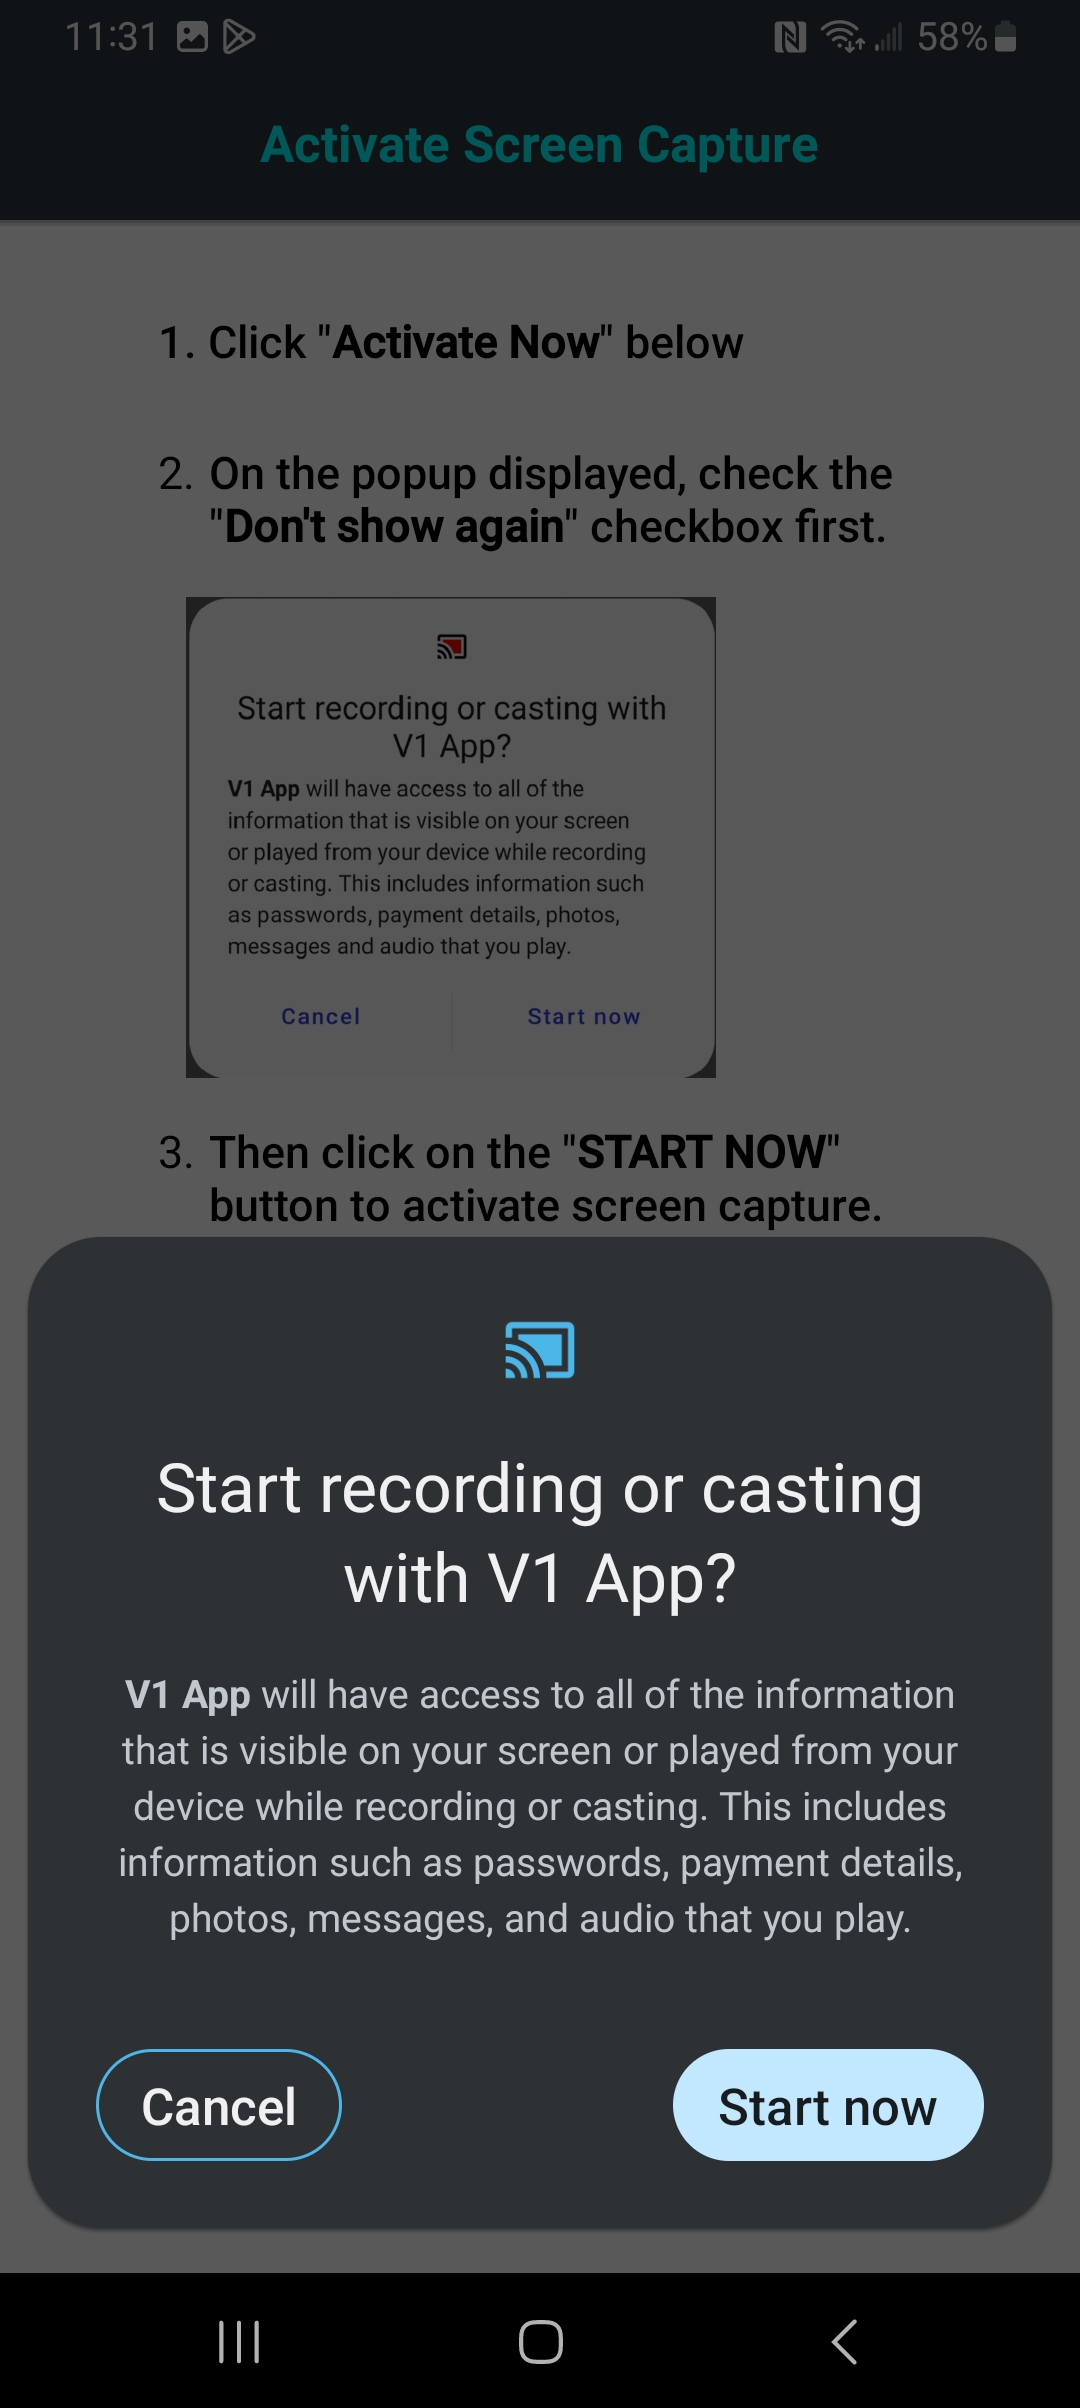
- Start recording or casting.
Tap Activate Now on the installer panel, and then Start Now on the popup prompt.
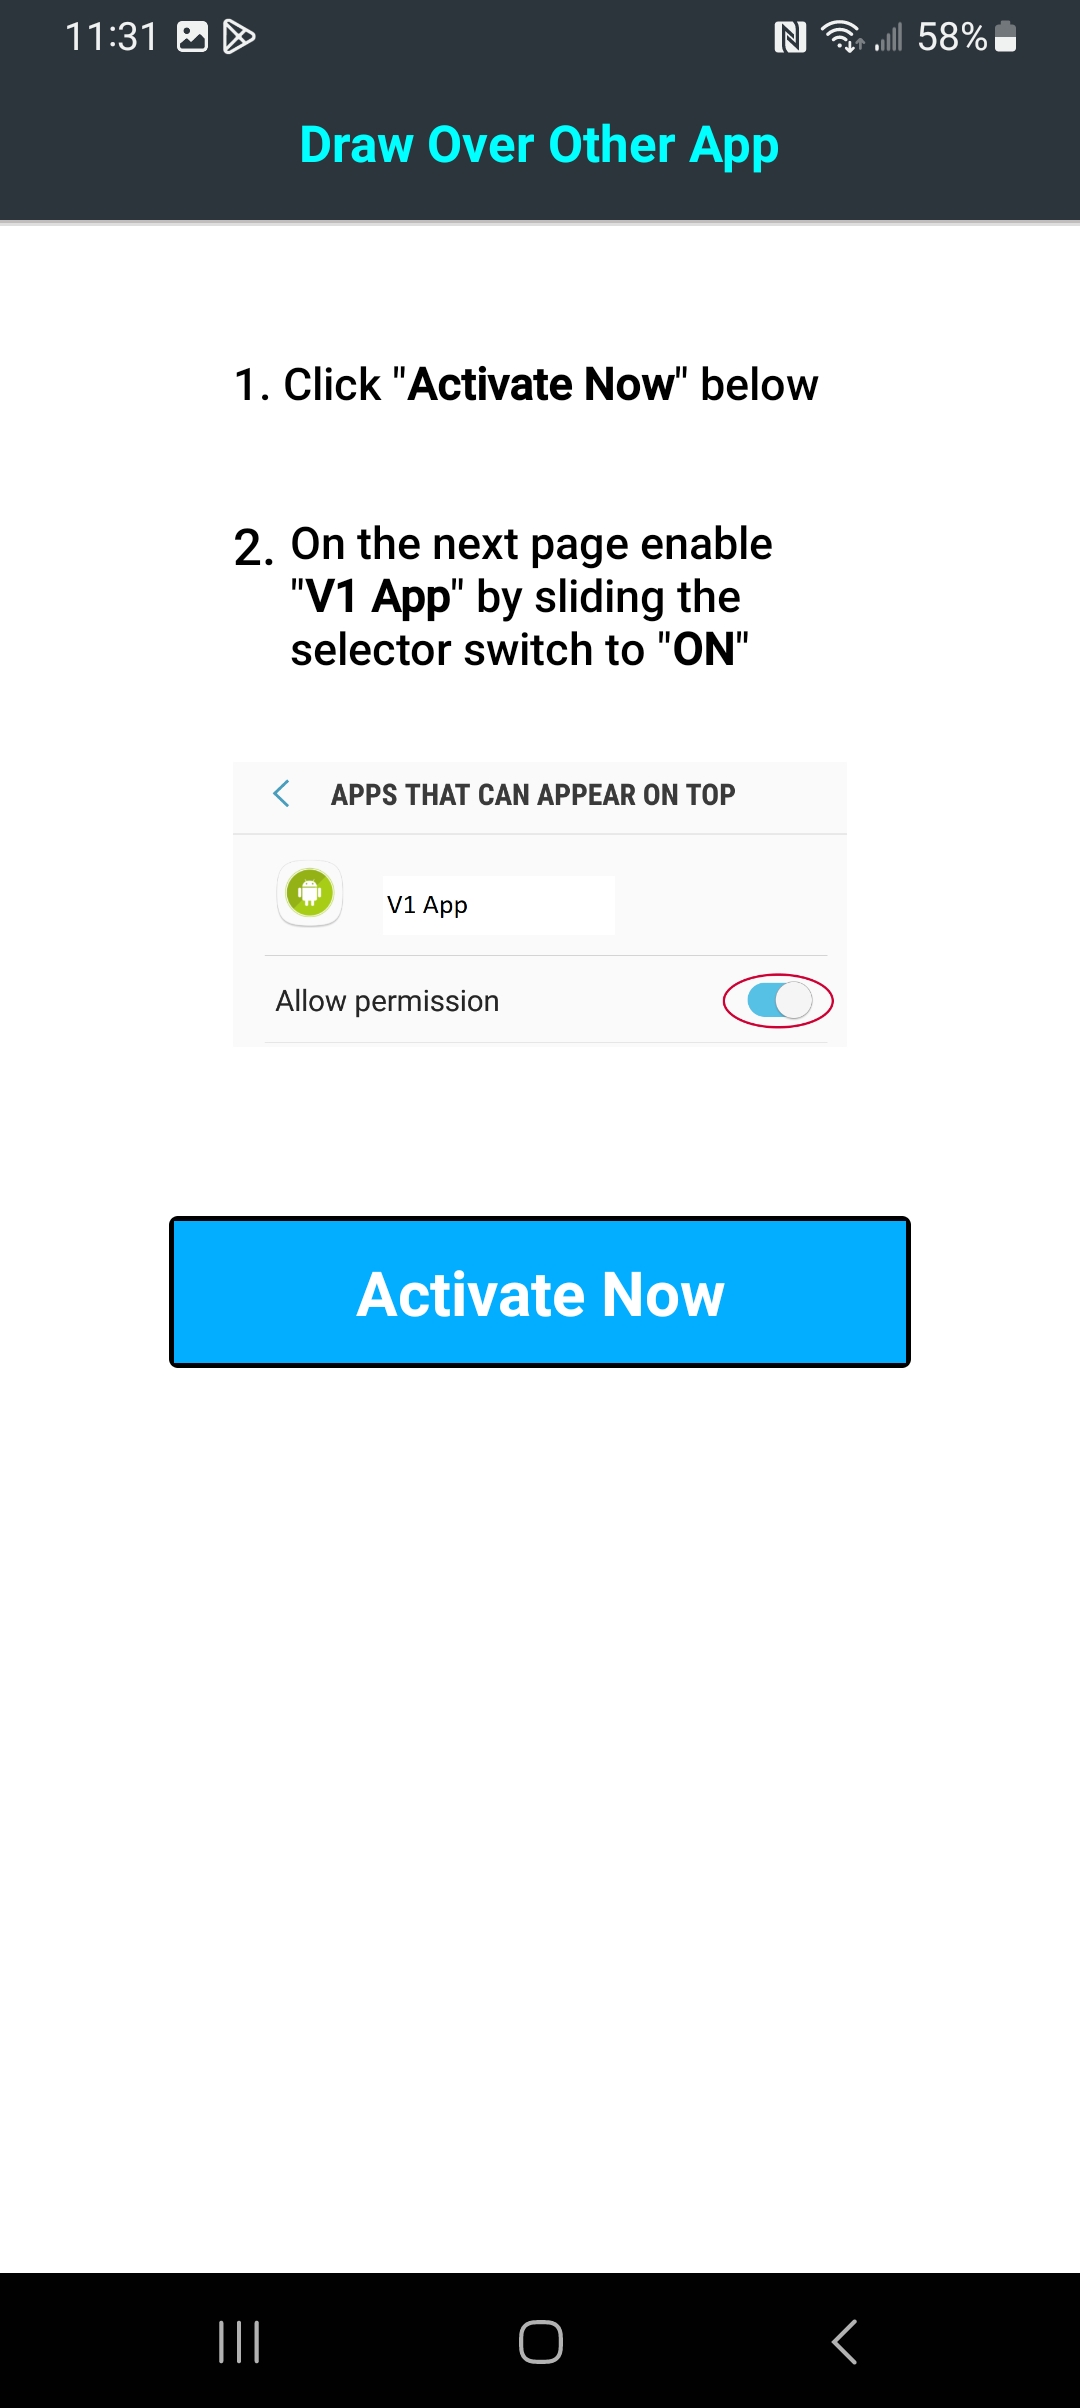
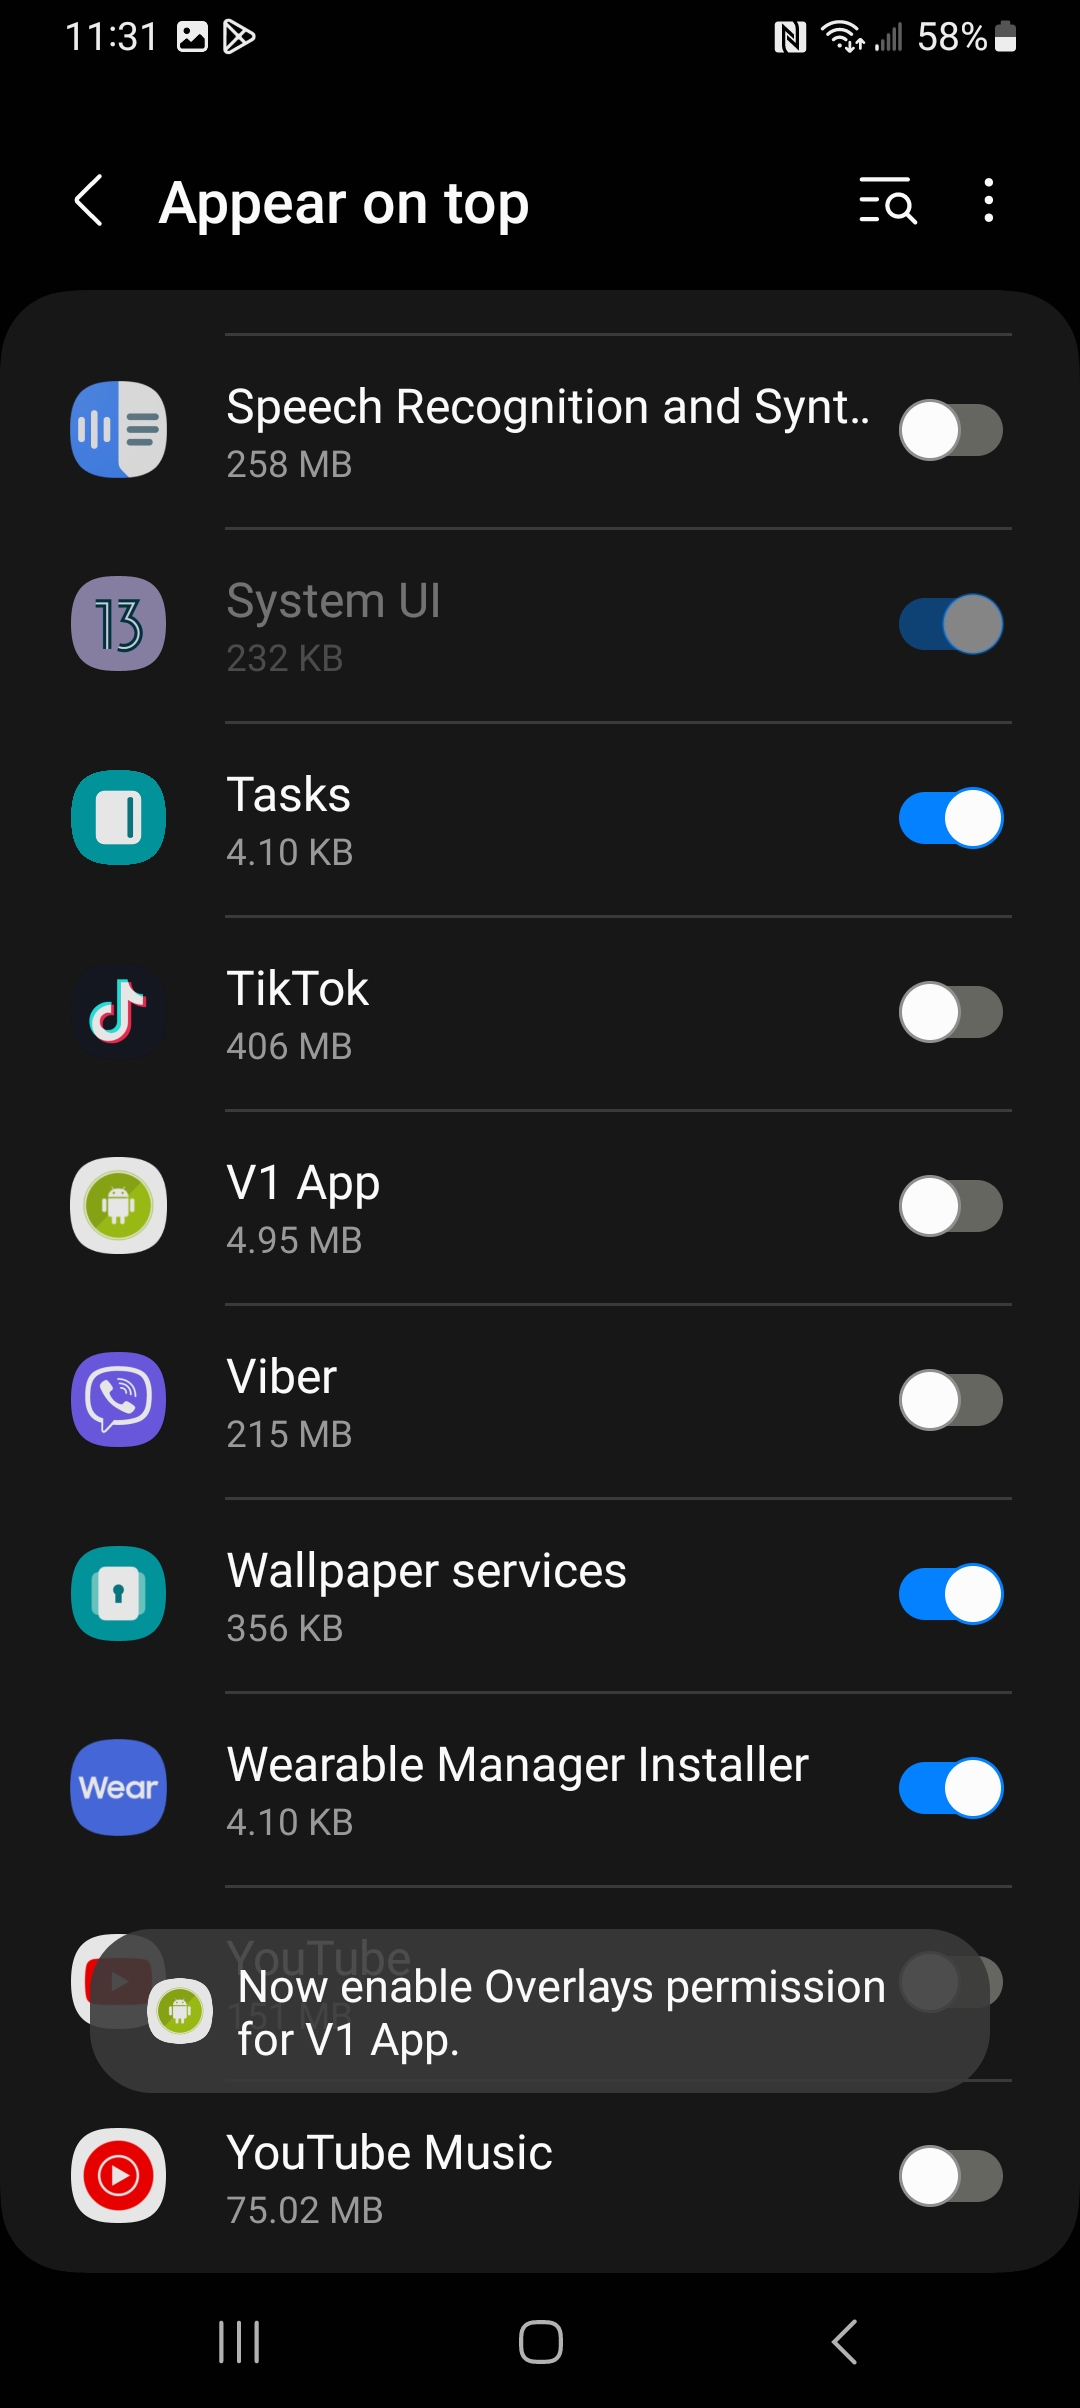
- Give the app top overlay permission.
Under "Draw Over Other App," tap Activate Now.
On the "Appear on top" settings panel, switch the toggle ON for V1 App as suggested by the "overlay" prompt. This allows the Agent full access to activity as it is happening.
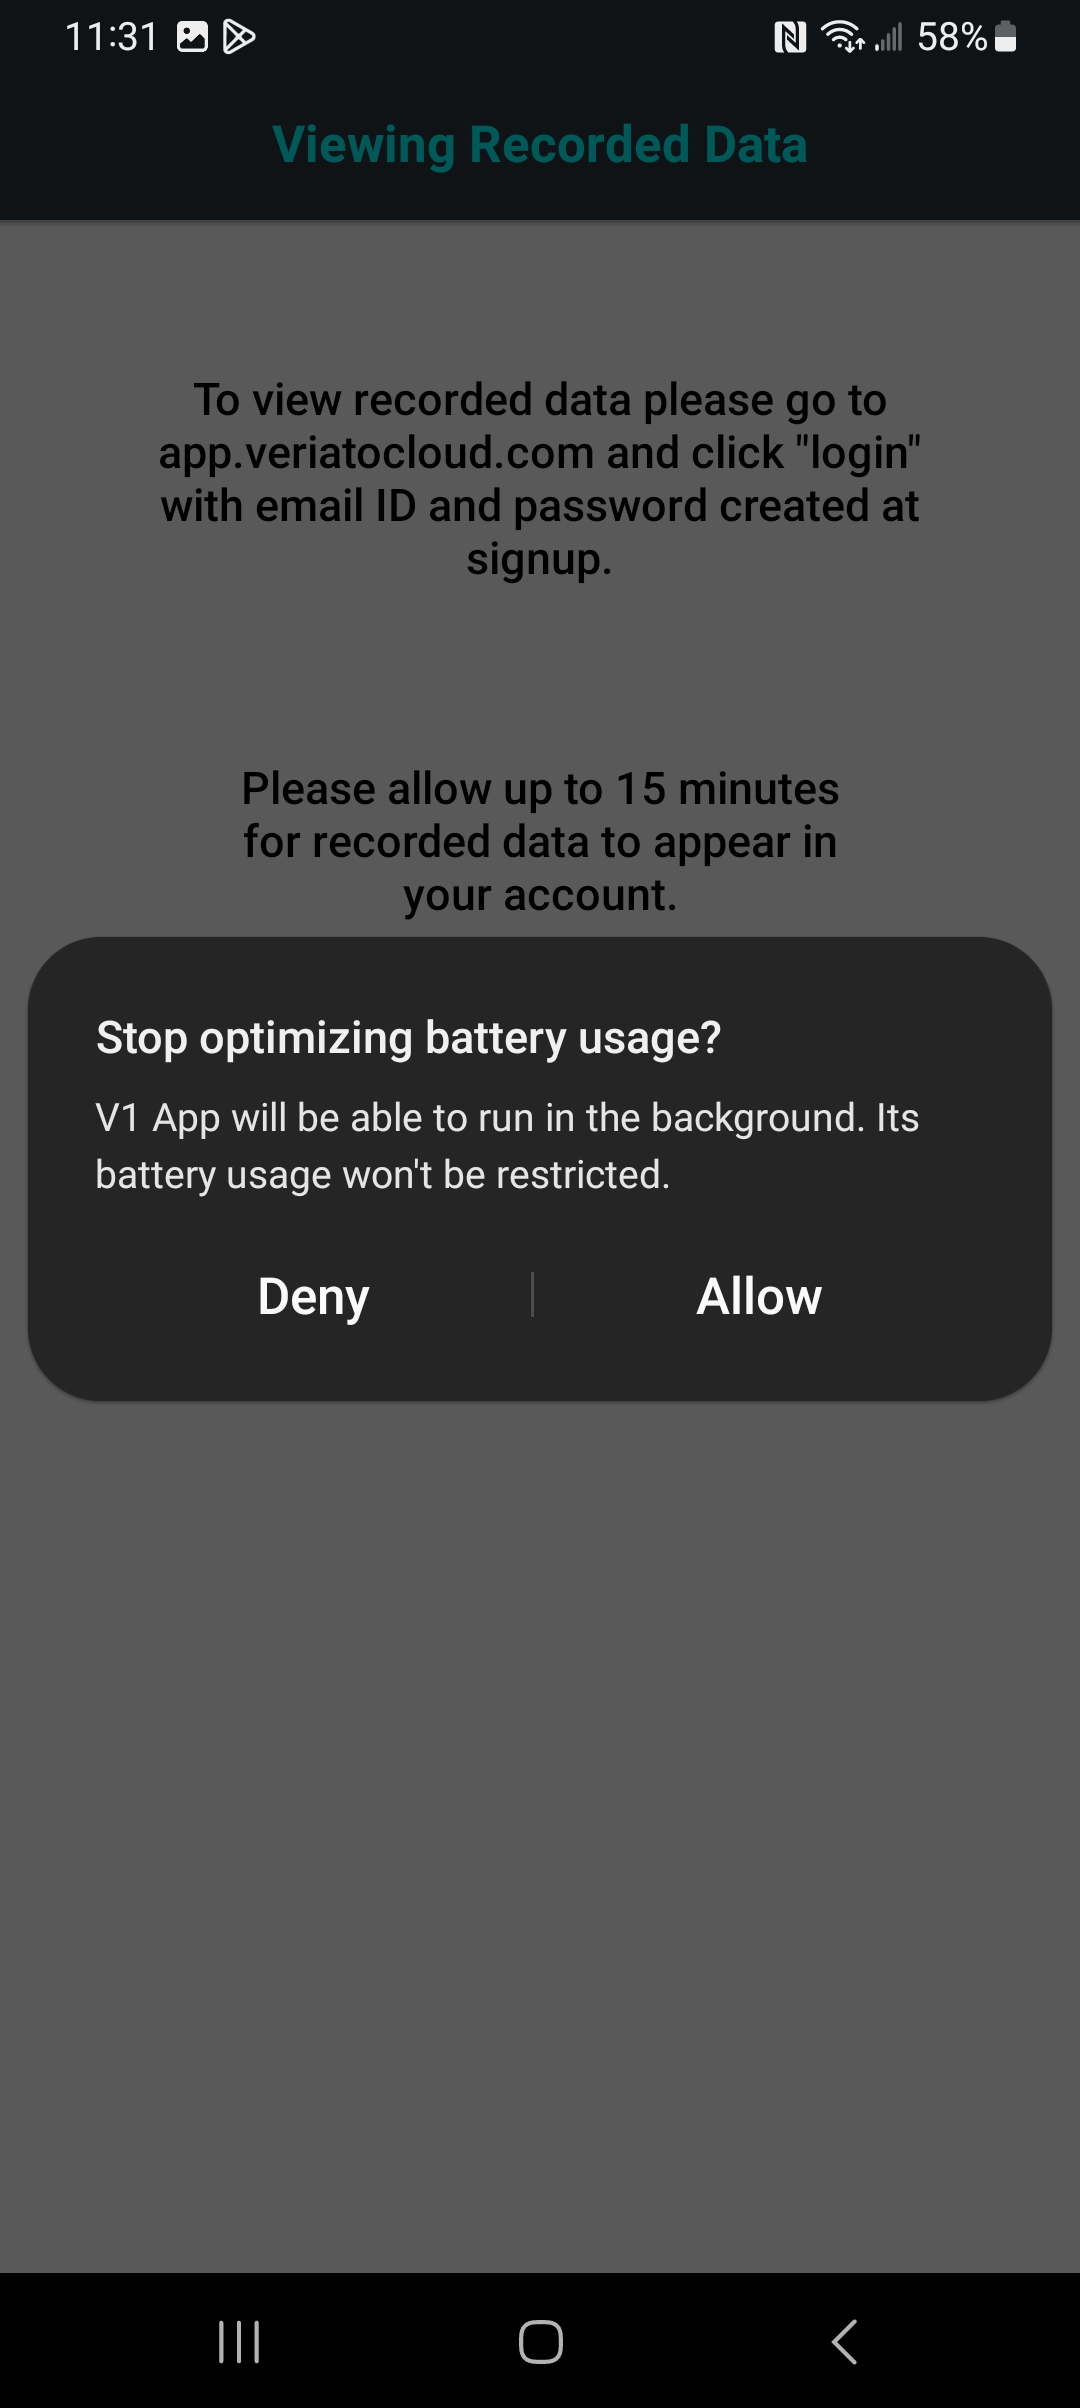
- Allow the V1 App to run in the background.
Tap Allow at the prompt. If its battery usage is not restricted it will continue to fully operate.
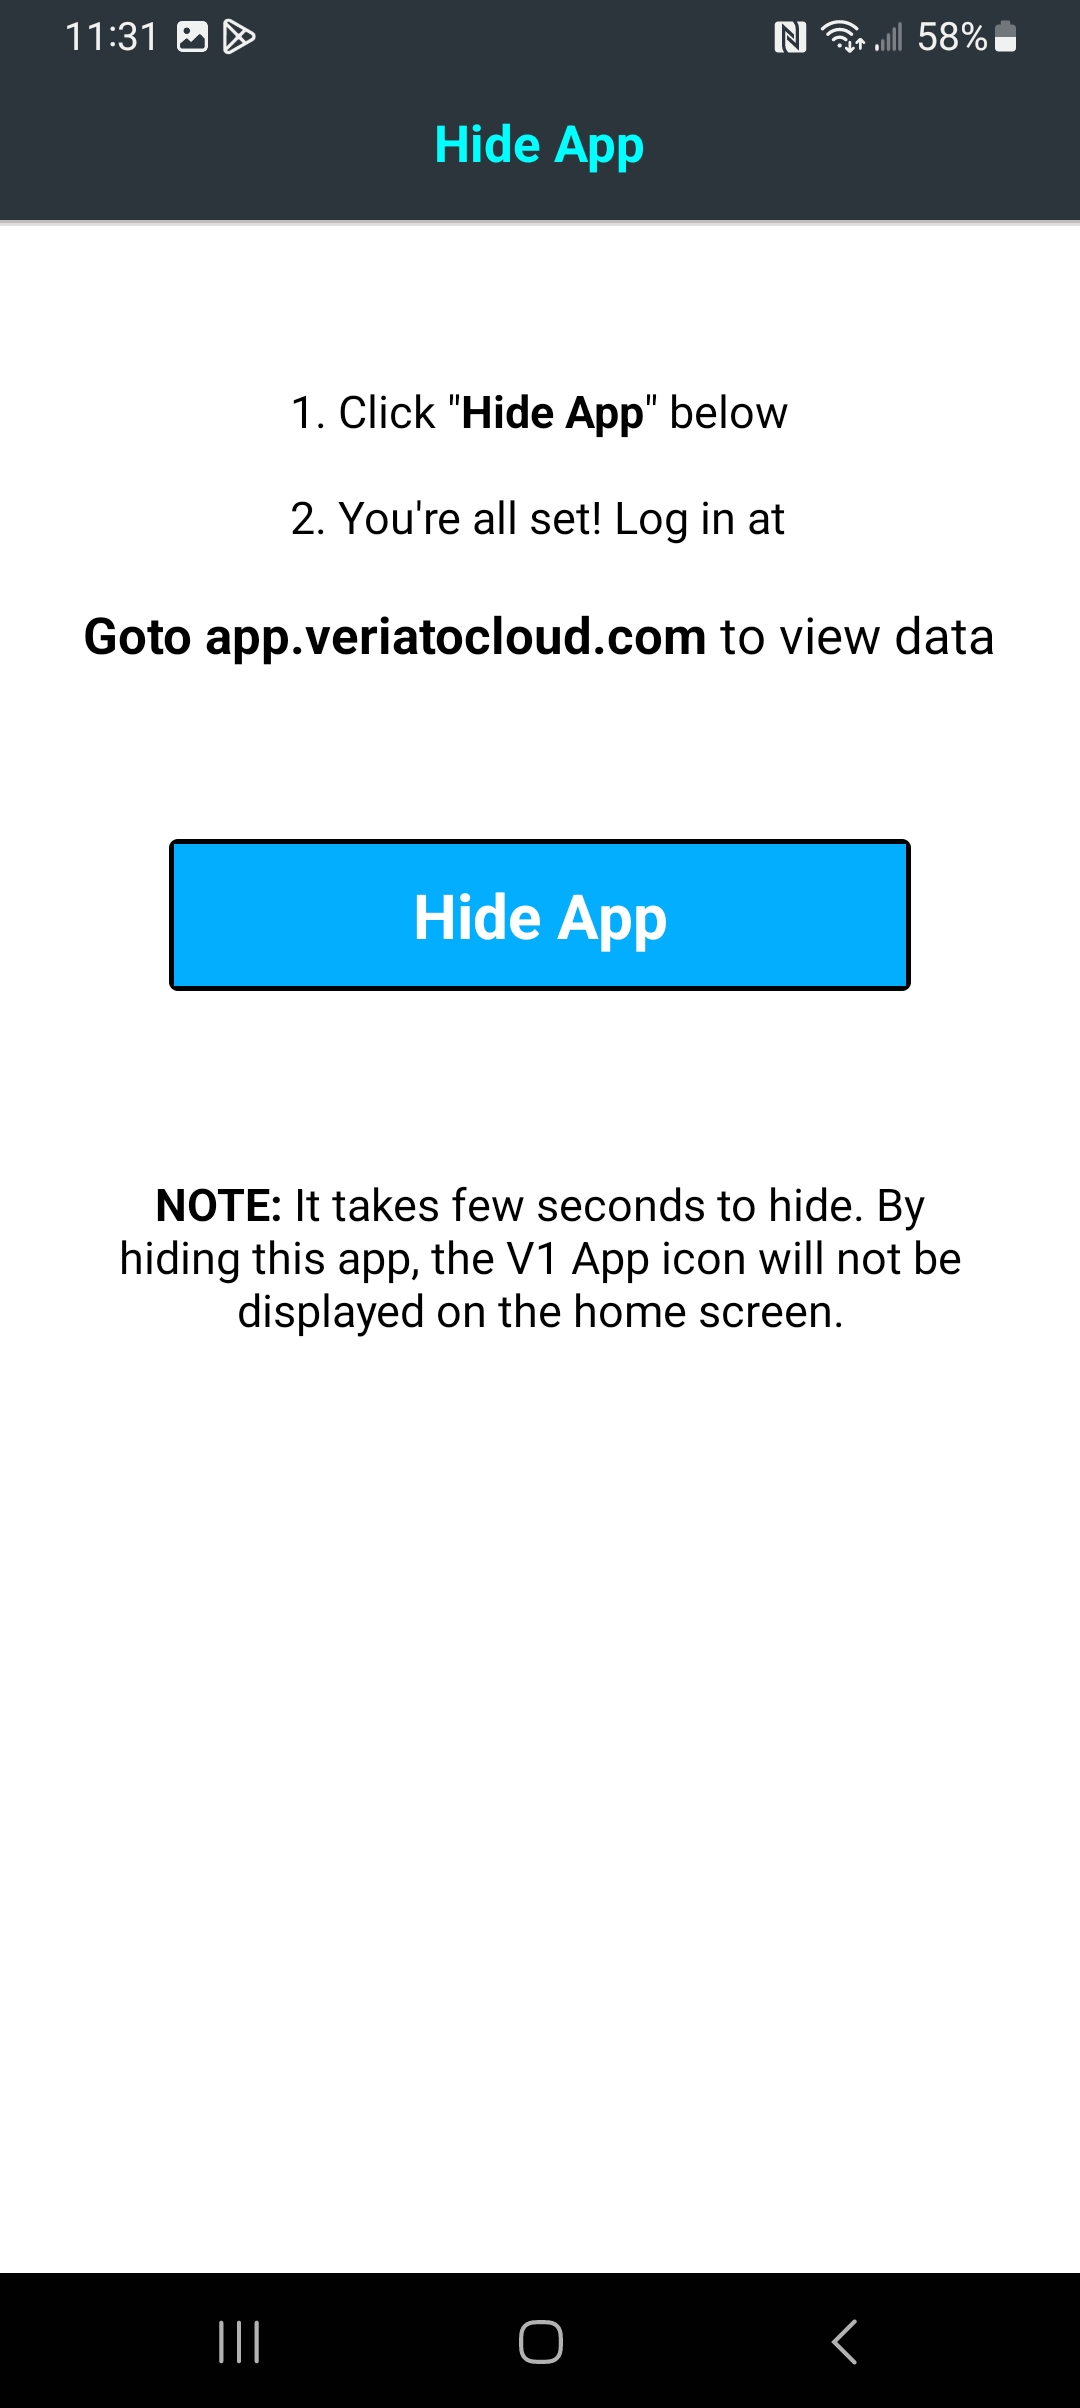
- Finish the installation and Hide the app.
Tap OK, Got it and Hide App. The app will not be visible to the user.

- Watch for the Android Device and user to appear in the app console.
For example, "Bill's Phone" appears in Endpoint Agents, and a user named "Bill's Phone" appears in Users as "Unassigned." You can change the user's Display Name. - Assign the user license.
Move the user into a Group, or assign an "Override" policy to the user. The license allows the Agent to begin returning data.
Updated: 04/04/2024