Mac Agent Installation
Latest Mac Agent: 10.0.10771
For a list of Mac operating systems supported and recording capability, see Mac Support. To uninstall the agent at a Mac, see Mac Uninstall.
Set Antivirus exclusions for Mac
Go to Admin | Company Account "Antivirus Exclusions" to find the folder name your installation has created for the agent. Refer to Antivirus Exclusions - Mac.
IMPORTANT: Add these exclusions to the installed antivirus program BEFORE downloading and installing the agent. If you have trouble with antivirus while installing a Mac agent, contact Support.
Download and install the Mac Agent
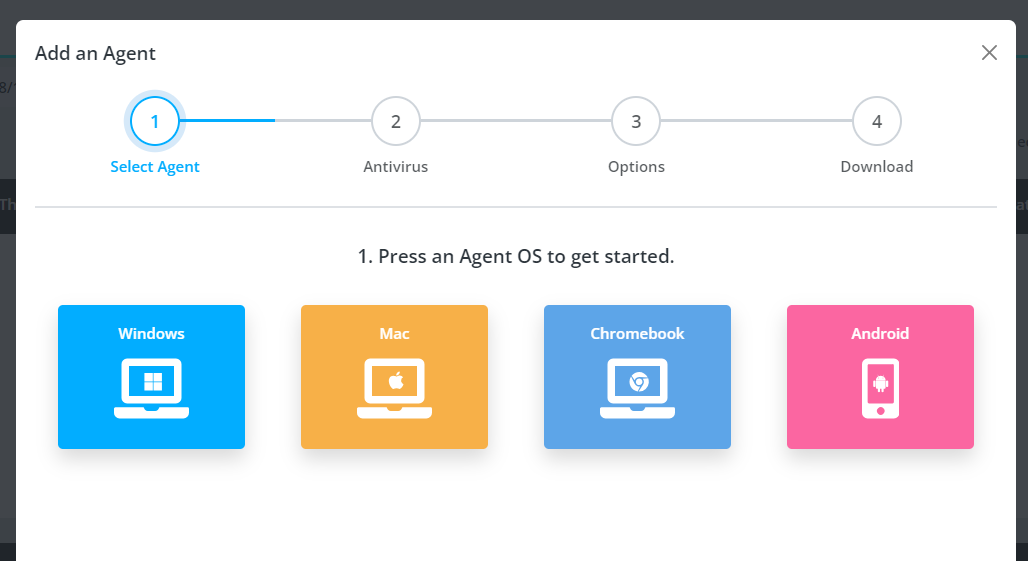
From the endpoint device or to download at your computer, log in to Interguard and go to Admin | Download Agents. The Add Agents wizard opens.
- Step 1: Select the Mac Agent.
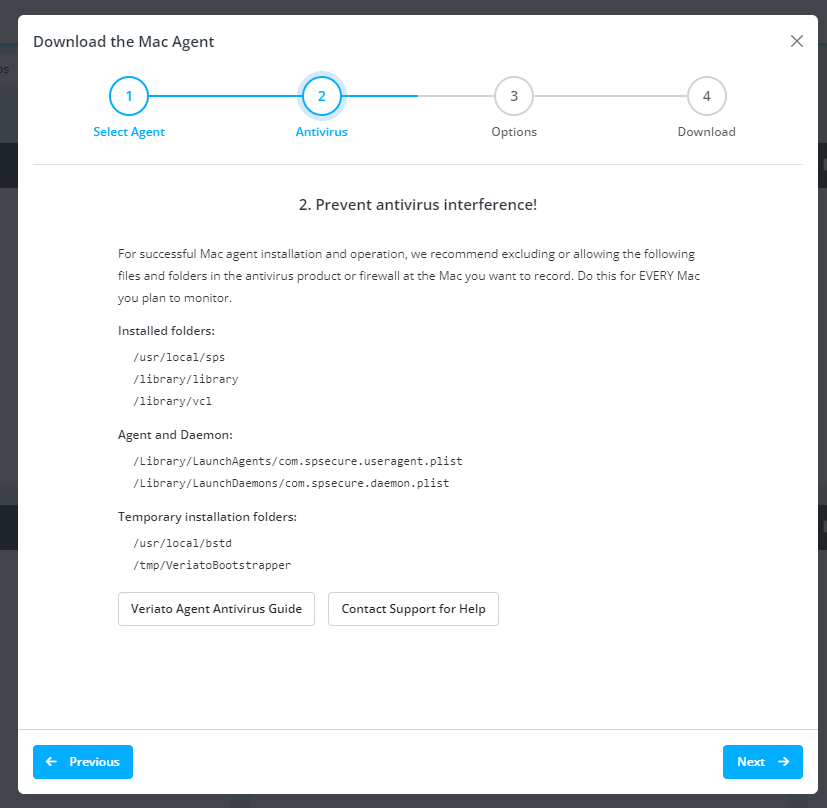
- Step 2: Antivirus.
Copy and paste the folders and files to exclude and add them to the antivirus, anti-malware or other program at the endpoint device or to your managed antivirus policy. Refer to Antivirus Exclusions - Mac. Some antivirus programs require selecting the folders or files to exclude. In this case, you will have to install the agent first, select the folders, and then reinstall with the exclusions set. Press Next.
- Step 3: How would you like to install?
You have a choice between an installer that automatically reboots following installation or one that does NOT reboot following installation.
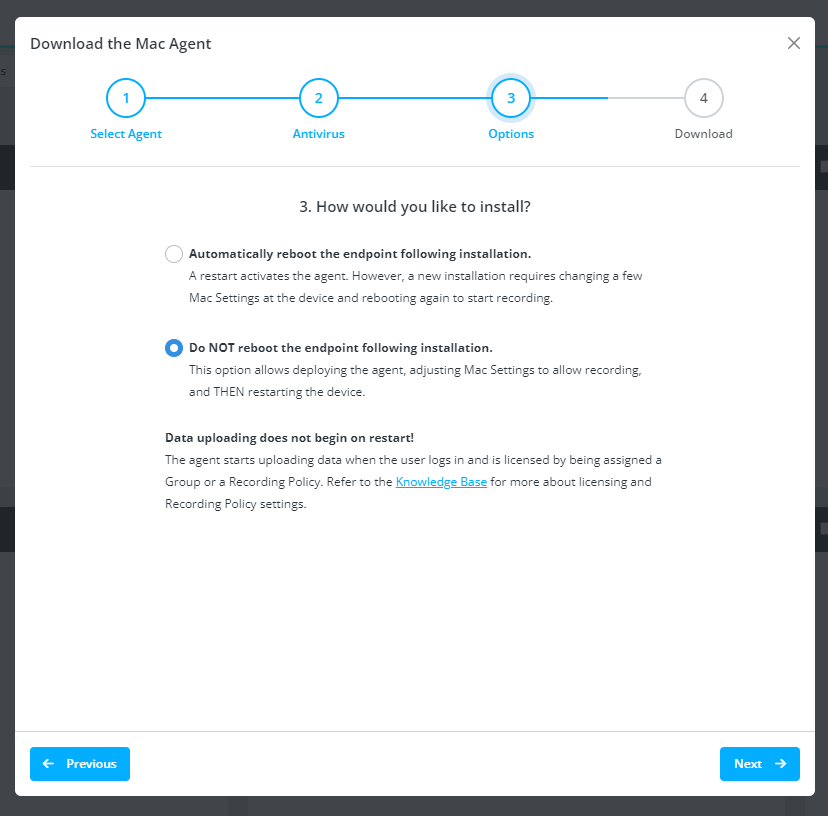
Why choose either option?- Automatically reboot - Restarting the computer is necessary to begin recording.
- Do NOT reboot - Following installation you must give several OS and extension permissions to the Mac Agent before it can record. The Mac must then be rebooted.
- Can I download both? - Yes. Your selection on this page sets the type of installer you download on the next page. You can return to this wizard later and request the other installer. Be sure to store them separately, so that you know which is which.
- Press Next.
- Download the requested installer.
Read the notes and follow instructions to license the user who logs in so that recording can begin.
Press Finish.
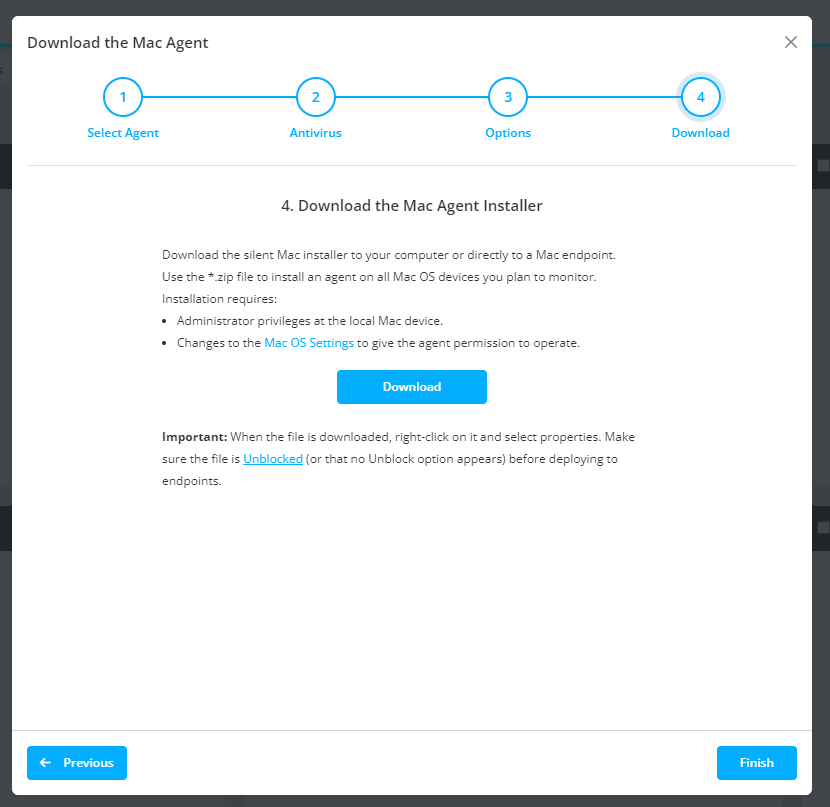
- Unblock the downloaded file.
Before moving the file from one computer to another, take steps to "unblock" it.
Right-click on the downloaded .ZIP file.
Under the General tab, find Security and check Unblock. - Move the .ZIP file to a location where you can access it from the Mac.
Double-click to extract the file contents. Your extracted folder should contain:
A1InstallerDataMac.zip
Install.sh - Give the Mac "Terminal" full disk access.
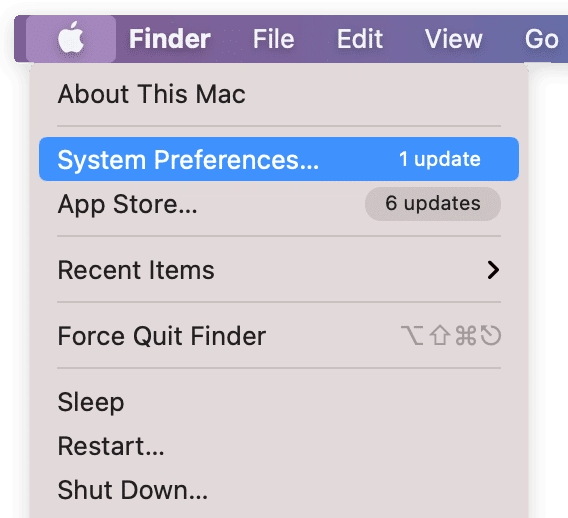
Because you will install from the terminal, it requires access.- Click on the Apple icon in the top left of the menu.
- Select System Preferences and Security & Privacy.
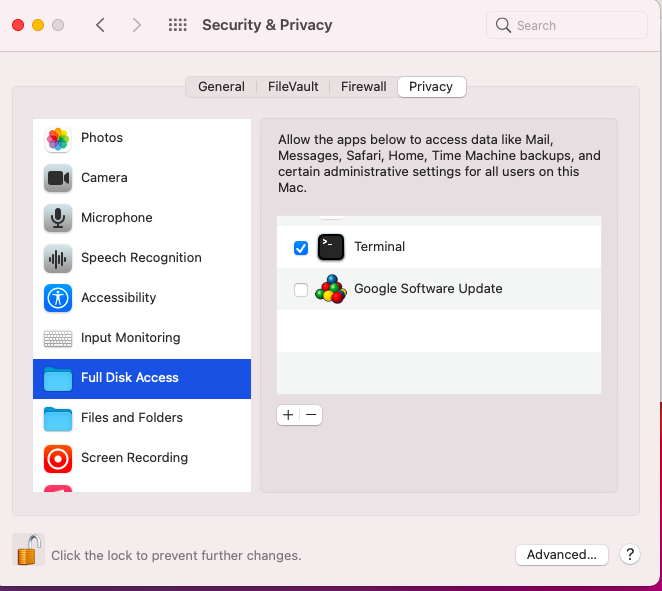
- Select the Privacy tab.
- Select Full Disk Access from the sidebar.
- Click the padlock icon at the bottom of the pane and enter admin credentials to unlock the settings.
- Add the Terminal app. Click the [+] button at the bottom of the list on the right and navigate to Terminal's location (in Macintosh HD/Applications/Utilities).
- Check the checkbox next to Terminal. Relock the padlock.
- Open the "Terminal" at the Mac.
Use cd to navigate into the extracted folder.
When you type ls, you should see the above .zip and .sh files. - Enter this command and press the Return key:
sudo sh install.sh
or
sudo bash install.sh

You are prompted for the administrator-user password for this device. Type it and press Return. - Wait as the script installs the agent.
You will see the script run in the Terminal. The install.sh script uses the A1InstallerDataMac.zip file to install the recorder agent. There are no prompts. At the end of the script, the Mac restarts to complete the installation.
IMPORTANT: Follow the next steps to allow agent recording.
Finding the agent files
To give the Mac Agent permissions needed to capture activity, check and enable settings as shown in the next section. If an Agent component Agent or Helpdesk does not appear as shown in any of the System Settings, follow these steps (illustrations are from Sonoma OS) :
- Open a Finder window to search.
From the Finder top menu, select Go > Go to Folder. - Find the Helpdesk item.
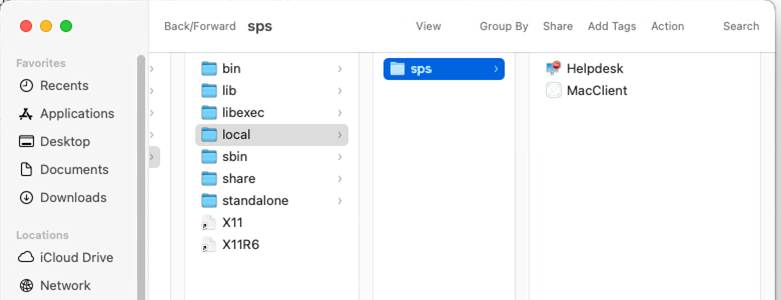
In the Go to Folder entry, type /usr/local/sps/
The Helpdesk item is found at this location.
- Find the Agent item.
In the Go to Folder entry, type /usr/local/sps/helpdesk/contents/sharedsupport/
The Agent item is found here. - Leave the locations open as you follow instructions below.
If Helpdesk or Agent is missing from the System Settings panel, drag-and-drop it from its folder location to the panel.
Adjust Mac settings to allow agent recording
After installing the agent, before leaving the endpoint device, make the following changes at the endpoint device to allow the Mac agent (known as Helpdesk or just Agent ) to record events. The endpoint's Mac OS version may show screens slightly different from these. You may notice a message saying that Helpdesk wants to open. Allow it (the agent) to start.
- Open System Settings (System Preferences).
Tip: Use the System Settings Search, if necessary, to find the appropriate locations referenced below.
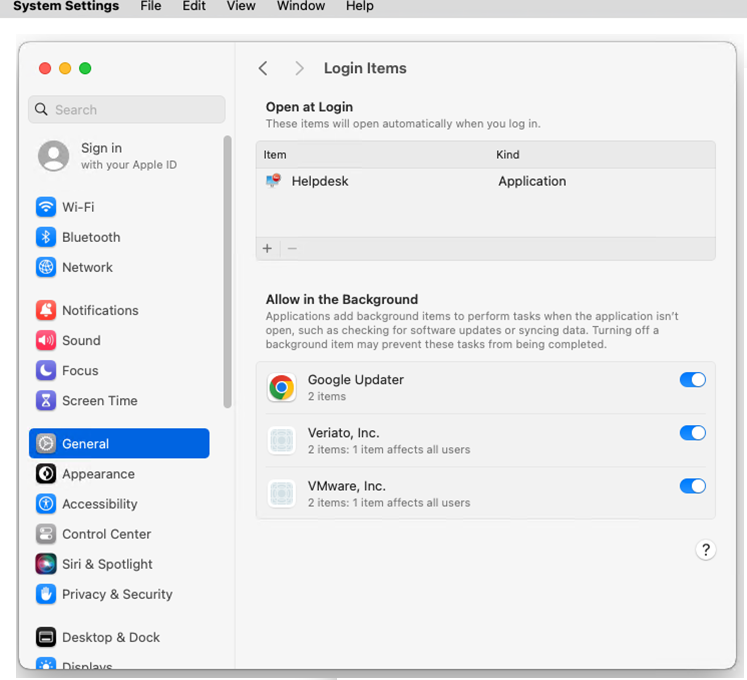
- In System Settings, navigate to General > Login Items.
Open at Login lists all items that automatically run when the user logs in.
After the agent is installed, Veriato, Inc., is added to the Allow in the Background list.
Click to switch ON this permission. Drag Helpdesk to this location. If you don't see Helpdesk...
- Open System Settings > Privacy & Security (or Security & Privacy).
Use your Admin credentials to Unlock the panel. If applicable for the Mac OS, select the Privacy sub-tab.

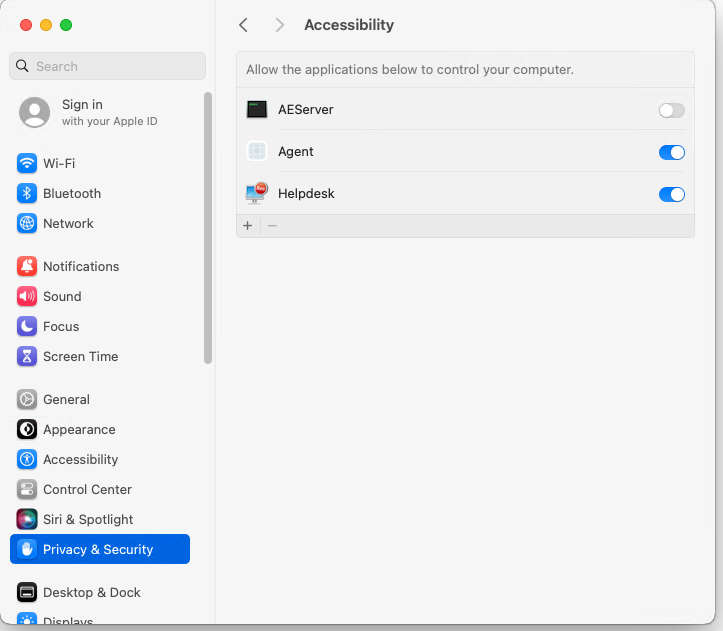
- Select Accessibility.
In the right pane, switch ON both Agent and Helpdesk to enable access to this Mac. If you don't see these items...
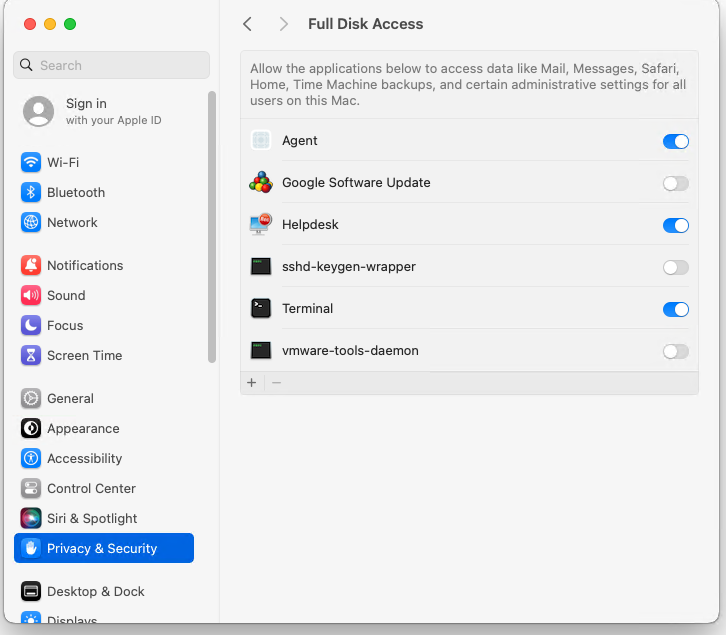
- Select Full Disk Access.
(or In the right pane, switch ON both Agent and Helpdesk to enable access to this Mac. If you don't see these items...
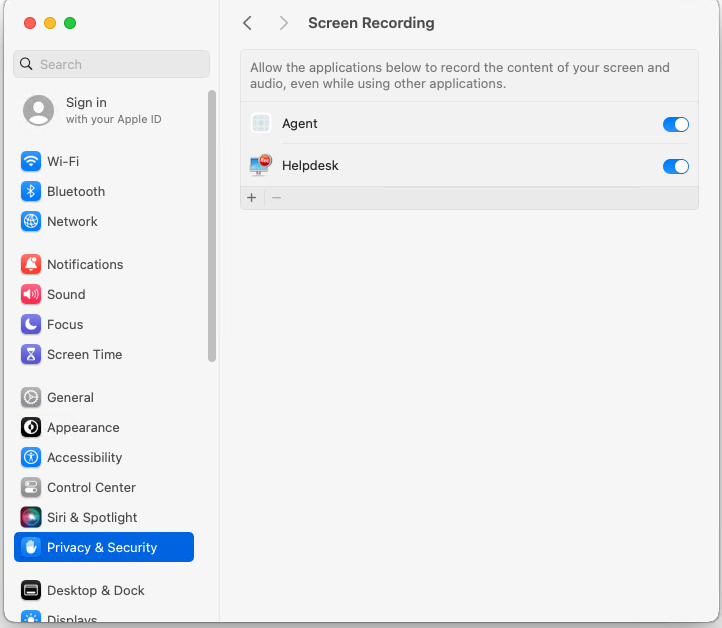
- Select Screen Recording.
In the right pane, switch ON both Agent and Helpdesk. If you don't see these items...
- Lock the Privacy & Security panel
Exit System Preferences.
Enable Mac Agent browser extensions
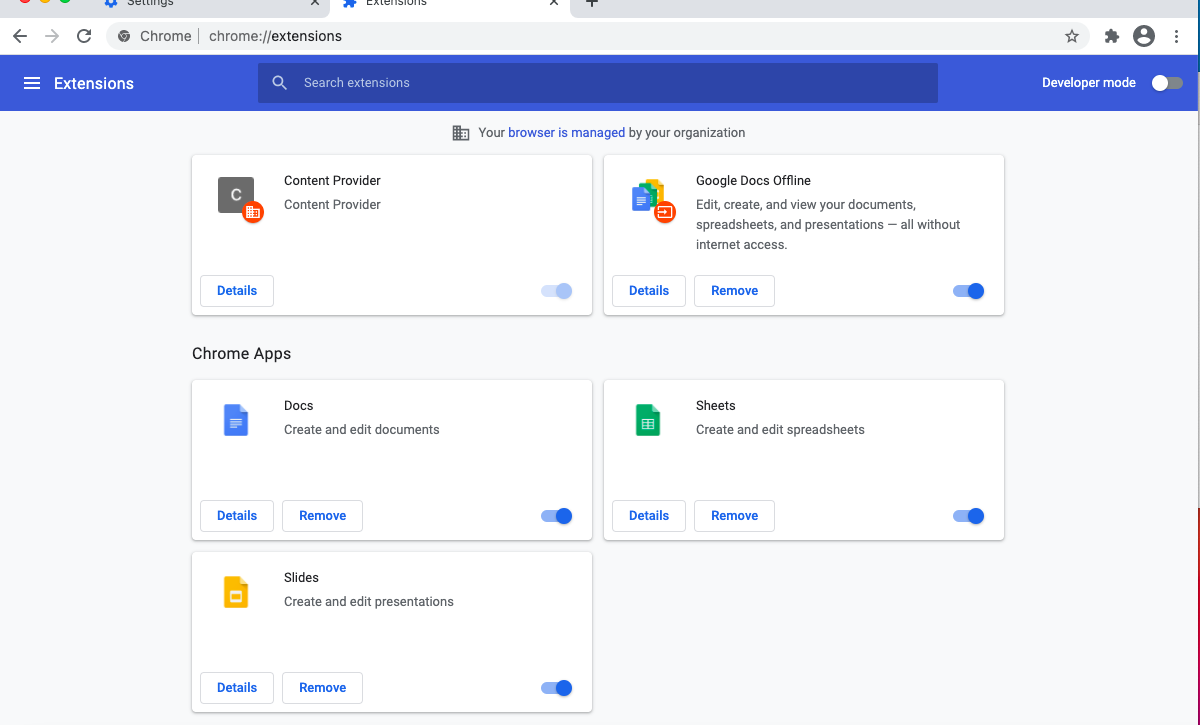
Chrome Extension
See aslo: Install Chrome Extension via Google Workspace. The agent uses browser extensions to capture and return web events. Enable the installed extension in Chrome.
- At the endpoint Mac, open the Chrome browser.
- Select Settings and Extensions.
- Find the Content Provider extension. This is the Veriato extension that enables recording. Switch ON the extension.
Safari Extension
The agent installation attempts to enable the Safari extension. Check it to make sure it is enabled and can return web events in Safari.
- In the Safari web browser go to Settings | Extensions.
- Check the box to enable the Content Provider extension.
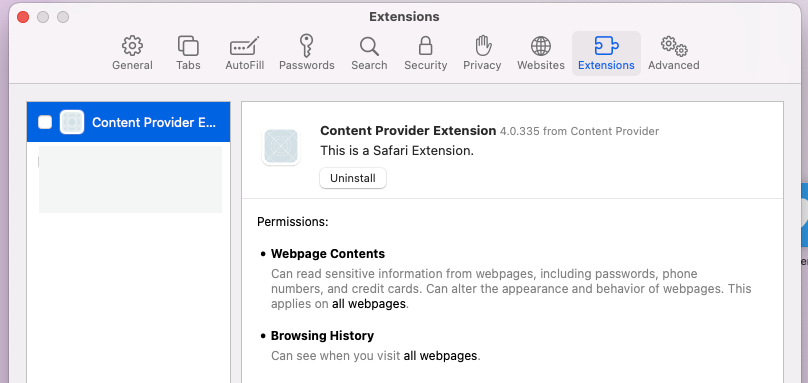
- Verify enabling the extension by pressing Turn On.

- When the extension is on, web events will be recorded in Safari.
Firefox Extension
Check Firefox extensions to make sure the Mac Agent extension is enabled and can return web events in Firefox.
- In the Firefox web browser go to Extensions.
Extensions may be accessible from a puzzle icon on the top bar or accessed via the bars menu. - Following agent installation, the extension Content Provider should appear. Check the box to enable the Content Provider extension.
- When the extension is on, web events will be recorded in Firefox.
Recording begins when:
(1) The agent installation is complete and the device restarts.
(2) An end-user logs in.
(3) The installed agent reports the device and user name to the Interguard server.
(4) An Admin assigns the "Unassigned" user to a group (or assigns a Recording Policy directly to the user).
(5) The agent receives the Recording Policy from the server.
Updated: 10/04/2023