Windows Agent Installation
Latest Windows Agent: 10.0.47390.40
Refer to Windows Agent Support for recording support and requirements at the endpoint device.
Remember to:
- Set Antivirus Exclusions
Be sure to set the listed exclusions at each Windows device BEFORE attempting to install the the agent. - Unblock the agent installer before deploying.
Especially if you are deploying the Installer remotely on your network, take steps to ensure the file will not be blocked by local Windows security. See below for ways to do this. - Install on a test Windows computer first.
Before deploying the agent across your network, be sure the antivirus exclusions and the installation work as you expect.
Install Windows Agent version 10.0.47390.40
At your computer or from an endpoint computer, log in to Interguard and select Admin | Download Agents. The Add Agents wizard opens.
IMPORTANT: Be prepared! When you run the downloaded install file, the agent installs silently and automatically (with no warning) restarts the computer.
- Step 1: Select Agent.
Press Windows to download your Windows Agent installer - Step 2: Antivirus.
Before downloading and installing the agent, set exclusions in the antivirus program(s) at the endpoint Windows device. See Antivirus Exclusions - Windows for additional instructions. Some antivirus programs require selecting the folders or files to exclude. In this case, you will have to install the agent first, select the folders, and then reinstall with the exclusions set.
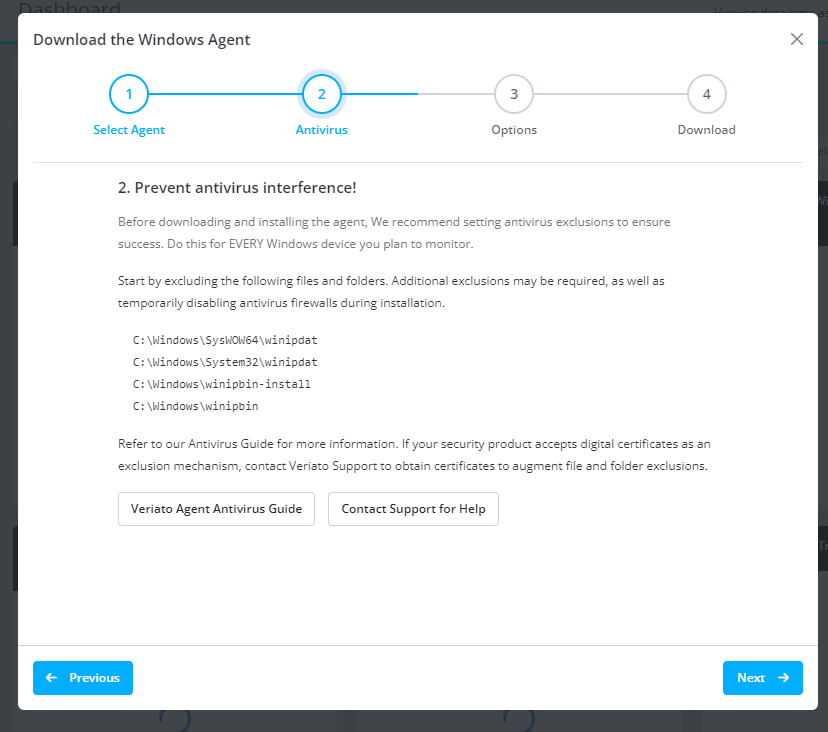
Exclude these folders:
C:\Windows\SysWOW64\winipdat
C:\Windows\System32\winipdat
C:\Windows\winipbin-install
C:\Windows\winipbin
- Step 3: How would you like to install?
You have a choice between an installer that automatically reboots following installation or one that does NOT reboot following installation.
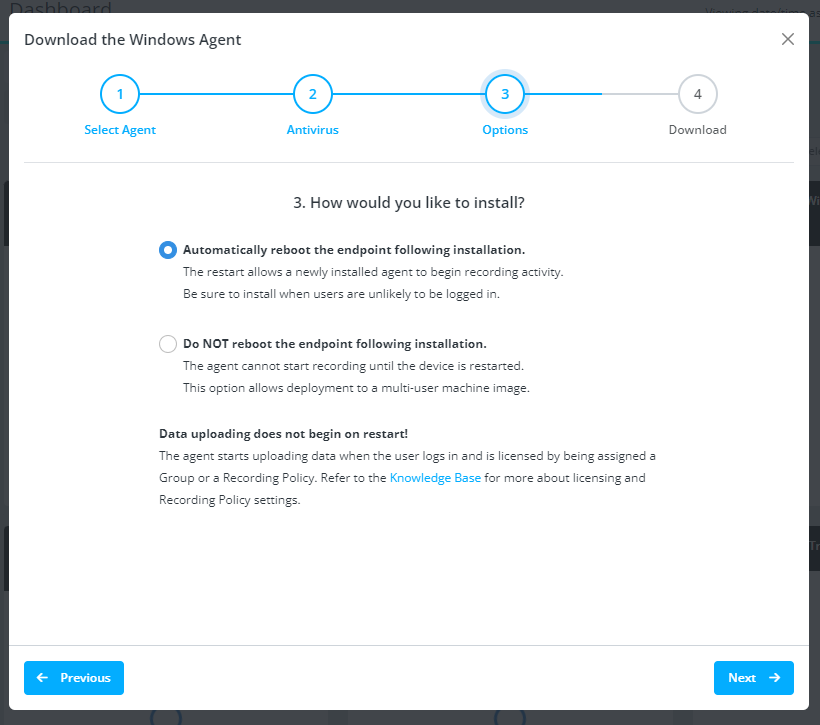
Why choose either option?- Automatically reboot - Restarting the computer is necessary to finish the installation and begin recording.
- Do NOT reboot - In some cases, for example installing on a session host or VDI golden image, you don't want the reboot to happen until an end user logs in. This allows the agent to correctly "register" the user's device for Interguardpurposes.
- Can I download both? - Yes. Your selection on this page sets the type of installer you download on the next page. You can return to this wizard later and request the other installer. Be sure to store them separately, so that you know which is which.
- Press Next.
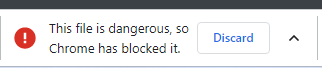
If your browser stops the download
Your browser security settings may display a message on downloading the Installer or Uninstaller. For Chrome, you may need to temporarily change the browser security settings to allow the download.
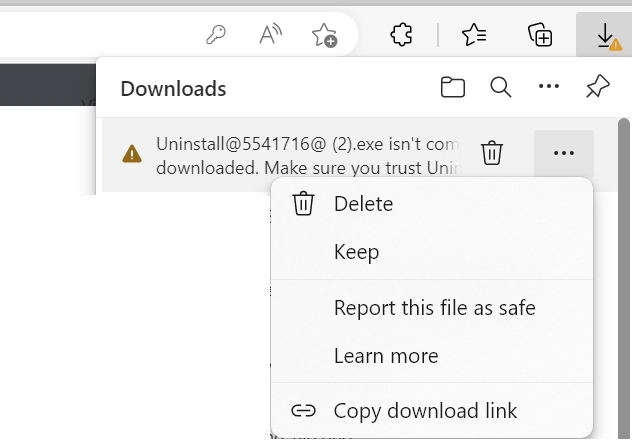
For Edge, select the message's right ... menu and instruct the browser to Keep the download regardless of warnings. At the second warning, select Show More and Keep Anyway.
- Step 4: Download.
Press the Generate Installer button. It takes a minute or two to generate both an .exe installer and an .msi installer. You can move around the app and come back to this step later when the downloads are ready. The EXE and the MSI Installer install the same Windows Agent. When executed, each will install the agent silently and register it automatically with the Interguard server.
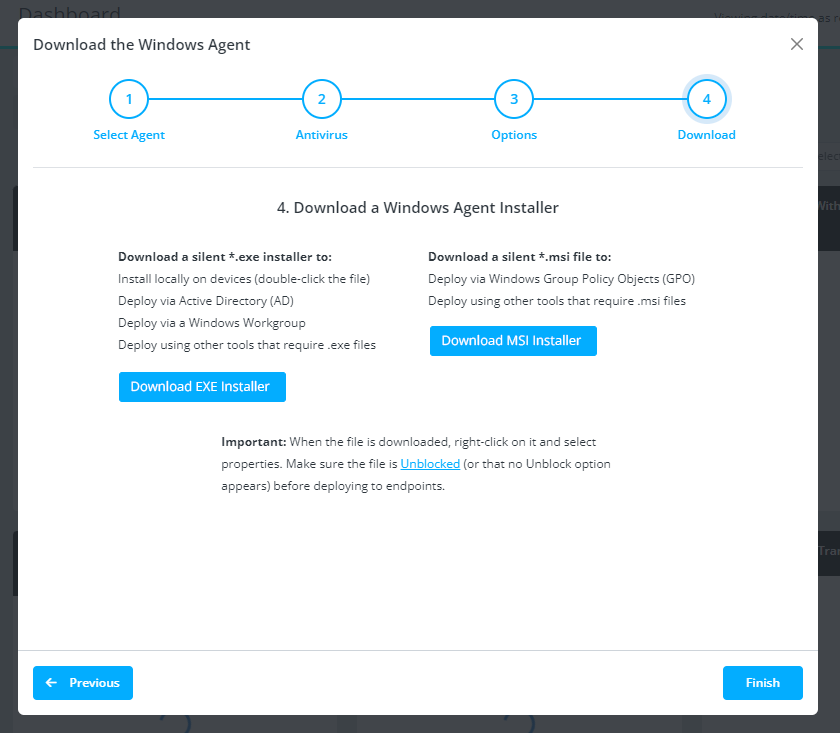
- Download EXE Installer
Use an .exe file to deploy:
Locally at an endpoint device (double-click the file).
Using Microsoft Intune (once the .exe is converted to .intunewin).
Using other tools that accept an EXE install file. - Download MSI Installer
Read about the MSI installer before choosing this option. Use the downloaded .msi file to deploy:
Locally at an endpoint device (double-click the file).
Using Group Policy Object (GPO requires MSI).
Using another tool requiring MSI for network-based deployments.
- Unblock the downloaded file.
When you move the file from one computer to another, Windows Security may prevent the file from running. Before deploying the downloaded install file, take steps to "unblock" it. There are two ways to do this:- Unblock from the File Properties:
Right-click on the downloaded EXE or MSI file.
Under the General tab, find Security and check Unblock. - Unblock from Windows PowerShell:
Open PowerShell as run it "as administrator."
Navigate to the download location.
Enter the command: Get-Item 'the installer filename' | Unblock-File.
- Unblock from the File Properties:
- Access and double-click the downloaded silent installer.
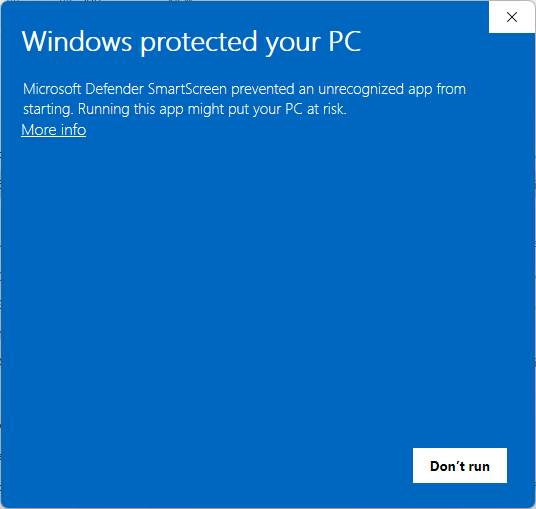
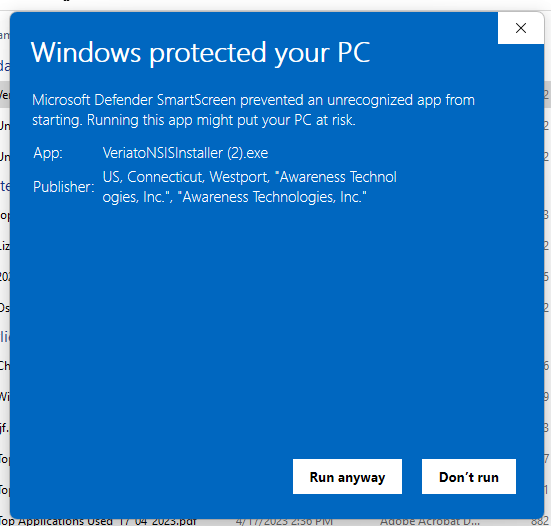
Download the silent installer from the app or copy the downloaded file from its original location. If Windows Defender prompts with a message, click the More info link and then Run Anyway. If antivirus warning messages appear, wait for the install to finish, check your antivirus exclusions, and then attempt to run the installer again.
- The installation is silent and restarts the computer.
The installer runs on execution, installs the agent, and restarts the computer.
No interaction is necessary.
The agent is not fully installed until the computer restarts.
The following folders are created (or populated):
- C:\Windows\winipbin-Install
Necessary to start the installation, the temporary file in this folder is deleted following installation. - C:\Windows\winipbin
The main agent software installation folder is in Windows and is hidden following installation. - C:\Windows\System32\winipdat
C:\Windows\SysWOW64\winipdat
The client's system access files are installed in this hidden folder.
If antivirus still detects files, refer to the individual antivirus guides, or try excluding individual Windows files and processes.
- Verify the installation.
Check Admin | Endpoint Agents for the appearance of the device(s) where the agent was installed.
Contact Support if you have questions.
Install across your network
Use any network deployment tool, such as SCCM or Group Policy. Learn about Group Policy Object (GPO) deployment here:
https://learn.microsoft.com/en-us/troubleshoot/windows-server/group-policy/use-group-policy-to-install-software
Other options are:
Deploy either the downloaded EXE or MSI Installer silently across a network. However, if you have a choice we recommend using the EXE Installer when possible. Here's why:
- The MSI leaves an entry in Windows Add/Remove Programs.
The entry remains even after the software is installed, appearing as a generic “Security Update.” - The entry must be removed before redeploying to an endpoint.
This could cause extra steps for agent updates. If you are using GPO to deploy, because of this entry, you must remove the GPO policy and then redeploy.
Recording begins when:
(1) The agent installation is complete and the device restarts.
(2) An end-user logs in.
(3) The installed agent reports the device and user name to the Interguard server.
(4) An Admin assigns the "Unassigned" user to a group (or assigns a Recording Policy directly to the user).
(5) The agent receives the Recording Policy from the server.
Updated: 07/25/2024