Groups & Policies - Recording Policies
Configuration | Groups & Policies | Recording Policies
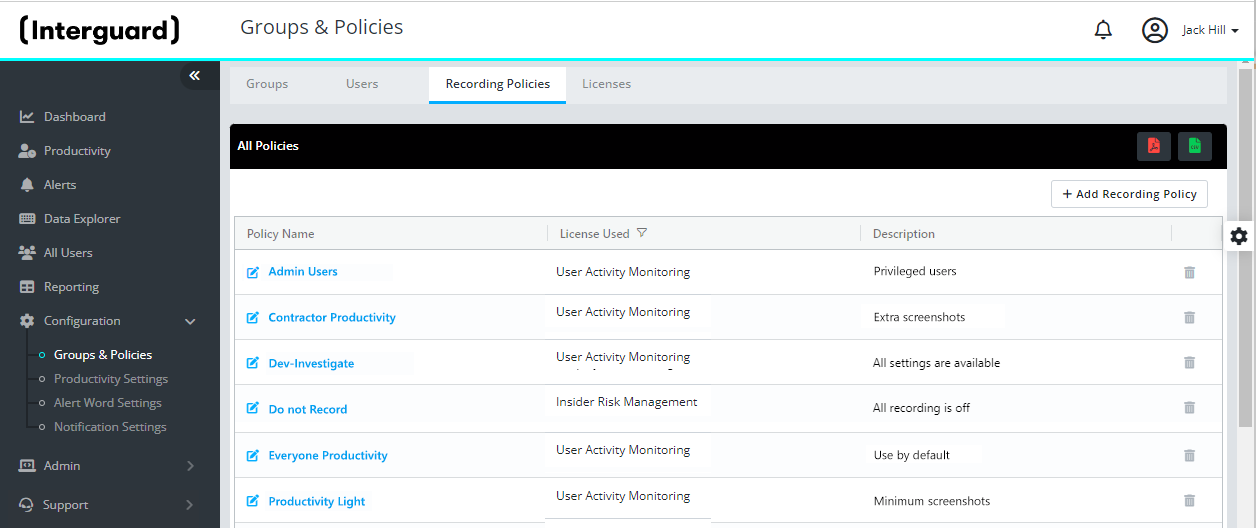
Recording Policy settings allow you to customize the types of data and activity that will record, block, and regulate. It's where you configure different screenshot settings as well as program and website restrictions.

Figure: Groups & Policies - Recording Policies
- Chromebook agents use the recording policy as far as supported activities allow.
- Android agents follow the assigned recording policy and consume a license per device.
IMPORTANT: You'll need at least one Recording Policy defined to set up a group. To monitor users, YOU MUST MOVE them into a group with a Recording Policy.
What you need to know about recording policies
- License-based - Interguard policies are based on a license type. Each user recorded under a policy "uses" one of those licenses.
- Groups require a policy - Each ADDED group is assigned a recording policy. You need to create at least one recording policy before you add groups.
- Overrides - If necessary, you can switch a user within a group to a different Recording Policy (without moving the user out of the group) with an "Override".
- Editing or deleting a policy - A Manager login can edit or delete a policy assigned ONLY to the groups he or she can access. If the policy is assigned to other groups, an Administrator login can make changes as needed.
Add a recording policyAdd a recording policy
If your login account permits it you can use Add Recording Policy to configure a new policy.
- Enter a name and description for the policy.
- Select a License Type.

- Click Save. The Policy Settings based on the selected License Type appear.
- Toggle available settings Off (black) or On (green).
Disabled (gray) settings are not available for the selected license type.
Settings with a double arrow offer further settings in the right pane (such as Stealth Mode or Smart Screenshots). - When you are ready, click UpdateUpdate.

- Once the policy is saved, you can assign it to a Group or to a User in a group as an override.
Clone a recording policyClone a recording policy
Copy all settings of one recording policy into a new policy. This is useful when you want to slightly adjust one or two settings.
- Edit the Recording Policy you want to clone.
- On the Policy Settings page, click Clone this Policy.
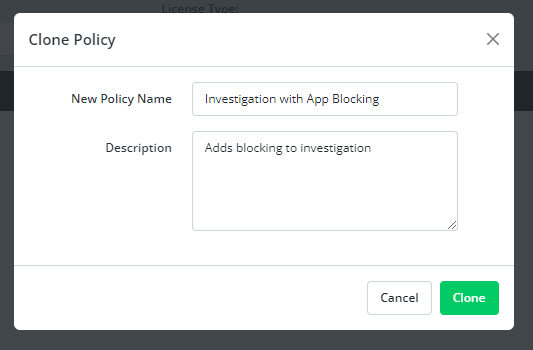
- Enter a Name and Description for the new policy. The policy will take the same License Type as the original.
- Press Clone.

Policy settingsPolicy settings
- Stealth Mode - When ON, the agent is invisible to the user at the endpoint device.
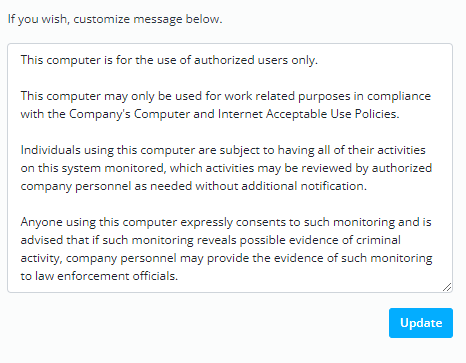
When OFF, a message appears warning users they are being monitored.
Open the Stealth Mode right pane to read the and change the default messagedefault message.
- Login Events - When ON, the agent captures Login, Logoff, Lock, Unlock, and Active and Idle periods. These events are used for Productivity, in Dashboard Charts, in Data Explorer Logon Events, and elsewhere. We recommend leaving this setting ON. Show a Login event record.
- Applications - When ON, captures names of and time spent in applications. These events are used for Productivity, Data Explorer Applications, User Detail Activity, and Smart Screenshots by Program, Show an Application event record.
- Emails - When ON, captures sent and received email, the email contents, attachments, and the email app name. View in Data Explorer Email. Show an Email event record.
- IM/Chats - When ON, captures conversations and names of all parties contributing to a chat in apps such as Skype, MS Teams, Yahoo Messenger, Google Chat, Facebook Messenger, and iMessage. Show an IM event record.
- Keystrokes - When ON, captures keystrokes in any app or website. Show a Keystroke event record.
- Printed Files - When ON, captures names of files files printed. Show a Printed File event record.
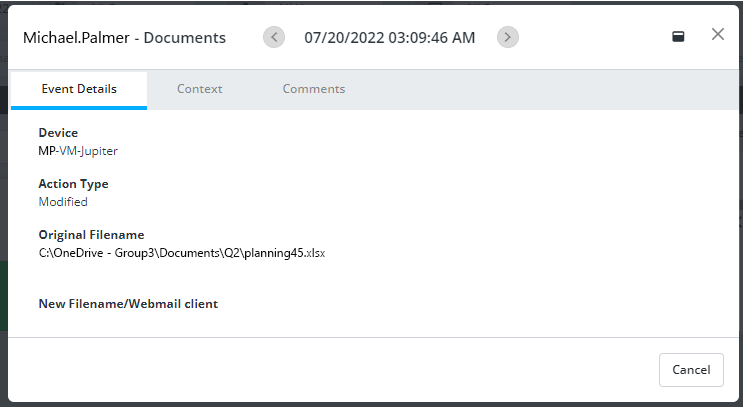
- File Tracking - When ON, captures file activity at named locations, allowing you to watch sensitive documents and restricted areas. See File Tracking. View a File Tracking event record.File Tracking event record.

- Smart Screenshots - When ON, takes screenshots when a user opens a specific program or website. See Screenshots by Application and Screenshots by Website
- Continuous Screenshots - When ON, automatically takes a screenshot every 5 - 3600 (1 hr) seconds. Open the Continuous Screenshot right pane to set the interval

NOTE:Continuous screenshots are taken even without user activity, as long as the computer is not "Locked." This is why you may see blank screenshots in Data Explorer | Screenshots or in Event Details Context.
- Alert Word Screenshots - When ON, words from selected Alert Wordcategories when typed or viewed will trigger screenshots. When OFF, Alert Words are still highlighted in events, but do not trigger a screenshot. See Alert Word Screenshots.
Updated: 07/25/2024